Regular maintenance and timely repairs are key to preserving the lifespan of faucets, preventing costly replacements, and conserving water. Common faucet problems such as leaks, incorrect hot/cold mixing, and reduced flow can be addressed by homeowners with basic DIY tools and knowledge. Essential toolkit items include wrenches, pliers, O-rings, washers, and pipe sealers. Leaks often stem from worn-out O-rings or cartridge seals; replacement cartridges control water temperature and flow. Homeowners should regularly inspect valves for debris, mineral buildup, loose connections, and damaged parts. Proactive maintenance includes checking for leaks, replacing worn components, monitoring water pressure, and cleaning aerators to ensure optimal faucet performance.
Tired of leaky faucets? Learn how to tackle common faucet issues and save money on repairs with our comprehensive guide. From identifying leaks to replacing cartridges, we’ve got you covered. Discover the tools needed for a successful repair and follow step-by-step instructions to fix your residential faucet in no time. Additionally, learn troubleshooting tips for faulty valves and maintenance advice to keep your faucet running smoothly long-term. Master these skills and say goodbye to unwanted water waste – one repair at a time!
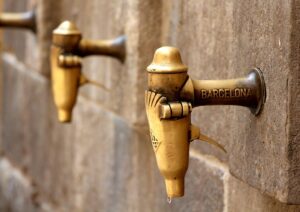
Understanding Common Faucet Issues and Their Causes
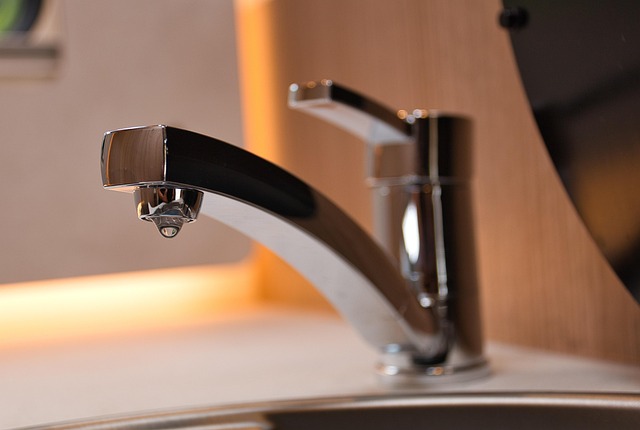
Faucets, despite their seemingly simple function, can present various issues over time. Identifying common problems and understanding their causes is the first step in effective faucet repair. One frequent issue is leaky faucets, which can be attributed to worn-out O-rings or cartridge seals. These parts are essential for maintaining water pressure and preventing leaks at the base or handle of the faucet.
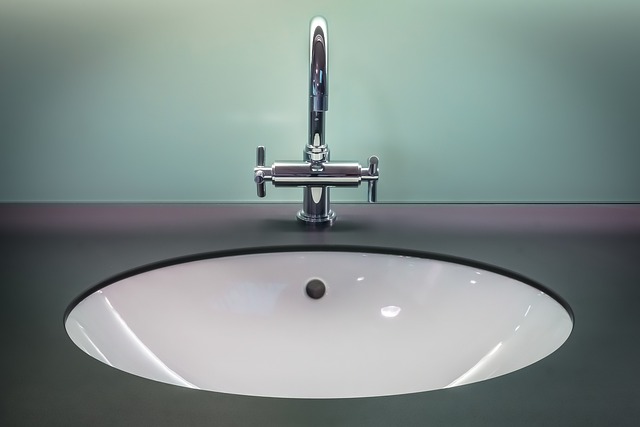
Another prevalent problem is a faucet that doesn’t mix hot and cold water correctly, resulting in either scalding or freezing temperatures. This can occur due to faulty temperature control valves or damaged heating elements. Additionally, hard water buildup over time can cause mineral deposits on aerators, reducing water flow and potentially leading to noisy faucets. Regular maintenance and prompt repair of these issues not only extend the lifespan of your faucet but also save money in the long run.
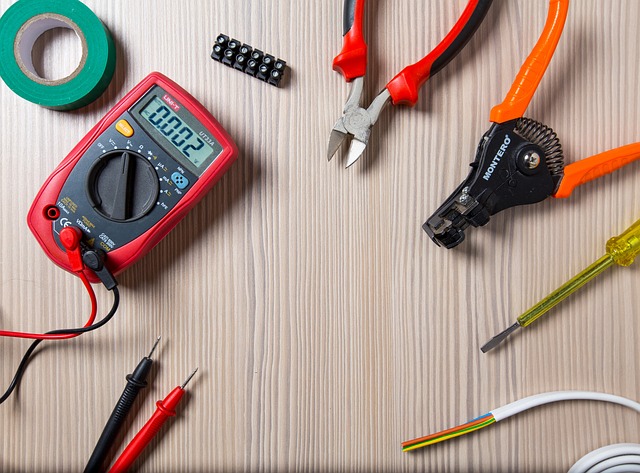
Gathering the Necessary Tools for Repair

Before tackling any faucet repair, make sure you have the right tools for the job. For most residential faucet repairs, a basic toolkit will suffice. This should include adjustable wrenches or pliers to grip and twist components, a butter knife or flathead screwdriver for prying or unscrewing, and an array of O-rings, washer replacements, and any other specific parts needed for your particular faucet model.
Don’t forget about essential accessories like pipe sealers or thread tape to ensure a secure, watertight connection after the repair. Having these tools ready will save you time and frustration, allowing you to confidently navigate through the faucet repair process with ease.
Step-by-Step Guide to Fixing Leaking Faucets
Fixing a leaking faucet is an easy DIY project that can save you money and reduce water waste. Here’s a step-by-step guide to tackling this common issue. First, gather the necessary tools like wrenches, pliers, and replacement parts specific to your faucet model (a store clerk can assist if needed). Turn off the water supply valves under the sink; locate them, usually near the base of the cabinet, and close them tightly with the wrench. Disassemble the faulty faucet by unscrewing any visible components or using pliers to remove damaged seals or O-rings. Clean the area thoroughly, addressing any rust or debris. Install new seals or O-rings, ensuring they fit snugly. Reassemble the faucet, tightening all parts securely without overtightening. Finally, turn on the water valves and test the repairs by turning on the faucet, checking for any leaks at the joints or base. If the leak persists, consult a professional plumber for more complex issues.
Replacing Faucet Cartridges: A Detailed Breakdown
When it comes to faucet repair, replacing cartridges is often a straightforward and cost-effective solution for common issues like low water pressure or leaking. Cartridges are the heart of your faucet’s mechanism, controlling water flow and temperature. Identifying the specific cartridge type is key; faucets can use either compression or ceramic cartridges, each requiring unique replacement steps.
For compression cartridges, unscrewing the handle and removing the old cartridge reveals a threaded stem that needs tightening after inserting the new one. Ceramic cartridges operate differently; you’ll twist out the damaged cartridge and insert the new one in the opposite direction to ensure proper alignment of the O-rings. This process is relatively simple but requires precision to avoid leaks, making a step-by-step guide or video resource invaluable during faucet repair.
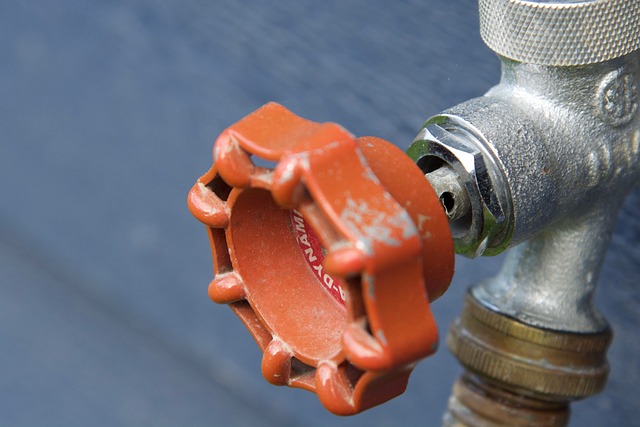
Troubleshooting Faulty Faucet Valves
When dealing with a faulty faucet, many homeowners often turn to troubleshooting as their first step in faucet repair. One common issue is leaky or blocked valves under the sink. Start by shutting off the water supply to prevent further wastage. Then, locate and remove the faucet handle to gain access to the valve seat. Inspect for debris or mineral buildup that might be causing the leak or blockage. A simple cleaning or replacement of the O-ring or washer can often resolve these issues.
If the problem persists, consider checking for damaged or worn-out valves. Tighten any loose connections but be mindful not to overtighten, as it could damage internal parts. In some cases, replacing the entire valve assembly might be necessary. With a bit of patience and basic DIY skills, homeowners can tackle these faucet repair tasks and save on costly plumber visits.
Tips for Maintaining Your Fixed Faucet
To keep your fixed faucet in top condition and avoid costly faucet repair, regular maintenance is key. Start by checking for any leaks around the base or handle regularly; even a small drip can lead to significant waste over time. Replace worn-out O-rings or washers as soon as you notice a leak, as these parts are often the culprit.
Additionally, keep an eye on the faucet’s water pressure and flow. If it feels weak or the water pressure drops, there might be an issue with mineral buildup in the aerator or a clogged strainer. Cleaning these components periodically can restore optimal performance and save you from future faucet repair headaches.