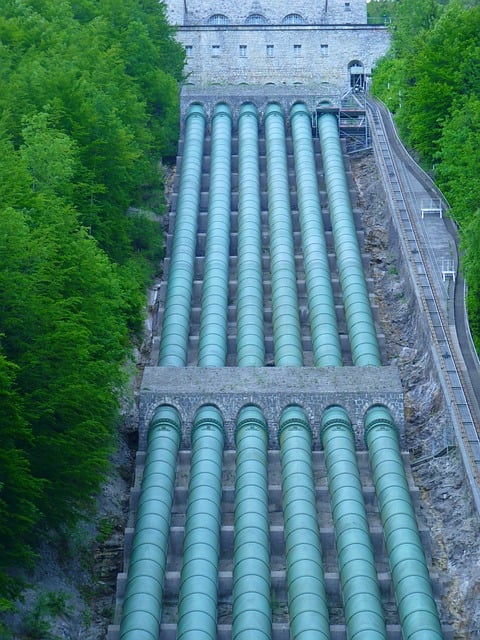
Pipe bursts are a common home issue driven by weather, aging infrastructure, and material weaknesses. Regular maintenance, including leak checks and insulation, prevents these issues. Immediate repair is crucial upon bursting for minimal damage and system stability. Homeowners should assess damage, gather proper tools and materials, locate the main water valve, remove damaged sections, install new pipes, test connections, and insulate vulnerable areas to prevent future bursts. Regular inspections, addressing leaks promptly, using quality materials, and professional assistance for complex issues are key to effective pipe repair and system longevity.
Bursting pipes can cause severe damage and disrupt your home or business operations. Understanding the causes behind these sudden breaks is key to prevention. This article delves into the world of pipe repair, offering a comprehensive guide on assessing burst pipe damage, essential tools and materials, and step-by-step repair processes. We also explore strategies to prevent future bursts, know when to call a professional plumber, avoid common mistakes, and provide maintenance tips for homeowners.
Understanding Burst Pipe Causes
Burst pipes can be a common and frustrating issue for homeowners, but understanding the causes behind them is half the battle won in pipe repair. There are several factors that contribute to pipe bursts, ranging from extreme weather conditions to aging infrastructure. Frozen pipes, for instance, expand as water turns to ice, putting immense pressure on the surrounding material until it gives way, leading to a burst. In warmer climates, sudden temperature changes or high water pressure can cause similar damage. Additionally, pipes made of materials like copper or PVC that have weakened over time due to corrosion or wear and tear are more susceptible to bursting.
Regular maintenance plays a crucial role in preventing pipe bursts. Homeowners should check for signs of leaks or moisture around pipes, especially during colder months when frozen pipes are more common. Insulating pipes in vulnerable areas like basements or outdoor exposure can help prevent freezing. For existing burst pipes, immediate action is necessary to mitigate water damage and prevent further complications. Prompt pipe repair not only saves homeowners from costly repairs but also ensures the stability and longevity of their plumbing systems.
Assessing the Damage
When dealing with a burst pipe, the first step in any pipe repair process is assessing the damage. Start by identifying where the leak is located and its severity. Inspect the pipe for visible cracks, corrosion, or signs of wear and tear. Check for water damage around the pipeline, including walls, ceilings, and floors. This initial evaluation will help determine the extent of the problem and guide the repair process.
During assessment, consider the type of pipe material and the age of the plumbing system. Different materials have varying lifespans and maintenance requirements. Older pipes might need more frequent attention, while newer materials can be more durable. Understanding these factors is crucial for effective pipe repair and future prevention strategies.
Tools and Materials for Repair

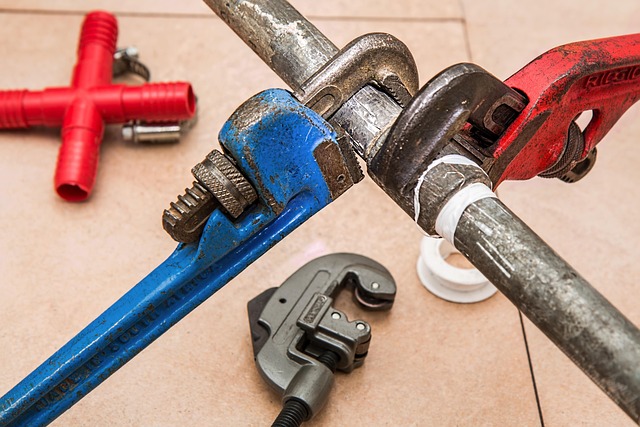
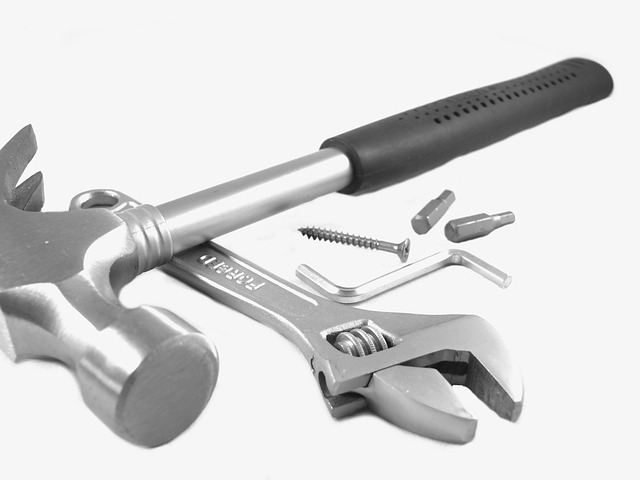
When it comes to burst pipe repair, having the right tools and materials is essential for a successful fix. The first step is to gather a few basic essentials. You’ll need a variety of wrenches, including adjustable and pipe wrenches, to loosen and tighten connections. Pliers are also useful for gripping and bending metal. A replacement pipe section, compatible with your plumbing system, is crucial to ensure a seamless connection after the repair.
For more specialized tasks, consider obtaining epoxy or silicone-based sealants designed specifically for pipe repairs. These materials create a durable bond, effectively halting water leakage. Additionally, having sandpaper on hand allows you to prepare the pipe surfaces for sealing, ensuring a smooth and clean connection. Remember, proper preparation is key to achieving a long-lasting pipe repair.
Step-by-Step Repair Process
When a pipe bursts, it’s crucial to act quickly to prevent significant water damage and other related issues. Here’s a step-by-step guide for repairing a burst pipe:
1. Locate and Turn Off the Water Supply: The first step is to find the main shut-off valve for your home or building. This valve, usually located near fixtures like the washing machine or water heater, stops the flow of water immediately. Turning it off is essential before you begin any repair work to avoid flooding.
2. Isolate the Burst Section: Once the water supply is turned off, assess the pipe. Identify where the burst has occurred by examining the damaged area. Use tape or a marker to mark the break for easier reference during the repair process. This step helps in focusing your efforts on the exact location of the problem.
3. Remove the Damaged Section: Next, you’ll need to remove the portion of the pipe that’s burst. Cut off the damaged area using pipe cutters or a saw designed for this purpose. Ensure you have the right tools and protective gear, including gloves and safety goggles. This step requires precision to prevent further damage or leaks.
4. Prepare New Pipe Segment: Get a new pipe segment that matches the diameter and material of the old one. Clean both ends thoroughly to remove any debris or rust. If using plastic pipes, use glue or a fitting designed for that type of pipe to ensure a secure joint.
5. Assemble the Repair: Fit the new pipe segment into place, connecting it to the intact sections on either side of the burst. Use pipe couplings, fittings, or joints as needed to create a sealed connection. Ensure all connections are tight and secure.
6. Test for Leaks: After completing the repair, turn on the water supply at the main valve and check for leaks. Run the water for a few minutes, then inspect the repaired area. If there are no leaks, congratulations! Your burst pipe repair is successful.
Preventing Future Bursts
After repairing a burst pipe, it’s crucial to take preventive measures to avoid future issues. One effective strategy is regular inspection and maintenance. Homeowners or building managers should schedule periodic checks, especially in areas prone to freezing during winter. During these inspections, look for signs of corrosion, leaks, or any weakness in the pipes. Addressing these issues early can prevent small problems from escalating into major pipe repairs.
Insulating pipes exposed to extreme temperature changes is another vital step in pipe repair and maintenance. Heat loss can lead to water condensation, causing pipes to freeze and burst. By insulating pipes, you create a protective barrier that regulates temperature fluctuations, significantly reducing the risk of future bursts. This simple preventive measure can save you from costly repairs and ensure the longevity of your plumbing system.
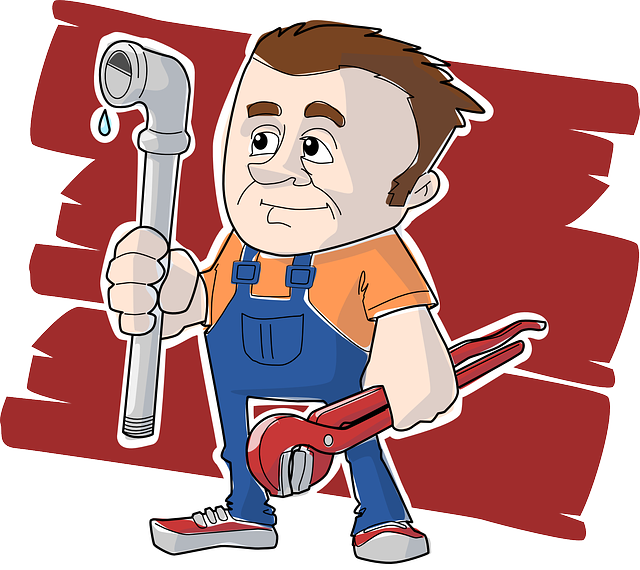
When to Call a Professional Plumber
If you notice signs of a burst pipe, such as water pooling around your fixtures or walls, it’s crucial to act quickly. However, before attempting any DIY repairs, it’s important to consider when it’s time to call in a professional plumber. Small leaks or pings can often be addressed by homeowners with basic tools and knowledge, but more severe pipe damage requires expert intervention.
Professional plumbers are equipped to handle complex pipe repair issues, including assessing hidden damage behind walls or under floors, using specialized equipment for precise repairs, and ensuring the long-term integrity of your plumbing system. They can also provide valuable insights into preventing future burst pipes by offering solutions for improving insulation, maintaining proper water pressure, and identifying weak spots in your pipes.
Common Mistakes to Avoid

When it comes to burst pipe repair, there are several common mistakes homeowners often make that can lead to further damage or even more costly repairs. One of the biggest blunders is trying to fix the issue yourself if you’re not experienced in plumbing. Pipe repairs require specific tools and knowledge, so attempting a DIY approach could result in an incomplete job or worse. Leaks might seem like a minor inconvenience, but ignoring them is a big mistake. Small leaks can escalate into significant issues over time, causing extensive water damage and increasing repair costs.
Another error to avoid is not shutting off the main water supply before beginning any repair work. This simple step is crucial to prevent additional water from entering the affected area and making the problem worse. Using subpar materials or cheap repairs is also a common pitfall. Burst pipes need robust, high-quality fixes to ensure they don’t reappear. Rushing the repair process can lead to overlooked issues, so take your time and do it right to avoid future headaches and higher bills for pipe repair.
Maintenance Tips for Homeowners

Regular maintenance can help prevent burst pipes, a common home emergency. Homeowners should inspect their plumbing system at least once a year to identify any signs of wear and tear, especially in colder climates where pipes are more vulnerable. Insulating pipes exposed to extreme temperatures is an effective way to prevent freezing and subsequent bursting.
Additionally, keeping an eye on potential leaks is vital. Even small drips can indicate a larger issue, so prompt action is key. Regularly checking for water damage or moisture around pipes, replacing old fixtures, and maintaining proper drainage can all contribute to minimizing the risk of pipe repair emergencies.