
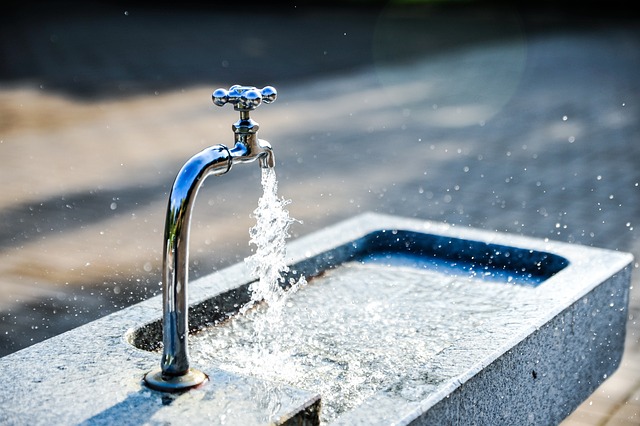
This text provides a comprehensive guide on faucet repair, covering three main valve types and common issues like leaks, low water pressure, and temperature control problems. It emphasizes the importance of proper diagnosis, using the right tools and materials, and following manufacturer instructions for successful repairs. Key steps include locating valves under the sink, tightening connections, inspecting internal components, and regular maintenance to prevent future failures. Regular checks and proactive maintenance are crucial for prolonging faucet lifespan.
Tired of leaky faucets? Learning faucet valve repair is easier than you think. This comprehensive guide covers everything from identifying common issues and diagnosing leaks or clogs, to step-by-step replacement tutorials for faulty parts. We’ll walk you through the process with easy-to-follow instructions, essential tools and materials, and expert tips for troubleshooting advanced problems. Keep your faucets in top shape with our preventive maintenance advice, ensuring a leak-free future. Discover the satisfaction of DIY faucet repair – save time, money, and call a pro less often.
Understanding Faucet Valve Types and Their Common Issues
Faucet valves come in various types, each with unique features and potential issues. The most common are compression valves, cartridge valves, and ceramic disk valves. Compression valves, often found in older faucets, use washers to stop water flow when the handle is released. Over time, these washers can wear out or become damaged, leading to leaks or a trickling flow. Cartridge valves, prevalent in many modern faucets, offer precise temperature control and easy maintenance. Stalled cartridges or worn-out gaskets within them can cause faucet problems, such as low water pressure or erratic temperature changes. Ceramic disk valves, known for their durability and low-flow rate, use two ceramic discs to stop water flow. Damage or misalignment of these discs can result in leaks at the base or handle.
Identifying common issues is crucial in faucet repair. Leaks, whether from washers, gaskets, or seals, often signal worn-out components that require replacement. Low water pressure might be due to mineral buildup, a clogged aerator, or a faulty cartridge. Temperature control problems can stem from cartridge adjustments, damaged heat-sensitive parts, or improper mixing of hot and cold water. Addressing these issues promptly through faucet repair not only saves money but also extends the lifespan of your fixtures.
Diagnosing Leaks and Clogs: A Step-by-Step Guide
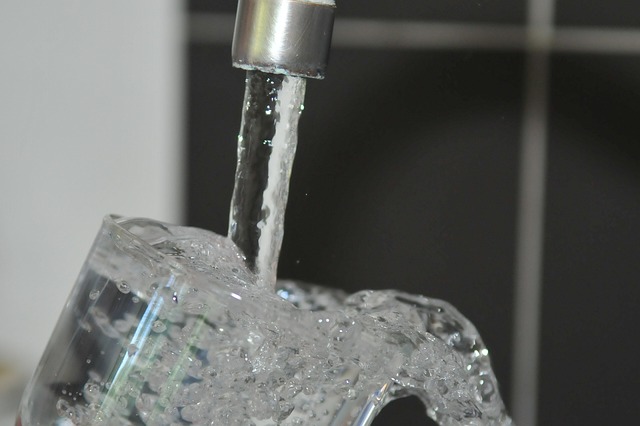
Diagnosing leaks and clogs in your faucet is a crucial step in any faucet repair process. Start by inspecting the faucet for any visible signs of damage or wear. Check for loose connections, corroded parts, or damaged O-rings, which are common culprits for both leaks and clogs. Next, turn off the water supply to the faucet using the shut-off valves beneath the sink. Fill a bucket with hot water and pour it slowly into the sink while observing the drain. If water continues to run after filling the sink, you likely have a leak in the faucet or a clogged drain.
For leaks, carefully disassemble the faucet according to its type (single-handle, dual-handle, etc.). Examine each component for damage or debris. Replace any worn-out parts, O-rings, or washers. For clogs, use a plunger or a bent wire hanger to clear the drain. If the clog persists, try using a plumbing snake or call a professional plumber for more severe cases. Remember, proper diagnosis is key to successful faucet repair, ensuring you address the issue efficiently and effectively.
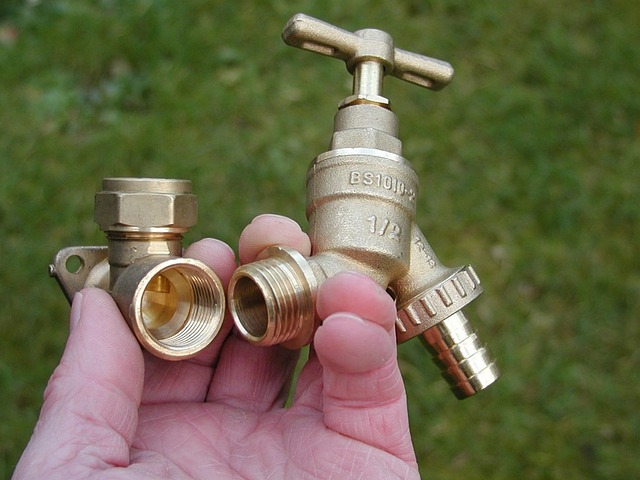
Tools and Materials Required for Repair

Before starting any faucet repair, it’s crucial to gather the right tools and materials. For most faucet repairs, you’ll need a few basic tools such as adjustable wrenches, pliers, and a screwdriver. These will allow you to loosen and remove the faulty parts of your faucet. Additionally, having a replacement valve or O-ring on hand is essential for successful faucet repair. They are readily available at any hardware store and can often be found online.
The materials required may vary slightly depending on the type of faucet you have, but typically include pipe compound or tape for sealing connections, and possibly new gaskets or seals. It’s always a good idea to check your faucet’s specific model and year to ensure you’re prepared with the correct parts before beginning any repair work.
Replacing Faulty Parts: A Comprehensive Tutorial

When it comes to faucet repair, one of the most common issues is a leaky or faulty valve. Replacing these parts is a straightforward process that every homeowner can tackle with the right tools and a bit of patience. First, locate the valve under the sink, typically held in place by a few screws. Turn off the water supply before removing any existing parts. Then, identify the specific component needing replacement—whether it’s the cartridge, disc, or stem—and procure a compatible spare from your local hardware store. Follow manufacturer instructions for disassembly, being mindful of any O-rings or seals that require careful handling. Install the new part according to the kit’s instructions, ensuring proper alignment and secure fastening. Once complete, turn on the water supply and test the faucet for leaks, making adjustments as necessary.
Tightening and Adjusting Valves for Optimal Performance
When performing a faucet repair, tightening and adjusting valves is a crucial step for achieving optimal performance. Start by locating the valves under the sink, typically two separate components controlling hot and cold water flow. Use a wrench or pliers to gently tighten the valve nuts, ensuring they are secure but not overly tightened to avoid damage. A slight turning can go a long way in sealing leaks and improving water pressure.
For precise adjustment, pay attention to the valve seats and discs. These components ensure smooth transitions between hot and cold water. If they are worn out or misaligned, replace them as part of your faucet repair kit. By ensuring these parts are in top condition, you can prevent excessive temperature fluctuations and leaks, enhancing the overall efficiency of your faucet repair.
Troubleshooting Advanced Problems with Expert Tips
When troubleshooting advanced faucet repair issues, it’s crucial to start with the basics—checking for leaks around the base and ensuring all parts are securely fastened. If these initial checks don’t reveal the problem, consider a more detailed inspection of the internal components, specifically the cartridge or valve assembly. Look for debris, corrosion, or worn-out seals that could hinder water flow.
Expert tips suggest using compressed air to blast away any built-up grime and carefully replacing worn parts with exact replacements. Regular maintenance, such as periodic cleaning and lubricating the faucet’s moving parts, can prevent future complications. Remember, clear identification of the specific problem area through visual inspection is key to effective faucet repair.
Maintenance Tips to Prevent Future Faucet Valve Failures
Regular maintenance is key to preventing future faucet valve failures. Start by periodically checking for any signs of leaks or moisture around the base of the faucet. Addressing these issues early can save you from more costly repairs down the line. Additionally, lubricating the faucet’s valve seats and parts with a silicone-based lubricant can help maintain smooth water flow.
Cleaning the aerator is another essential step in faucet repair. Mineral deposits and buildup can restrict water flow, causing pressure issues and even damage to internal components. Remove the aerator regularly and soak it in white vinegar or a specialized cleaner to remove any residue. This simple practice can significantly extend the lifespan of your faucet’s valve mechanism.