Understanding common residential faucet repair issues empowers homeowners to efficiently address problems. Leaks and dripping water, caused by worn parts like O-rings or washers, can be easily fixed with basic knowledge and tools. Regular maintenance, including cleaning and visual inspections, prevents hard water build-up and extends faucet lifespan. Accurate identification of issues is key; proper disassembly ensures correct part replacements. Following step-by-step guides for specific faucet types saves time and money. After repairs, tightening connections and regular testing ensure optimal performance. Proactive maintenance significantly reduces the need for professional plumbers, who handle complex issues like water pressure problems and corrosion.
Faucet repair is a common home maintenance task that can save you money and extend the life of your fixtures. This comprehensive guide walks you through the process, from identifying common issues like leaky or clogged faucets to disassembling and replacing parts. We’ll equip you with the knowledge to gather the right tools and materials, determine your faucet type, and perform successful repairs. Additionally, learn essential preventive maintenance tips and when it’s best to call a professional plumber for more complex issues.
Understanding Common Faucet Issues
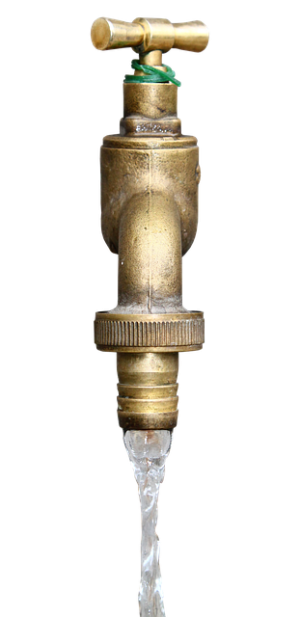
When it comes to residential faucet repair, knowing common issues can help homeowners tackle problems efficiently. Leaks, for instance, are a frequent concern, often caused by worn-out O-rings or cartridges. Dripping water is another classic issue, usually indicating a faulty washer or seal. Both can be easily replaced with the right tools and some basic knowledge.
Additionally, hard water build-up and mineral deposits frequently contribute to faucet issues, leading to reduced water flow and even damage over time. Regular maintenance, such as cleaning these deposits, can prevent more serious problems. Identifying the specific issue is key to effective faucet repair, whether it’s a simple adjustment or a more complex replacement task.
Gather the Necessary Tools and Materials
Before tackling any faucet repair, it’s crucial to gather the right tools and materials. For most residential faucet repairs, you’ll need a few basic tools like adjustable wrenches, pliers, and a new faucet washer or O-ring (depending on the issue). It’s also helpful to have some pipe tape, thread sealant, and a bucket for any water that may spill during the process. These essentials will enable you to effectively diagnose and fix common faucet problems, such as leaks or low water pressure.
When shopping for replacement parts, look for terms like “faucet washer,” “O-ring,” “cartridge,” or “valve seat,” which correspond to different components inside your faucet. Ensuring you have the correct parts is key to a successful repair and preventing future issues. Remember, proper preparation makes any DIY project smoother, so take some time to organize everything before diving into your faucet repair.
Identifying the Type of Faucet You Have

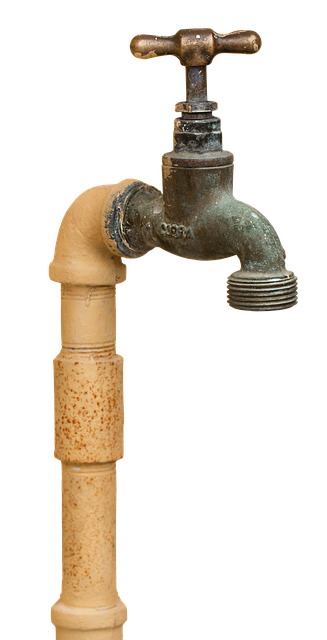
Identifying your faucet’s type is a crucial first step in any faucet repair project. Different models and designs, from single-handle to dual-handle and pull-down spouts, require specific tools and techniques for effective troubleshooting. Understanding these variations ensures you have the right approach for efficient faucet repair.
Examine your faucet’s components carefully. Look for unique features like a separate handle for hot and cold water or a flexible nozzle on the sprayer. These distinguishing characteristics can help you pinpoint the exact type, making it easier to gather the necessary parts and tools for successful faucet repair.
Disassembling the Faucet for Repair
When it comes to faucet repair, disassembling the faulty component is often the first step towards a successful and lasting solution. This process involves carefully removing the faucet from its mounting, separating each part, and inspecting them for any damage or wear and tear. With various types of faucets, such as compression, cartridge, or ceramic disk, the disassembly procedure might vary slightly but typically includes turning off the water supply, unscrewing the faucet handle and spout, and then carefully prying apart the different components.
For many residential faucet repairs, having a clear understanding of how your specific faucet is constructed can be invaluable. Some faucets have a single, easy-to-reach valve under the handle, while others may have multiple parts nested inside the spout or handle. Using the right tools and a step-by-step guide tailored to your faucet model can make this process less daunting. Remember, proper disassembly ensures you can identify the issue accurately and replace only the necessary parts, saving time and money in the long run.
Replacing Faulty Parts Step-by-Step

When it comes to residential faucet repair, replacing faulty parts is often a straightforward process that homeowners can tackle themselves. Before you begin, gather all the necessary tools and replacement parts specific to your faucet model. This might include pliers, wrenches, and new cartridges or valves. Start by shutting off the water supply to prevent leaks during the repair. Then, remove the existing faucet handle and jet, exposing the internal components.
Identify the faulty part(s) such as a worn-out cartridge, damaged washer, or leaking O-ring. Discard the old parts and install new ones according to the manufacturer’s instructions. Make sure all connections are secure and sealed to avoid future leaks. Once the new parts are in place, reattach the faucet handle and jet, then turn on the water supply to test the repair. This step-by-step process for replacing faulty parts can save you time and money, keeping your faucets functioning smoothly.
Tightening Connections and Testing the Faucet
After identifying the faulty component, the next step in faucet repair is tightening connections and testing the faucet. Begin by tightening any loose pipes or fittings using a wrench or pliers. Sometimes, a simple tightening can fix leaks or irregular water flow. Ensure all parts are securely fastened to prevent future issues.
Once the connections are tight, test the faucet by turning it on and checking for any leaks. Observe if water flows smoothly and evenly. If there are still problems, consult a professional plumber as further adjustments might be needed. Regular testing post-repair is crucial in maintaining optimal faucet performance and preventing future disruptions in your daily routines.
Tips for Preventive Maintenance

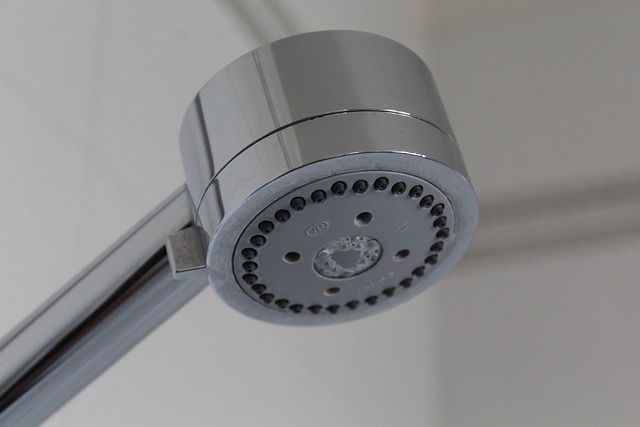
Regular maintenance can significantly extend the lifespan of your residential faucet and prevent costly repairs. Start by checking your faucets periodically for any signs of damage, leaks, or unusual noises. A simple visual inspection can help you identify issues early on. For instance, examine the faucet handles, spout, and supply lines for wear and tear.
Lubrication is a crucial preventive measure. Apply a small amount of silicone grease to the handle stems and shaft to reduce friction and ease movement. Additionally, ensure all connections are secure and tightened properly. Regular cleaning with mild soap and warm water can also prevent mineral buildup, which might lead to reduced water pressure and eventual faucet repair needs.
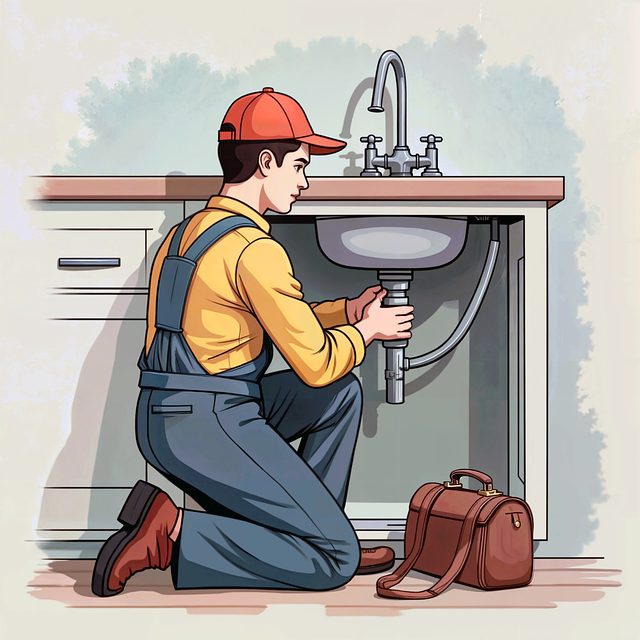
When to Call a Professional Plumber

If your faucet repair involves issues that go beyond simple troubleshooting, it might be time to call in a professional plumber. While many minor leaks or clogs can be addressed by homeowners with some basic DIY skills, complex problems warrant expert attention. For instance, if you’re dealing with severe water pressure issues, mysterious leaks that defy identification, or unusual noises coming from the faucet, these are red flags indicating a deeper problem.
Professional plumbers possess the specialized tools and knowledge to diagnose and fix intricate faucet repair challenges accurately and efficiently. They can identify hidden defects, replace worn-out parts, and ensure your plumbing system operates safely and smoothly. Calling a pro is especially crucial when dealing with hard water buildup, mineral deposits, or corrosion that can lead to structural damage over time if left unattended.