Faucet leaks waste water and money. Common culprits include worn O-rings, washer cartridges, damaged connections, or faulty aerators. Identify leak types for targeted repair. Assemble a toolkit with necessary plumbing tools and parts specific to your faucet model. Regular maintenance—inspecting, lubricating, replacing O-rings, and cleaning—prevents leaks and saves on water bills. For complex leaks or water damage, consult a professional plumber.
Tired of that persistent drip-drip-drip? Don’t worry, you’re not alone. Faucet leaks are a common household nuisance, but they’re also easy to identify and fix with the right knowledge. This comprehensive guide takes you through understanding the causes, identifying the source, and repairing different types of faucet leaks – from O-rings and washers to more complex issues. Learn the necessary tools, follow step-by-step instructions, and gain tips for preventing future leaks. Empower yourself with these handy Faucet Repair skills!
Understanding Faucet Leaks: Common Causes and Types

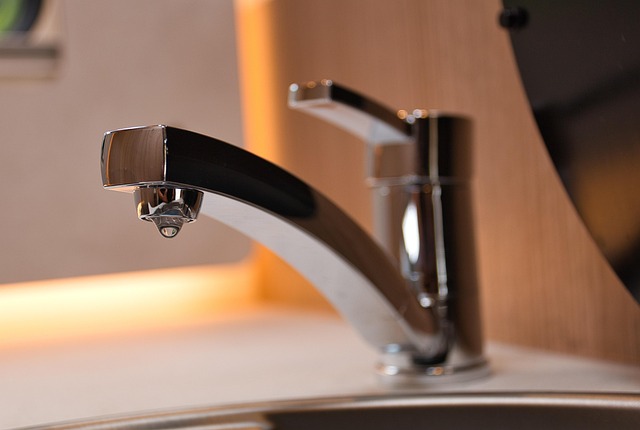
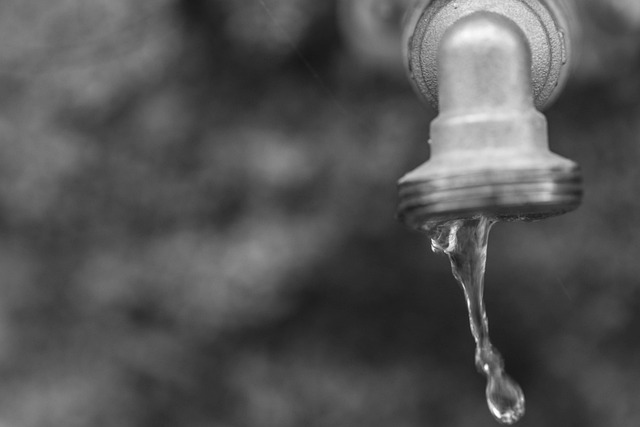
Faucet leaks can range from annoying drips to relentless gushers, causing water wastage and potentially leading to higher water bills. Understanding the common causes and types of these leaks is the first step in effective faucet repair. The most prevalent sources include worn-out O-rings or washer cartridges, particularly in older fixtures. These components regulate water flow and can degrade over time due to mineral buildup, friction, or general wear and tear.
Additionally, leaky faucets may result from damaged or misaligned parts, such as loose connections, broken seals, or faulty aerators. Different types of leaks manifest in various ways – some leak continuously at a steady rate, while others exhibit intermittent drips between uses. Identifying the specific type of leak is crucial for selecting the appropriate repair method, ensuring efficient and effective faucet repair.
Step-by-Step Guide to Identifying the Leak Source

Start by turning off the water supply to your faucet. This is usually done by twisting the valve knobs clockwise until they stop. Next, allow any remaining water in the pipes to drain by opening nearby drains or waiting for the pressure to release. Once drained, disassemble the faucet to inspect its components. Look for signs of corrosion, damaged parts, or any unusual wear that might indicate where the leak is originating from.
Examine the washer, O-ring, and seal within the faucet. These are common areas for leaks to occur. If you spot any damage or debris, clean or replace these parts accordingly. Double-check all connections and tighten any loose fittings. After reassembling the faucet, turn on the water supply and test the repair by turning on the faucet to see if the leak has been successfully identified and stopped.
Tools and Materials Required for Repair
When it comes to faucet repair, having the right tools and materials is essential for a successful and efficient fix. Here’s what you’ll need in your toolkit:
1. Basic Plumbing Tools: This includes a wrench or pliers for gripping and turning fittings, an adjustable or pipe wrench for tight spots, and a slip joint or teardrop wrench for adjusting nuts. Don’t forget a set of screwdrivers, as various faucets may require Phillips or flathead screws.
2. Gaskets and Washers: These are common replacement parts for leaks. You’ll need O-rings, faucet gaskets, or seal washers specific to your faucet model. Ensure you get the correct size and type to prevent future leaks.
3. Faucet Disassembly Parts: Depending on the age and type of your faucet, you might need O-rings, cartridges, or valve seats. These parts are often specific to the faucet’s make and model, so check the manufacturer’s instructions or consult a hardware store for the right replacements.
4. Plumbing Sealant or Thread Sealer: This product is applied to threads to create a watertight seal and prevent leaks at connections. It’s a must-have for any faucet repair project.
5. Wipes and Cleaning Solutions: Before disassembling, clean the faucet’s components with rubbing alcohol or a plumbing cleaning solution to ensure no residue or dirt affects the repair.
Fixing Different Types of Faucet Leaks

Replacing O-Rings and Washers: A Detailed Process
When it comes to faucet repair, replacing O-rings and washers is often a quick and effective solution for a leaking tap. This process involves accessing the internal components of your faucet, which may require some basic tools and patience. First, turn off the water supply to your faucet. Then, disassemble the faucet by removing any decorative covers or handles, revealing the main body. Locate the O-rings and washers, typically found near the spout and base of the faucet. These are essential seals that prevent water leakage.
With the old O-rings and washers removed, you’ll need to clean the area thoroughly before inserting new ones. Ensure there’s no debris or residue left over from the previous components. Once clean, carefully place the new O-rings and washers into their respective positions. Double-check their placement to ensure they’re aligned correctly. Reassemble the faucet, making sure all parts are securely in place. Finally, turn on the water supply and test the repair by turning on the tap to confirm there’s no more leakage.
Preventing Future Faucet Leaks: Maintenance Tips

Regular maintenance is key in preventing future faucet leaks. Start by inspecting your faucets periodically for any signs of damage, corrosion, or wear and tear. Lubrication is often all that’s needed to keep valves running smoothly. Keep an eye on O-rings and washer replacements, as these are common sources of leaks.
Additionally, consider using water-saving aerators, which mix air with water to maintain pressure while reducing flow. Regular cleaning of the faucet’s sprayer or nozzle can also prevent clogs and ensure optimal performance. Remember, proactive measures like these not only save you from messy leaks but also lower your water bills.
When to Call a Professional Plumber
If a simple turn of the faucet handle doesn’t fix your leak, or if water damage is already evident around the base of your faucet, it’s time to consider calling a professional plumber. While minor leaks can often be easily fixed by homeowners using DIY methods, more complex issues require specialized knowledge and tools. A professional plumber will have the expertise to diagnose and address the root cause of the leak, whether it’s due to faulty parts, loose connections, or even older plumbing infrastructure that needs replacing.
Don’t delay in reaching out to a pro if you notice persistent or worsening leaks. The longer a leak goes unattended, the more water—and potentially damage—it can waste. Plus, some leaks can lead to significant structural issues over time, making prompt repair essential. A professional will ensure your faucet is not only repaired but also sealed tightly to prevent future leaks and the associated costs and hassles.