
This text provides a comprehensive guide to faucet repair, emphasizing DIY capabilities and essential tools for common issues like leaky handles and washers. It highlights the importance of early action, correct toolsets (including kits for complex repairs), accurate issue identification through observation and disassembly, and regular maintenance to prevent damage and prolong faucet life. While encouraging DIY repairs for minor problems, it cautions against attempting complex or damaged fixture fixes without professional expertise, emphasizing the need for expert intervention for excessive water damage or unique fixtures.
Tired of leaky faucets that waste water and increase your bills? Learn how to tackle common faucet issues with our comprehensive guide. From identifying drips to replacing faulty parts, we equip you with the knowledge needed for effective emergency faucet repairs.
Discover essential tools and materials, understand different problems, and explore troubleshooting tips for even the most challenging situations. By following these steps, you can save money and extend your faucet’s lifespan – all without calling a professional plumber for every minor issue.
Understanding Common Faucet Issues

Leaky faucets are a common household issue, often caused by worn-out O-rings or washers inside the faucet. These simple parts can be easily replaced during a faucet repair, stopping the drip and saving water. Other typical problems include tight or stuck handles, which may indicate loose internal components that need adjustment or replacement.
Prompt action on these issues is recommended to prevent further damage. Regular maintenance, such as cleaning the aerator and checking for leaks, can also prolong the life of your faucet. Recognizing common faucet repair needs allows homeowners to tackle basic repairs themselves, saving time and money, and ensuring a steady, reliable water flow in their homes.
Tools and Materials Required for Repair
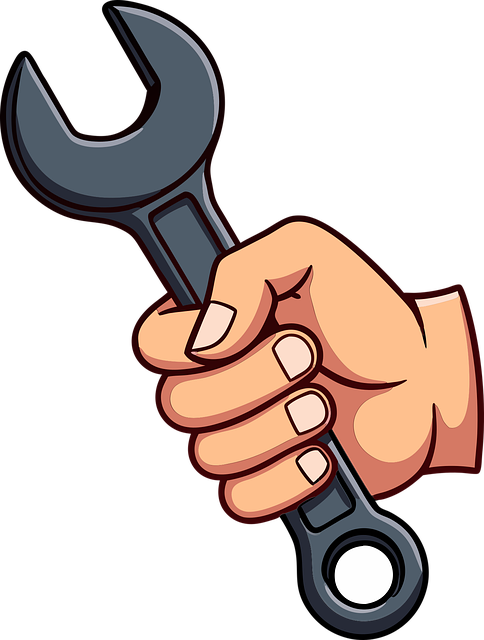
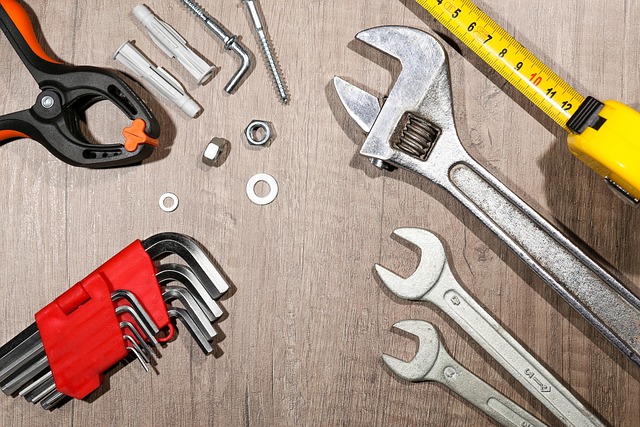
When it comes to emergency faucet repairs, having the right tools and materials is essential for a successful fix. The most common items needed include pliers, channel locks (or adjustable wrenches), a replacement washer or O-ring, and sometimes a new faucet stem. These tools allow you to disassemble the faulty faucet, locate the damaged parts, and make the necessary replacements.
For more complex repairs, especially with modern faucets, you might require specialized tools like a faucet repair kit, which often includes various size wrenches, screwdrivers, and other small accessories. Having these on hand ensures that you’re prepared to tackle a wide range of faucet issues efficiently.
Steps to Identify the Problem
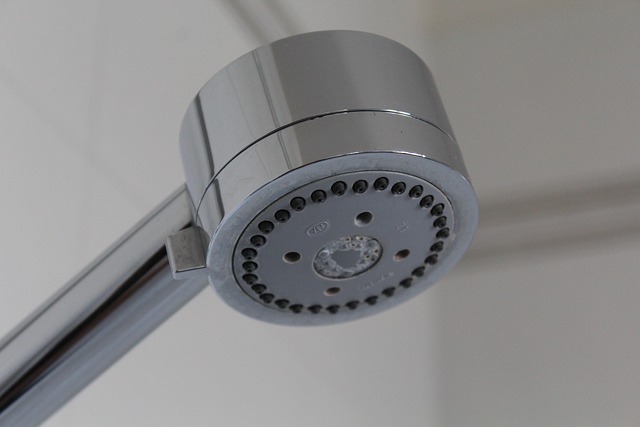
If you’re experiencing issues with your emergency faucet, it’s crucial to identify the problem accurately before attempting any repair. Start by observing the faucet closely; any unusual noises, like clicking or dripping, could indicate worn-out parts. Check for leaks around the base of the faucet, as this is a common sign of internal damage. Run hot and cold water separately to see if one temperature causes more problems, helping you pinpoint potential issues with temperature controls. Also, pay attention to how quickly the faucet fills the sink; a slow flow could suggest mineral buildup or a faulty aerator.
Once you’ve noted these observations, test the faucet’s settings. Try adjusting the temperature and pressure to see if the issues are related to these controls. Inspect the faucet’s components for any visible damage or corrosion, especially around the cartridge or valve stems. If you’re comfortable doing so, remove the faucet handle and aerator to examine internal parts for wear and tear. Remember, identifying the specific problem is the first step towards efficient and effective emergency faucet repair.
Fixing Leaks: Drips and Beyond
Leaky faucets are more than just an annoyance; they can lead to significant water waste and increased utility bills. If you’re dealing with drips or a steady stream, it’s time to address the issue. The first step is to identify the source of the leak, which could be as simple as a loose washer or O-ring. These components are often the culprit behind minor leaks, and replacing them is usually a straightforward faucet repair that can be done with basic tools.
For more complex leaks, such as those involving the stem or cartridge, you might need to disassemble the faucet. This process requires a bit more skill and knowledge of plumbing. If you’re comfortable with DIY projects, many online resources offer detailed instructions for specific faucet models. Alternatively, professional faucet repair services can handle these more intricate repairs, ensuring the job is done right and minimizing disruption to your daily routine.
Replacing Faulty Parts: A Guide

When tackling faucet repairs, one of the most common tasks is replacing faulty parts. This process can vary slightly depending on the type of faucet and its design but generally follows a straightforward set of steps. First, identify the specific part that needs replacement—whether it’s the washer, O-ring, cartridge, or aerator. Each of these components serves a unique purpose in ensuring smooth water flow and preventing leaks. Once you’ve determined the faulty part, gather the necessary tools, which often include pliers, screwdrivers, and possibly a new faucet repair kit.
Next, shut off the water supply to your faucet to avoid any accidents or messes during disassembly. After that, remove any decorative covers or caps, then carefully take apart the faucet according to its design. For example, with a washer replacement, you might need to twist out the old washer and replace it with a new one, ensuring proper alignment. Cartridge faucets involve removing the cartridge housing and spring, while aerators can be unscrewed for easy cleaning or replacement. Always refer to your faucet’s manual or online resources for detailed instructions specific to your model.
Troubleshooting Hard-to-Reach Problems

When it comes to faucet repairs, some issues can be more challenging to diagnose and fix, especially in hard-to-reach areas. If you’re facing problems with an old or complex faucet setup, troubleshooting might feel like a daunting task. However, many common issues have simple solutions.
First, check for loose connections behind the faucet. Over time, these parts can become unfastened, causing water leaks and irregular flows. Tightening these connections often resolves such issues. Additionally, inspect the aerator or strainer for any debris buildup, which could restrict water flow. Cleaning or replacing it might be all it takes to restore your faucet’s functionality. Remember, basic troubleshooting techniques are key to managing many minor faucet repair problems effectively.
When to Call a Professional Plumber

If you’re faced with a leaky faucet, it’s tempting to try and fix it yourself, especially for minor issues like loose handles or low flow. However, there are times when DIY methods aren’t sufficient, and calling a professional plumber is the best course of action. For complex faucet repair involving damaged parts, corrosion, or unique fixtures, a licensed plumber has the expertise and tools to address these challenges effectively.
Additionally, if you notice excessive water damage beneath your sink or around the base of the faucet, it could indicate a bigger problem with pipes or the water supply line. In such cases, professional intervention is crucial to prevent further damage and costly repairs down the line.
Maintenance Tips for Longevity

Regular maintenance is key to ensuring your faucet’s longevity and preventing costly repairs. A simple routine can go a long way in keeping your fixtures in top condition. Start by checking for any leaks around the base and handles regularly, as even tiny drips can lead to significant water waste over time. Tighten any loose parts or replace worn-out O-rings or washers to maintain proper sealing.
Additionally, keep an eye on the faucet’s finish, especially if it shows signs of corrosion or rust. Regular cleaning with mild detergent and a soft cloth helps maintain its aesthetic appeal. For older faucets, consider descaling them periodically to prevent mineral buildup, which can affect their performance. These preventive measures will not only save you from unexpected breakdowns but also ensure your faucet remains functional and efficient for years to come, thus saving on costly faucet repair services.