
This text offers a comprehensive guide to faucet repair, emphasizing preventive maintenance and DIY solutions. It highlights common issues like leaky faucets, dripping, and pressure problems, attributing them often to worn O-rings, washers, or cartridges. The text recommends keeping essential tools (adjustable wrenches, pliers) and considering faucet repair kits for efficient troubleshooting and repairs. Step-by-step instructions are provided for fixing leaks, replacing parts, and addressing flow issues. Regular maintenance, including flushing, leak checks, and lubrication, is encouraged to prolong faucet life. For complex cases, professional plumbers are advised for specialized care.
Faucet leaks, drips, and broken components can turn a minor inconvenience into a major headache. Understanding common faucet issues is the first step towards effective repairs. This guide covers everything from identifying and fixing leaks to replacing old parts and maintaining longevity. Armed with the right tools and knowledge, you can tackle basic faucet repair yourself, saving time and money. For more complex problems, know when to call in a professional plumber. Follow safety measures to ensure a smooth and successful DIY faucet repair experience.
Understanding Common Faucet Issues

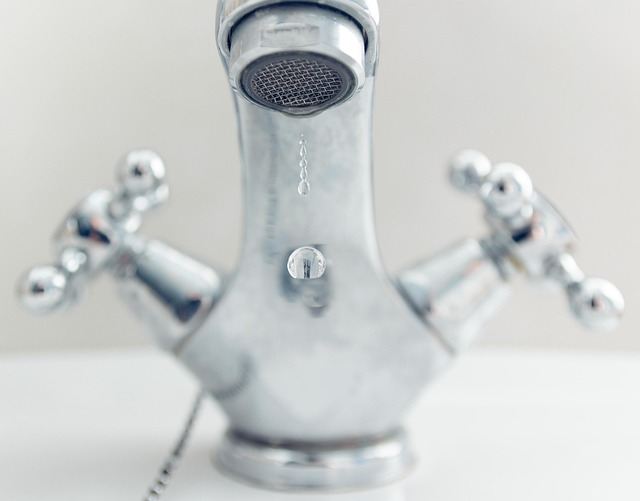
Leaky faucets are a common household issue, often caused by worn-out O-rings or washers inside the faucet. These components can degrade over time due to rust, mineral buildup, or normal wear and tear. Another typical problem is a blocked drain or sink trap, which can lead to slow drainage or complete clogs. Such blockages may be caused by food debris, hair, or other foreign objects.
Proper maintenance and regular checks can help prevent these issues. However, when faucet repairs are needed, it’s essential to identify the specific problem before attempting any fix. Homeowners should familiarize themselves with basic plumbing tools and techniques or consult a professional plumber for more complex tasks related to faucet repair.
Tools Required for Faucet Repair
When tackling a faucet repair, having the right tools is essential for a successful and smooth process. While the specific tools needed may vary depending on the type of faucet and the extent of the issue, there are some common tools that every homeowner should have on hand. A basic set includes adjustable wrenches in various sizes, as these are indispensable for tightening or loosening pipes and fittings. Pliers are another must-have, especially for gripping and manipulating small parts like O-rings and washer segments.
A useful addition is a faucet repair kit, which often contains specialized tools tailored to common faucet problems. This might include a set of precision screwdrivers, a replaceable washer or O-ring, and even a new cartridge if the issue is more severe. Having these tools readily available can save time and frustration when faced with a leaking or malfunctioning faucet, making DIY repairs more accessible for everyone.
Step-by-Step Guide to Fixing a Leaking Faucet
Fixing a leaking faucet is an easy DIY project that can save you money and help conserve water. Here’s a step-by-step guide to tackling this common faucet repair:
1. Turn Off the Water Supply: Before beginning, shut off the water valves located under the sink or where the faucet connects to the pipes. This prevents water from spilling out during the repair process and ensures a neat job.
2. Disassemble the Faucet: Remove any decorative covers or handles. Depending on your faucet’s design, you might need a wrench or screwdriver for this step. Next, locate the packing nut—a small nut usually under the faucet handle or at the base of the spout. Loosen and remove it with the appropriate tool, taking note of how it was positioned.
3. Identify the Source of the Leak: Leaks can originate from various parts: O-rings, cartridges, or gaskets. Inspect these components for any signs of wear, damage, or debris.
4. Replace the Faulty Part(s): If your faucet uses replaceable cartridges, simply remove the old one and insert a new one. For older designs with O-rings, clean the area, apply a small amount of thread sealant, and replace the rings. Always refer to your faucet’s manual or seek online guidance for specific part replacements.
5. Reassemble the Faucet: Once the new parts are in place, tighten the packing nut securely but avoid over-tightening. Put back the handles and covers, ensuring they are correctly aligned.
Addressing Dripping Faucets: A Comprehensive Approach
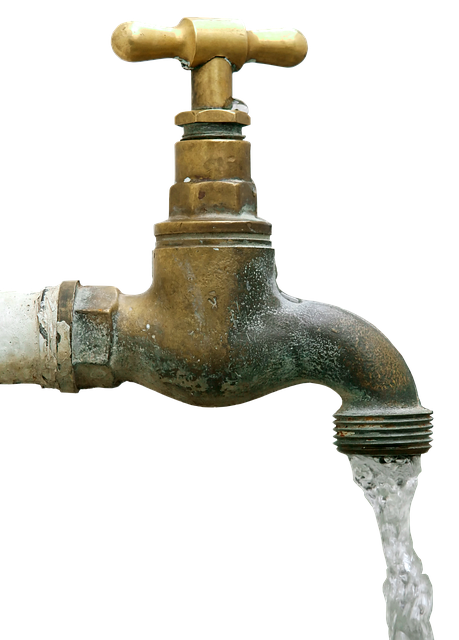
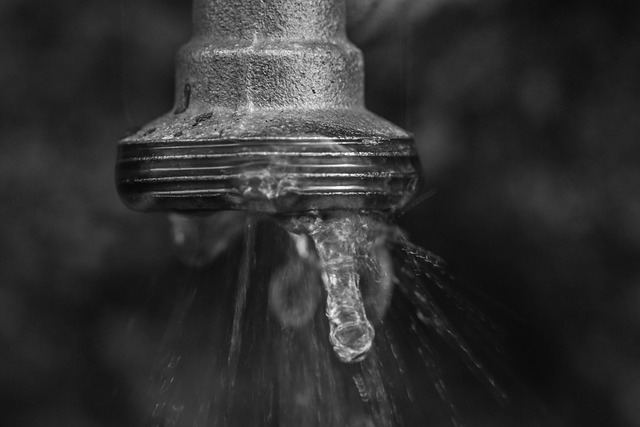
Dripping faucets are a common household issue that, if left unattended, can lead to significant water waste and increased utility bills. Addressing this problem requires a comprehensive approach that goes beyond mere tightening of the faucet handle. The first step is to identify the source of the leak—whether it’s from the base, spout, or cartridge. This often involves disassembling the faucet to inspect each component for damage or wear.
Once the issue is pinpointing, repairs can range from replacing a simple O-ring or washer to more complex tasks like fixing or replacing the entire faucet cartridge. Using the right tools and following manufacturer instructions ensures successful repairs. Regular maintenance, such as tightening connections and lubricating parts, can also prevent future leaks. Timely action not only saves water but also prolongs the life of your faucet, making it a cost-effective solution for any DIY enthusiast.
Replacing Old or Damaged Faucet Components
When dealing with emergency faucet repairs, one of the most common issues is old or damaged components. Over time, faucet parts can wear out, especially in hard water areas, leading to leaks and reduced functionality. The good news is that replacing these components is often a straightforward process that homeowners can tackle themselves.
The first step is to identify the specific problem part, such as the cartridge, washer, or valve stem. Once determined, you can easily purchase replacement parts from your local hardware store. Many modern faucets also come with easy-to-follow installation guides, making the repair process more accessible. By replacing these old or damaged components, you not only fix the immediate issue but also extend the life of your faucet, saving you time and money on future repairs.
Troubleshooting Faucet Pressure and Flow Problems
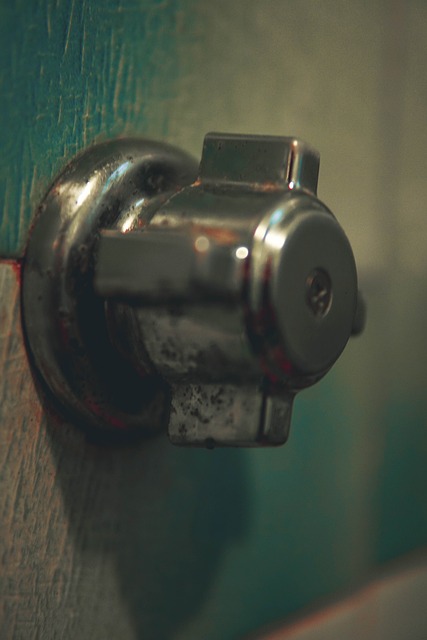
Many faucet pressure and flow issues can be easily resolved through basic troubleshooting techniques for faucet repair. Start by checking the water supply valves under the sink; ensure they are fully open, as a partial closure can significantly reduce water pressure. Leaks or drips from these valves should also be addressed, as they can indicate worn-out O-rings or damaged parts. Next, inspect the aerator on the faucet head. Sometimes, mineral buildup or debris can clog the small holes, restricting water flow. Remove and clean the aerator using a soft cloth or brush to restore proper pressure and flow.
If these initial checks don’t resolve the problem, consider the condition of the supply lines. Over time, these flexible pipes can become crushed or kinked, obstructing water flow. Inspect them for any visible damage or indentations, and replace if necessary. Additionally, check for air traps in the plumbing, as they can cause pressure variations and affect water flow. Clearing or adding air traps as needed may help restore optimal faucet performance.
Tips for Maintaining Your Faucet's Longevity
Regular maintenance is key to extending the life of your faucet and avoiding costly repairs. A simple yet effective step is to ensure you flush the faucet periodically, especially if it’s in a heavily used area like a kitchen. Debris and mineral buildup can accumulate over time, leading to reduced water flow and potential damage. Regularly checking for any leaks is another crucial habit. Even a tiny drip can translate to significant waste over time and could indicate a more severe issue.
Additionally, keeping the faucet’s components clean and well-lubricated can prevent premature wear and tear. This includes the handles, valves, and spout. A gentle wipe down with a cloth or a soft brush can remove mineral deposits and dirt. Applying a thin layer of lubricant suitable for plumbing fixtures can help maintain smooth operation. These simple practices will not only prolong your faucet’s lifespan but also ensure better performance and minimize the need for emergency faucet repairs.
When to Call in a Professional Plumber
If you’ve attempted basic troubleshooting and are still experiencing issues with your faucet repair, it’s time to consider calling in a professional plumber. While DIY repairs can save costs, complex leaks or clogged pipes often require specialized tools and knowledge that are beyond the scope of an amateur. A seasoned plumber can swiftly diagnose problems, whether it’s a broken washer, faulty valve seats, or corroded pipes.
Professionals have the expertise to handle even the trickiest faucet repair situations, ensuring long-lasting solutions. They’ll possess access to high-quality parts and state-of-the-art equipment, resulting in efficient repairs that can prevent further damage and costly replacements down the line.
Ensuring Proper Safety Measures During Faucet Repairs

When undertaking emergency faucet repairs, safety should always be the top priority. Before beginning any work, ensure that the water supply to the affected faucet is turned off at the main shut-off valve. This critical step prevents unexpected water gushes or floods during the repair process, which could lead to slips, falls, or even more severe injuries. Wearing protective gear, such as gloves and eye protection, is equally essential to safeguard against debris, chemicals, or potential splashes.
Furthermore, have a clear understanding of your plumbing system and the tools required for the job. If you’re unfamiliar with faucet repairs, consider seeking professional assistance to avoid causing further damage or posing safety risks. Always refer to reputable repair guides or consult with a certified plumber who can offer expert advice tailored to your specific situation, ensuring a successful and safe Faucet Repair.