
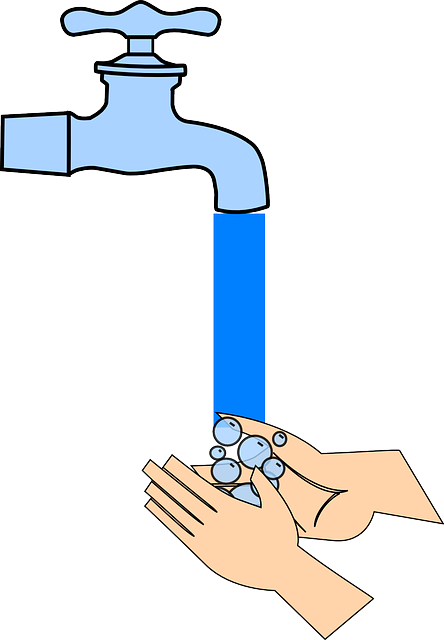
Faucet repair is a manageable DIY task addressing common issues like leaks, low pressure, and temperature control problems. Regular maintenance, including tightening connections and checking for leaks, extends faucet lifespan. Before repairing, identify your faucet type (compression or cartridge), gather tools, and turn off water supply valves. Replace worn O-rings, cartridges, and sprayer nozzles; inspect reassembled parts for leaks. Regular monthly inspections and a kit with essential parts facilitate proactive maintenance, saving costs compared to emergency repairs.
Looking to tackle that pesky kitchen faucet leak or loose sprayer? This comprehensive guide breaks down the complex world of faucet repair, providing a step-by-step approach for both beginners and seasoned DIYers. From identifying common issues to mastering reassembly, you’ll discover the essential tools, parts, and techniques for fixing your faucet efficiently. Enhance your skills with expert tips for ongoing maintenance, ensuring years of reliable service from your kitchen faucet. Learn how to navigate this process with confidence—it’s easier than you think!
Understanding Common Faucet Issues
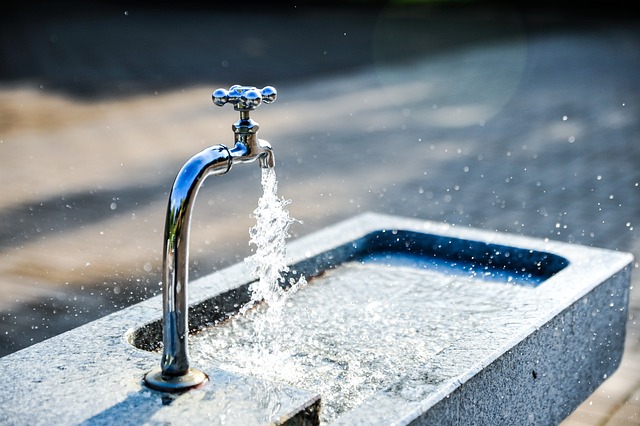
Faucet repair is a common home maintenance task, often involving addressing issues with leaks, low water pressure, or faulty temperature control. Understanding these problems is the first step in fixing them. Leaks are usually caused by worn-out O-rings or cartridges, parts that require replacement to stop water from escaping. Low water pressure can result from mineral buildup in the aerator, a simple fix involving disassembly and cleaning. Temperature control issues often stem from damaged or incorrect settings within the faucet’s internal components, which may need professional attention for precise adjustments.
By recognizing these typical problems, homeowners can take proactive measures to prevent major disruptions and costly repairs. Regular maintenance, such as tightening connections and checking for leaks, can prolong the lifespan of kitchen faucets. Knowing what common issues to look out for empowers you to tackle minor problems early on, ensuring your faucet remains in top condition for years to come.
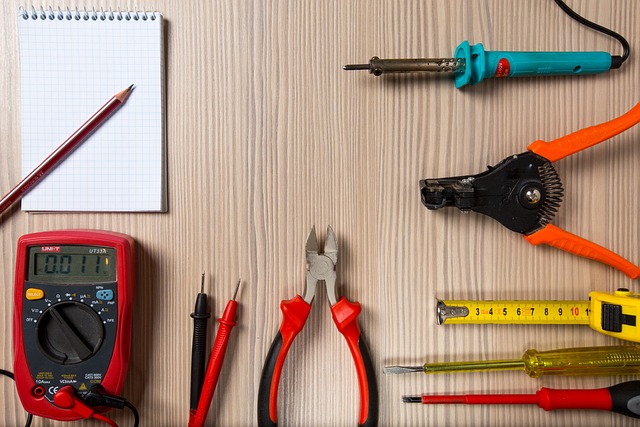
Gather Tools and Materials for Repair
Before starting any faucet repair, make sure you have all the necessary tools and materials. This typically includes a wrench or pliers for removing parts, replacement seals or O-rings, and sometimes new cartridges or valves. Having these on hand will save time and ensure your repair goes smoothly. When gathering your supplies, consider the specific type of faucet you’re dealing with—some common types include compression, cartridge, and ball valves—as this will help you find the right replacement parts.
For a successful faucet repair, organization is key. Gather all components in one place to avoid misplacing any small parts. Double-check that you have everything needed before beginning the process. This might involve consulting an online guide or contacting a plumber for advice on specific tools and materials required for your unique faucet model. Remember, proper preparation prevents potential headaches during the repair process, ensuring a more efficient and effective Faucet Repair.
Identifying the Type of Faucet You Have
Identifying your kitchen faucet’s type is a crucial first step in any repair process. Different faucets have unique designs and components, making specific repair methods applicable only to certain types. Take note of the faucet’s handle style—are they single-handle or dual-handle? Observe the spout’s shape and the presence of additional features like side sprayers or pull-down nozzles. These details will help you determine whether your faucet is a standard, compression-type design or a more modern cartridge model.
Each type requires specific tools and knowledge for repair. For example, compression faucets typically use O-rings or washer-based mechanisms that can be easily replaced with common household tools. In contrast, cartridge faucets have a more complex internal structure, often requiring specialized tools and a step-by-step guide to avoid damaging the cartridge. Accurately identifying your faucet’s type will ensure you’re equipped with the right knowledge and tools for an effective and successful faucet repair.
Step-by-Step Guide to Disassembling the Faucet
To begin disassembling your kitchen faucet for repair, gather your tools and materials – you’ll need a wrench or pliers, Teflon tape, and possibly a replacement cartridge if needed. Turn off the water supply valves located under the sink before starting to avoid any accidents. Remove the faucet handle by unscrewing it counterclockwise with either a wrench or pliers. Next, locate and unscrew the base of the faucet using the appropriate tool. Once the base is removed, you’ll see various components – take note of their placement as this will help in reassembly. Gently pull out the cartridge from its housing; it might be slightly stuck due to mineral build-up or old tape residue. Clean the cartridge and its housing thoroughly before applying new Teflon tape around the threads for a secure seal upon reassembly.
Replacing Faulty Parts: A Comprehensive Breakdown

When undertaking a faucet repair, one of the most common issues is faulty parts, which can range from damaged or worn-out O-rings and cartridges to a broken sprayer nozzle. Replacing these parts is often a straightforward process that many homeowners can handle themselves with minimal tools and a few simple steps.
For instance, an O-ring replacement involves turning off the water supply, disassembling the faucet, removing the old O-ring, and installing a new one. Cartridge replacements are similar but may require additional steps to reset the faucet’s settings. A broken sprayer nozzle can be easily replaced by unscrewing the old one, acquiring a compatible replacement, and screwing in the new nozzle. Regular maintenance and timely replacements of these parts can significantly extend the life of your faucet and prevent more complex faucet repair issues down the line.
Reassembly and Testing Procedures
After disassembling your kitchen faucet, carefully inspect all components for damage or wear. Replace any faulty parts and ensure everything is in proper working order before reassembly. Begin by aligning the faucet’s base with the sink and securing it in place using the provided hardware. Next, reconnect the water lines, ensuring a tight seal to prevent leaks. Reattach the spout, making sure it’s securely fastened. Once all parts are assembled, test the faucet thoroughly. Turn on the water supply and check for any drips or leaks at the base, handles, or spout. Adjust as needed until the faucet functions smoothly without any leaks. If you encounter issues, double-check your connections and consider consulting a professional Faucet Repair service.
Maintenance Tips for Future Faucet Care
Regular maintenance is key to preventing future faucet repairs. Start by inspecting your faucet for any signs of damage or leaks on a monthly basis. Even a small drip can lead to significant water waste and increased bills over time. Addressing issues early will save you from more complex repairs down the line.
Keep a kit with essential tools and replacement parts handy, including O-rings, washers, and valve cartridges specific to your faucet model. Periodically lubricating the faucet’s internal components with silicone grease can also help maintain its functionality. Remember, routine care is far easier and less costly than emergency repairs, so make it a habit to check and maintain your faucet regularly.