
This text offers a comprehensive guide to troubleshooting and repairing faucet cartridges, emphasizing proactive measures for maintaining consistent water flow. Key points include identifying cartridge types, preparing for repair with necessary tools and materials, safely disassembling and removing old cartridges, replacing them with compatible new ones, and testing the faucet's functionality after repair. Regular maintenance practices like checking for debris or mineral buildup and ensuring proper cartridge alignment are also highlighted to prevent future issues. For complex repairs, the text recommends consulting a professional plumber.
Looking to fix that leaky faucet? Understanding and replacing your faucet cartridge is a straightforward process that can save you time and money. This guide breaks down every step, from identifying cartridge failure and its causes to gathering the right tools and testing water flow after replacement. By following these simple instructions on faucet repair, you’ll be back to enjoying a smooth, leak-free flow in no time.
Understanding Faucet Cartridge Failure and Its Causes

Many homeowners might wonder why their faucet cartridges fail over time, leading to the need for a replacement during routine faucet repair. Cartridge failure can be attributed to several factors. One common cause is mineral buildup from hard water, which can lead to corrosion and damage to the internal components of the cartridge. Over time, these parts may start to wear out or become clogged, affecting the faucet’s functionality. Another reason could be an improper installation or tightening, resulting in leaks or a faulty seal.
Additionally, frequent temperature fluctuations, especially in areas with extreme climate changes, can cause thermal shock, leading to cartridge failure. The sudden expansion and contraction of water within the cartridge can cause stress on its components, eventually rendering it inefficient or non-functional. Recognizing these potential issues is vital for proactive faucet repair and ensuring a steady water flow without disruptions.
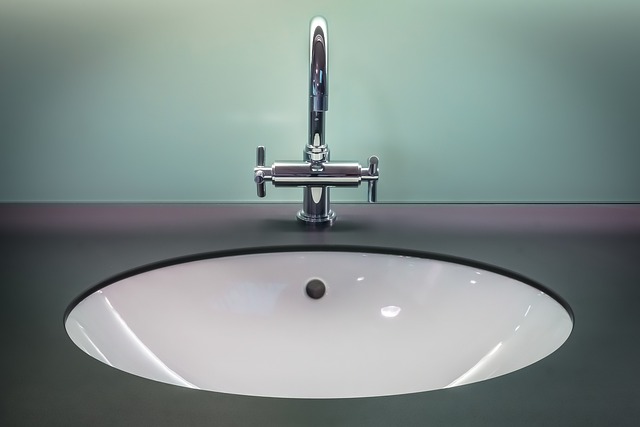
Identifying Your Faucet's Cartridge Type

Identifying your faucet’s cartridge type is a crucial step in any faucet repair project. Different faucets use distinct cartridges designed for specific flow rates, temperature control, and water conservation features. Knowing which cartridge your faucet needs will ensure you purchase the right replacement part, guaranteeing a seamless and effective faucet repair.
Start by examining your existing cartridge for any markings or labels that could indicate its model number or type. Many manufacturers also provide detailed diagrams on their websites, allowing you to compare and identify your cartridge based on its physical characteristics, such as size, shape, and the number of holes or ports. If your faucet is an older model, consult a professional plumber or refer to the original installation manual for accurate identification.
Gathering Necessary Tools for Replacement

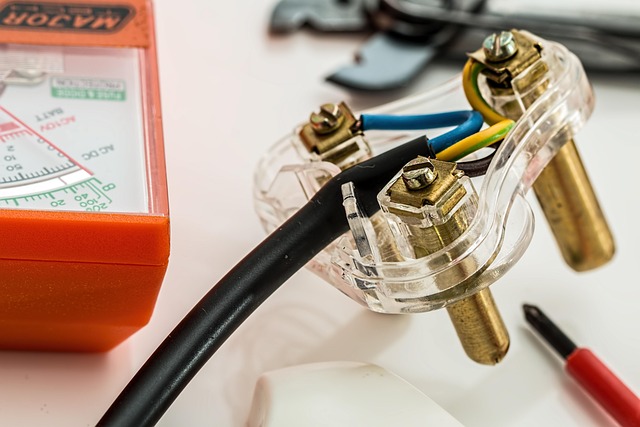
When it comes to faucet cartridge replacement, being prepared is key. Before beginning any faucet repair, gather your tools and materials to ensure a smooth process. You’ll typically need a few basic items like a wrench or pliers for unscrewing parts, a new cartridge that’s compatible with your faucet model, and possibly some thread seal tape or pipe compound. It’s also helpful to have an adjustable wrench on hand for tighter fits.
Remember to turn off the water supply before starting any faucet repair. This prevents leaks and makes the job safer. Once you’ve gathered your tools, follow these simple steps: remove the old cartridge (usually by unscrewing it counterclockwise), clean the faucet’s internal components, insert the new cartridge, and test the water flow afterward.
Disassembling the Faucet to Access the Cartridge

To access and replace your faucet cartridge, the first step in any faucet repair is disassembling the faucet. This process varies slightly depending on the type of faucet you have, but many share common features. Start by turning off the water supply to your faucet using the shut-off valves located under the sink. Then, with the help of a wrench or pliers, carefully remove the faucet handle and any decorative caps or covers. Once these are removed, you’ll typically find the cartridge—a small, cylindrical component—exposed. Disassembling the faucet further may involve unscrewing a stem or other parts to fully access the cartridge for removal and replacement.
Properly identifying your faucet model and understanding its unique disassembly process can simplify this step in the faucet repair process. Referring to your faucet’s owner’s manual or searching online for specific instructions related to your make and model is highly recommended before beginning any disassembly. This ensures a smoother, more successful replacement of your faucet cartridge.
Removing the Old Cartridge Safely
When it comes to faucet cartridge replacement, safely removing the old one is a crucial step in the faucet repair process. Begin by turning off the water supply to your faucet. This can typically be done by closing the valves located under the sink or at the base of the faucet. Once the water is shut off, you can start disassembling the faucet. Use a wrench or pliers to carefully remove the old cartridge without damaging it or the surrounding components. It’s essential to handle the cartridge with care as it may still contain residual water pressure that could cause damage.
To prevent any accidents, place a bucket or towel underneath to catch any leftover water. After removing the old cartridge, inspect the faucet’s internal parts for any debris or corrosion. This visual check will help you identify any additional repair needs and ensure a smooth replacement process.
Installing a New Cartridge: Step-by-Step Guide

Installing a new faucet cartridge is a straightforward process that can help extend the life of your faucet and improve its performance. Here’s a step-by-step guide to ensure a smooth faucet repair:
1. Turn off the water supply: Before you begin, it’s crucial to shut off the water valves connected to your faucet. This prevents leaks and makes the installation process safer. Most faucets have two valves under the sink; turn them clockwise to close them.
2. Remove the old cartridge: Locate the cartridge behind the faucet handle. It’s usually a small, cylindrical component. Use a suitable tool or a pair of pliers to carefully remove it. Note the position of any springs or O-rings for easy reassembly.
3. Prepare the new cartridge: Unwrap your new cartridge and compare it to the old one. Ensure they are identical models. If necessary, clean the faucet’s internal components with a mild detergent to remove any buildup.
4. Install the new cartridge: Position the new cartridge in the same orientation as the old one. Line up the holes for the supply lines and secure it in place using the provided screws or nuts. Make sure everything is tight but not overly so to avoid damage.
5. Reconnect the water supply: Open each water valve slowly, checking for any leaks. If there are none, your faucet repair is complete! Test the faucet by turning on the water and adjusting the handle to ensure smooth operation.
Testing and Adjusting Water Flow Post-Replacement
After successfully replacing your faucet cartridge, it’s crucial to test and adjust the water flow to ensure everything functions as expected. Start by turning on the water supply valves located under the sink – remember that some cartridges require you to turn off both hot and cold before replacement, so make sure they’re in the open position for testing. Observe the water pressure; a steady, adequate flow indicates successful installation. If the water pressure is too low or inconsistent, there might be an issue with the new cartridge or aerator. Check for any leaks at the connections as well – even a small drip can disrupt your normal routine and lead to waste.
Adjusting the water temperature is another important step in faucet repair. Ensure that hot and cold water mix evenly to achieve the desired temperature. Sometimes, a simple twist of the handle can help calibrate the temperature settings. If you notice significant variations or cannot regulate the temperature, you may need to realign or adjust the cartridge components, following the manufacturer’s instructions for precise adjustments.
Common Troubleshooting Tips for Faucet Cartridge Issues

When dealing with faucet cartridge issues, several common troubleshooting tips can help streamline the faucet repair process. First, check for any visible debris or mineral buildup inside the cartridge housing. Over time, these deposits can restrict water flow, leading to reduced water pressure or even complete malfunction. Gently removing and rinsing the cartridge can often resolve this problem.
Additionally, ensure that the cartridge is properly seated in the faucet’s valve body. A loose or incorrectly installed cartridge can cause leakage or failure to dispense water. Most cartridges have alignment marks or clear indications for proper installation. Double-checking these connections can prevent future faucet repair headaches and ensure a secure fit.
When to Call a Professional Plumber
If you’ve tried basic faucet repair techniques and still can’t get your cartridge working properly, it might be time to call in a professional plumber. While many faucet repairs are simple DIY projects, complex issues like stubborn or corroded cartridges often require specialized tools and knowledge. A professional plumber has the expertise to diagnose any hidden problems and ensure that your faucet is repaired correctly and safely.
Additionally, if you’re dealing with unusual noises, excessive water leakage, or signs of damage to your pipes, these could be indicators of deeper plumbing issues that are best handled by a licensed expert. Regular maintenance and prompt attention to such issues can prevent further damage and costly repairs down the line, making it worthwhile to seek professional assistance when needed for faucet repair.