
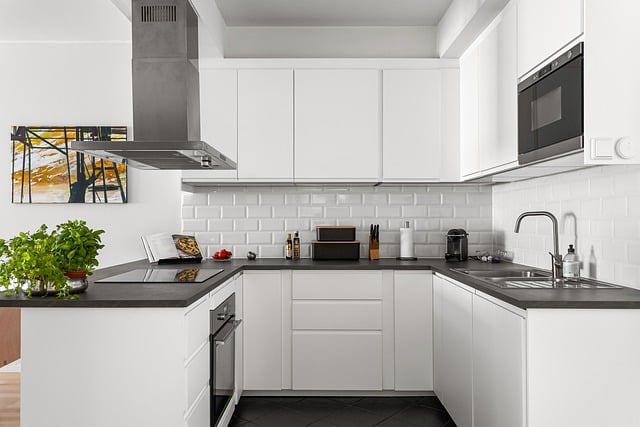
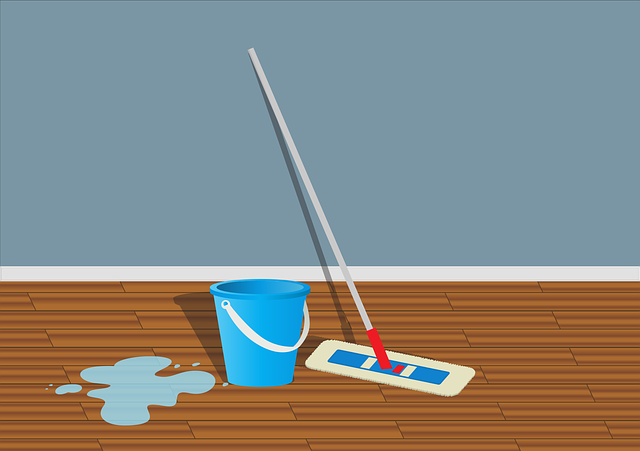
Understanding your kitchen floor type (vinyl, natural stone, wood) is crucial for efficient cleaning. Invest in specialized tools like a vacuum, floor scrubber, mop, and eco-friendly cleaners. Prepare by sweeping/vacuuming, damp mopping, and testing cleaning solutions. Deep clean systematically, using warm water and dish soap, focusing on stains. Remove spills promptly with suitable cleaners or mild abrasives. Sanitize with kitchen-specific disinfectants after removing dirt. Properly dry floors and maintain regular care for extended longevity. Establish a bi-weekly deep cleaning schedule to maintain hygiene and aesthetics.
Deep cleaning your kitchen floor is an essential part of maintaining a hygienic and aesthetically pleasing space. This comprehensive guide will walk you through the process, ensuring your floor shines like new. From understanding different kitchen floor types to mastering effective deep cleaning techniques, we cover it all. Learn how to gather the right tools, prepare your floor, remove stubborn stains, sanitize, maintain, and establish a regular cleaning schedule for optimal results in your kitchen floor cleaning journey.
Understanding Your Kitchen Floor Type
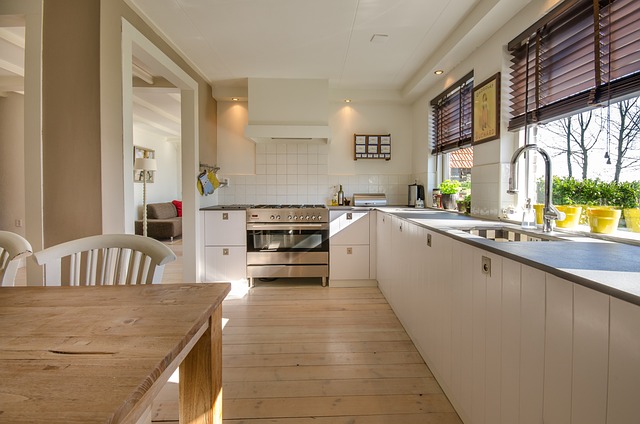
Before diving into the deep cleaning process, it’s crucial to understand your kitchen floor type. Different materials require distinct care and cleaning approaches. Vinyl flooring, for instance, is known for its durability and water-resistant properties, making it suitable for kitchens. A simple mopping with a mild detergent usually suffices for vinyl. On the other hand, natural stone floors like granite or marble demand more specialized attention due to their porosity; regular sealing and pH-neutral cleaners are essential to prevent staining. For wooden floors, whether solid or engineered, periodic refinishing and the use of wood-specific cleaning products are key to maintaining their beauty and longevity. Recognizing your floor’s composition is the first step towards effective kitchen floor cleaning.
Gathering the Right Cleaning Tools and Materials
When it comes to deep cleaning your kitchen floors, having the right tools and materials is essential for achieving a sparkling result. Start by gathering a few key items specifically designed for kitchen floor cleaning. A good quality vacuum with strong suction power is a must-have to efficiently remove dirt, debris, and even sticky crumbs from tight corners and under furniture.
Additionally, invest in a floor scrubber or a heavy-duty cleaner suitable for your floor type—whether it’s tile, hardwood, or vinyl. Consider getting a floor mop with replaceable pads and a bucket for soaking cleaning solutions. Don’t forget to stock up on eco-friendly cleaning products free from harsh chemicals that can leave behind unpleasant odors or damage your floors over time.
Pre-cleaning and Preparation Techniques
Before diving into the deep cleaning process, proper preparation is key for achieving optimal results in kitchen floor cleaning. Start by sweeping or vacuuming to remove any loose dirt, debris, and food particles from the surface. This initial step prevents scratching or damaging the floor during cleaning. Additionally, wiping down the floor with a damp mop or cloth removes grease, grime, and stuck-on messes, preparing the surface for a more thorough clean.
For kitchens with hard floors like tile, linoleum, or hardwood, consider using a floor scrubber or a mild floor cleaner to address stubborn stains and build-up. Test any cleaning solutions on a small, inconspicuous area first to ensure they don’t cause discoloration or damage. Proper pre-cleaning ensures that the deep cleaning process is more effective and leaves your kitchen floors sparkling clean without causing any harm.
Effective Deep Cleaning Steps
Deep cleaning your kitchen floor is a necessary task that goes beyond surface cleanliness. It involves tackling stubborn stains, eliminating odors, and restoring the floor’s shine. Start by sweeping or vacuuming to remove loose dirt and debris. This initial step is crucial for preventing scratches during the cleaning process. Next, mix a solution of warm water and mild dish soap, ensuring the mixture is not too strong as it may damage the floor finish.
Use a clean mop or sponge to apply the solution, focusing on heavily soiled areas. Scrub gently with a non-abrasive scrubber, avoiding harsh chemicals that can leave residue. Rinse thoroughly with clean water and dry the floor completely to prevent water damage and ensure a sparkling, hygienic kitchen floor. Regular deep cleaning sessions will not only maintain the aesthetics but also extend the life of your kitchen flooring.
Removing Stains and Discoloration
Removing stains and discolouration from kitchen floors is a crucial step in deep cleaning. Over time, floors can accumulate marks from spills, tracked-in dirt, and everyday wear and tear. For best results, address stains promptly to prevent them from setting. Start by using a suitable floor cleaner or detergent designed for kitchen floors. Apply the cleaner directly to the stain, following the product’s instructions for contact time. For stubborn stains, you might need to use a mild abrasive scrub to gently remove the discolouration without damaging the floor’s finish.
Once the stain is lifted, rinse the area thoroughly with clean water. Dry the floor completely to prevent any water damage or warping. Regular kitchen floor cleaning and spot treatment can help maintain its appearance and prolong the life of your flooring.
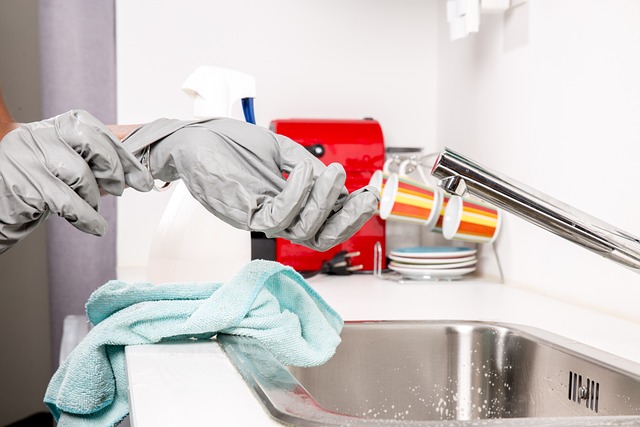
Sanitizing and Disinfecting the Kitchen Floor
Sanitizing and disinfecting your kitchen floor is a crucial step in maintaining a hygienic space. Start by sweeping or vacuuming to remove any dirt, debris, or food particles from the surface. This initial step ensures that your cleaning solution can effectively reach and eliminate germs.
Use a sanitizing or disinfectant cleaner specifically designed for kitchen floors. Follow the instructions on the product label, diluting it with water if necessary. Apply the solution evenly across the floor using a mop or sponge, making sure to cover all areas thoroughly. Allow the sanitizer or disinfectant to sit for the recommended time to ensure maximum effectiveness before rinsing and drying the floor. Regular sanitization helps create a clean and safe environment, especially in areas where food is prepared and consumed daily.
Drying and Maintenance Tips

After deep cleaning your kitchen floors, proper drying and maintenance are crucial for their longevity. Allow the floor to air dry completely before walking on it to prevent damage from moisture. For tile or stone floors, use a clean towel or mop with a dry cloth to absorb any excess water. Wood floors should be dried with a microfiber mop or dry dusting to avoid water damage. Regular maintenance involves sweeping or vacuuming to remove dirt and debris, ensuring your kitchen floor cleaning efforts are not compromised.
To keep your kitchen floors in top condition, consider sealing them after deep cleaning. This step creates a protective barrier, making it easier to wipe up spills and preventing stains from setting in. Additionally, regular polishing can enhance the floor’s appearance and provide extra protection. Remember, consistent care will make deep kitchen floor cleaning sessions less frequent and keep your floors looking their best.
Regular Deep Cleaning Schedule

Maintaining a clean kitchen floor is essential for hygiene and aesthetics. To keep your kitchen floor in top condition, establish a regular deep cleaning schedule. Aim to perform this thorough cleaning once a week or bi-weekly, depending on the foot traffic and general cleanliness of your space.
During this scheduled session, move all furniture away from the floor to gain access to every nook and cranny. Use appropriate cleaning solutions and tools designed for kitchen floors. This might include a heavy-duty kitchen cleaner, a mop, or a vacuum with a special floor setting. Regular deep cleaning helps prevent dirt and grime buildup, making it easier to maintain a sparkling kitchen floor throughout the year.