
Grout stain removal requires understanding stain causes, proper surface preparation, choosing compatible cleaning solutions (e.g., enzymatic for organic, acid-based for mineral), and specific application techniques (direct application or physical scrubbing). Regular maintenance, including sealing every 6-12 months, prolongs results. Skipping steps or using unsuitable products can lead to incomplete cleanup and further staining.
Deep grout stain removal can transform your tiled spaces, but it’s a process that requires understanding and the right approach. This comprehensive guide tackles the age-old problem of stubborn grout stains head-on. From identifying common causes to choosing effective cleaning solutions, we break down proven techniques for successful stain removal. Learn how to prepare surfaces, select the best tools, and avoid costly mistakes. Discover maintenance tips for long-lasting results that keep your tiles looking pristine.
Understanding Grout Stain Causes

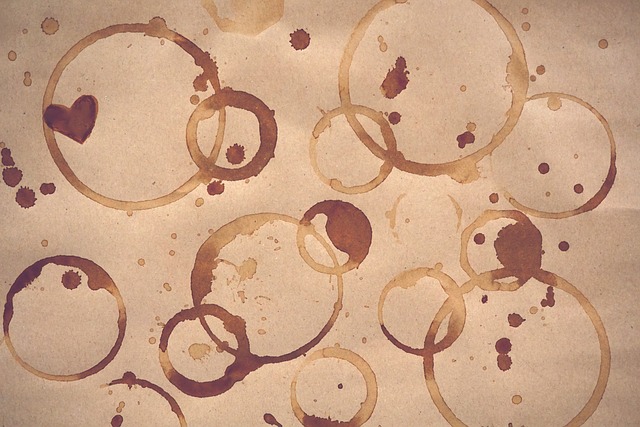
Grout stain removal can be a challenging task, but understanding the causes behind these stains is the first step to achieving a clean and pristine look. Grout, a material often used to fill in gaps between tiles, can accumulate various stains due to its porous nature. These stains may originate from a multitude of sources, including spilled liquids, dirt, mold, mildew, and even general wear and tear over time.
Daily activities such as cleaning with water-based solutions, cooking oils, or acidic substances like lemon juice can leave behind residues that eventually penetrate the grout, causing discoloration. Additionally, improper sealing or lack of maintenance can exacerbate the problem. Identifying the specific type of stain is crucial in selecting the most effective grout stain removal method for optimal results.
Pre-Treatment: Preparing the Surface

Before tackling any grout stain removal process, preparing the surface is a crucial step. This involves thoroughly cleaning the affected area to ensure that no loose debris or dirt remains. Start by vacuuming or sweeping the floor to eliminate any visible particles. Then, use a mild detergent and warm water solution to rinse and scrub away any existing stains or grime. It’s essential to do this pre-treatment to prevent the stain from setting further, making it easier to remove later.
Additionally, checking the grout type is vital. Different grouts have varying levels of porosity, which can affect the absorption of cleaning solutions. Knowing whether your grout is porous or non-porous will help determine the most effective cleaning methods for successful grout stain removal.
Choosing the Right Cleaning Solutions
When tackling deep grout stain removal, selecting the right cleaning solutions is paramount. Different stains require specific formulations to effectively penetrate and eliminate them. For instance, enzymatic cleaners are ideal for organic stains like coffee or wine, while acid-based products excel at removing mineral deposits and hard water stains. It’s crucial to read product labels carefully to ensure they’re suitable for grout materials, as some chemicals can damage or discolor ceramic tiles over time.
Moreover, considering the environment is essential. Green, non-toxic alternatives are growing in popularity due to their safety and biodegradability. These eco-friendly options not only protect your health but also contribute to a cleaner, more sustainable approach to grout stain removal. Prioritizing compatibility with your grout type and environmental considerations ensures effective stain removal without compromising long-term tile integrity.
Application Techniques for Effective Stain Removal
When it comes to deep grout stain removal, understanding the application techniques is key to achieving effective results. One common and successful method involves using a grout cleaner or stain remover that’s specifically designed for these hard-to-reach areas. These products often contain powerful enzymes or chemicals that can break down and eliminate stains, leaving your grout looking fresh again. Apply the cleaner directly onto the stained grout, ensuring even coverage, and let it sit for the recommended time to allow its active ingredients to penetrate deeply.
For more stubborn or old stains, a combination of physical scrubbing and chemical treatment may be necessary. Use a soft-bristled brush or an old toothbrush to gently scrub away any loose debris or surface stains. Afterward, apply the grout cleaner and let it work for a few minutes before wiping it off with a damp cloth or sponge. Rinse thoroughly with water to remove any residue, and dry completely to see the vibrant, stain-free grout you’ve been aiming for.
Common Mistakes to Avoid

When tackling deep grout stain removal, it’s easy to make mistakes that can hinder your progress or even damage your tiles. One common error is using aggressive chemicals without understanding their impact on different grout types. Some strong cleaners can strip away protective coatings and etch delicate surfaces, making stains worse. Avoid reaching for harsh bleach or abrasive scrubbers without testing them first in an inconspicuous area to ensure they won’t cause discoloration or damage.
Another pitfall is skipping pre-treatment. Many stubborn grout stains require a bit of preparation before deep cleaning. Failing to apply a suitable stain remover or detergent can result in incomplete cleanup and residual marks. Always take the time to identify the specific type of stain and choose the right product for the job – natural based solutions are often gentler on both your tiles and the environment.
Maintenance Tips for Long-Lasting Results

Regular maintenance is key to keeping your grout stain-free for longer periods. After initial deep grout stain removal, it’s crucial to vacuum or sweep floors daily to remove loose dirt and debris that could recontaminate the grout. Using a microfiber mop with warm water and a mild detergent once a week will help to keep surfaces clean without introducing harsh chemicals that could damage the grout.
Additionally, sealing the grout every 6-12 months with a high-quality grout sealer can significantly extend the life of your stain removal efforts. Apply the sealer evenly across all grout lines using a brush or spray bottle, following the manufacturer’s instructions for drying times. This protective barrier creates a hydrophobic surface that repels liquid stains, making it easier to maintain a fresh and clean look.