
Deep grout cleaning requires understanding stain causes, like spills or bacterial growth, and tailoring cleaning techniques accordingly. Prepare by clearing space, gathering tools (grout cleaner, protective gear, brushes), and ensuring proper ventilation. Use high-quality grout cleaners and suitable brushes for effective scrubbing. For tough stains, create a baking soda paste or use specialized enzymes. Test cleaning solutions on small areas and ensure thorough rinsing. Implement regular maintenance with baking soda, vinegar, or sealant every 3-6 months. Consult professionals if DIY methods fail, as they have access to powerful, safe solutions. Aftercare involves gentle pH-neutral cleaning and monitoring humidity levels.
Tired of unsightly grout stains spoiling your tile masterpiece? Expert grout stain removal is a game-changer. This comprehensive guide dives into deep grout cleaning, equipping you with the knowledge and tools to tackle common culprits like mold, mildew, and hard water stains. From understanding stain causes to choosing the right products, we demystify the process step-by-step. Learn professional techniques for stubborn stains, prevent future buildup, and maintain your tile’s pristine appearance through proper aftercare—all while extending the life of your deep grout cleaning investment.
Understanding Grout Stain Causes: Identifing the Root Issues
Grout stain removal can be a challenging task, but understanding the causes behind the stains is half the battle won. Stains in grout often arise from various factors that require specific attention during deep grout cleaning. Common culprits include spills and splashes of food, drinks, or chemicals, which can quickly embed themselves into the porous grout material. Over time, bacteria, mould, and mildew may also find their way into the tiny crevices, leading to unsightly discolouration.
Identifying these root issues is crucial when tackling grout stains. Proper cleaning techniques, such as using suitable detergents or natural remedies, should be tailored to each type of stain and the underlying cause. For instance, addressing chemical spills promptly with a neutralizer can prevent permanent damage, while regular disinfection may be necessary to combat bacterial growth. By pinpointing the initial problems, you can effectively implement deep grout cleaning solutions for lasting results.
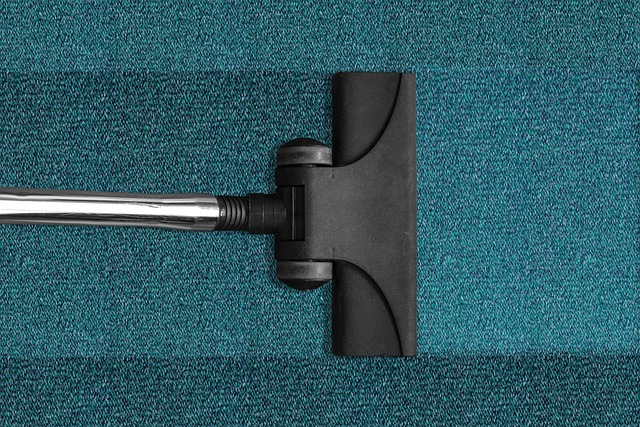
Preparing Your Space for Deep Cleaning: Essential Steps Before You Begin

Before tackling grout stain removal, preparing your space for deep cleaning is crucial. Start by clearing all surfaces and floor coverings to ensure easy access to the grout areas. Remove any loose debris or dirt using a vacuum or broom, as this will prevent scratches on your tiles during the cleaning process.
Next, gather your necessary tools and materials: a high-quality grout cleaner, protective eyewear, gloves, a soft-bristled brush, a spray bottle filled with water, and a clean microfiber cloth. Ensure proper ventilation in the area to avoid inhalation of harsh chemicals. By taking these essential steps, you’ll be better equipped for effective deep grout cleaning.
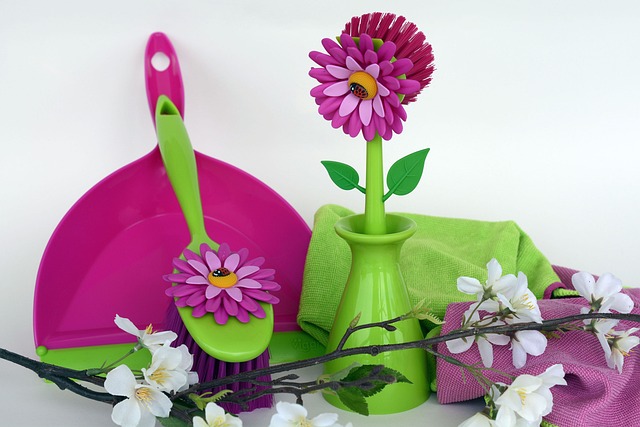
Choosing the Right Tools and Products for Effective Stain Removal

When it comes to tackling grout stains, the right tools and products can make all the difference in achieving a deep grout cleaning. Start by investing in high-quality grout cleaning solutions specifically designed for removing tough stains. These products often contain powerful yet safe enzymes or acids that effectively break down and eliminate dirt, grime, and discolouration embedded in the grout lines.
Complement your chosen cleaner with suitable brushes and tools to ensure efficient application and reach hard-to-reach areas. A stiff-bristled brush is ideal for scrubbing away stains, while a long-handled tool can help you clean corners and tight spaces. Remember, proper preparation and the right equipment will significantly enhance the effectiveness of your grout stain removal efforts, leading to sparkling, fresh-looking grout.
Step-by-Step Guide to Removing Common Types of Grout Stains
Removing grout stains can seem daunting, but with a few simple steps, you can achieve that sparkling, stain-free look for your tiles. Here’s a step-by-step guide to tackle common grout stains effectively:
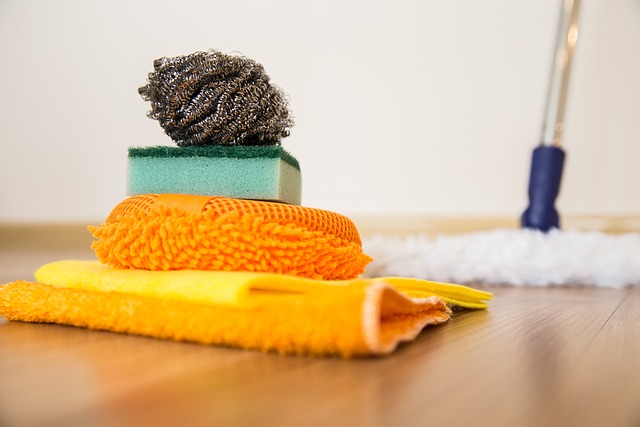
1. Identify and Prepare: Begin by identifying the type of stain you’re dealing with. Different stains may require specific cleaning agents or techniques. Prepare your workspace by gathering essential tools such as rubber gloves, an old toothbrush, a mild bleach solution (for non-porous tiles), or a mixture of baking soda and water for more delicate grout.
2. Scrub Gently: For surface stains, gently scrub the affected area with a toothbrush dipped in your chosen cleaning solution. Apply firm but gentle pressure to dislodge the stain without damaging the grout or tile. For tougher stains, let the solution sit for 10-15 minutes before scrubbing again. Remember to rinse thoroughly after each step to prevent reapplication of the stain.
3. Deep Grout Cleaning: For deep-seated or stubborn stains, a deeper clean is required. Mix baking soda and water until it forms a paste and apply it liberally to the stained grout. Let it sit for 30 minutes, then use a damp sponge or cloth to gently scrub away the paste and any remaining stain. This process helps to break down and lift out deeply ingrained dirt and grime, leaving your grout looking refreshed.
Techniques for Difficult Stains: Going Beyond the Basics

When it comes to tackling difficult grout stains, going beyond the standard cleaning techniques can make all the difference. A deep grout cleaning involves a more intensive approach, particularly for stubborn marks that resist conventional methods. One effective strategy is to use specialized grout cleaners or enzymes designed to break down organic compounds and grime. These powerful cleaners penetrate deep into the grout lines, dissolving tough stains and restoring the original colour.
For extra-challenging cases, mechanical methods like scrubbing with a stiff brush or even mild sandpapering can be employed. This physical approach removes built-up dirt and dislodes stained material. However, it’s crucial to exercise caution to avoid damaging the grout itself. Always test any cleaning solution in a small, inconspicuous area first and follow up with a thorough rinse to ensure no residue remains.
Tips for Preventing Future Stains and Maintaining Clean Grout
Regular maintenance is key to preventing future grout stains and keeping your spaces looking their best. A deep grout cleaning every 3-6 months can help remove built-up dirt, oil, and other contaminants that lead to staining. Using a mixture of baking soda and vinegar or specialized grout cleaning solutions is effective for this deep clean. After cleaning, apply a sealant to protect the grout from moisture and dirt, extending the time between cleanings.
Additional tips include being mindful of what you spill on the grout—quickly wiping up liquids and using mats at entryways can prevent stains from setting in. Regular vacuuming helps remove loose dirt, and rotating your floor covering can reduce traffic in one area, all contributing to a cleaner, stain-free grout line over time.
When to Call in the Professionals: Knowing Your Limits
If you’ve tried every home remedy and cleaning technique under the sun, but your grout still looks dingy and discolored, it might be time to call in the professionals. While many people attempt deep grout cleaning themselves, there comes a point where the stain is so deep or the area so hard to reach that DIY methods fall short. This is especially true for older homes with narrow crevices or intricate tile patterns that require specialized tools and expertise for safe and effective cleaning.
Professional grout cleaners have access to advanced equipment and eco-friendly, powerful cleaning solutions that can penetrate and lift stubborn stains without damaging your tiles. They understand the nuances of different tile types and grout compounds, ensuring a deeper clean than you could achieve alone. Knowing when to bring in an expert will save you time, money (from potential damage or repeated attempts), and ensure your grout looks as good as new.
Aftercare and Maintenance: Ensuring Longevity of Your Deep Grout Cleaning

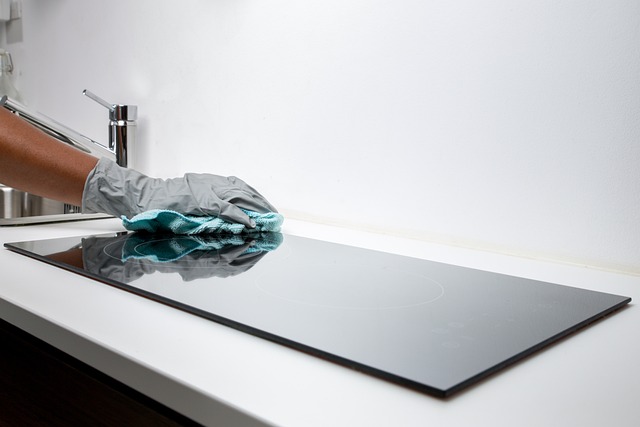
After a deep grout cleaning, proper aftercare and maintenance are essential to ensure the longevity of your freshly restored spaces. Regular cleaning routines play a significant role in preserving the results of professional grout stain removal. It’s recommended to use a soft-bristled brush or cloth to gently wipe away any dust or debris that may accumulate on the grout lines. Avoid using harsh chemicals or abrasive cleaners, as these can damage the grout and its protective seal. Instead, opt for mild, pH-neutral cleaning agents suitable for tile and grout.
Additionally, maintaining consistent humidity levels can prevent grout stains from reappearing. While mopping, ensure you don’t over-saturate the tiles; spot cleaning is usually sufficient. Regular monitoring of moisture levels, especially in areas with high humidity or near water sources, is crucial to avoid long-term damage. Remember, a little care and attention after deep grout cleaning can make a big difference in keeping your spaces looking their best for years to come.