
Old homes' pipes face challenges like leaky fittings, corroded joints, and mineral buildup, requiring regular inspection for early detection. Repairs involve tools, materials (e.g., lead-free solder, fluoropolymers), and steps such as cleaning, taping, testing, and insulating to prevent damage. Copper soldering, insulation, and professional help when needed ensure reliable plumbing.
“Uncovering the secrets to seamless pipe repair for old homes, this comprehensive guide is your go-to resource. Old structures often present unique plumbing challenges, from leaks and corrosion to aged materials. We demystify these issues, offering insights on assessment, damage types, and necessary tools. Learn effective repair techniques, including metal and copper piping specifics, insulation strategies, and when professional help is key. Discover the art of pipe repair, ensuring your historic home’s plumbing system flows smoothly for years to come.”
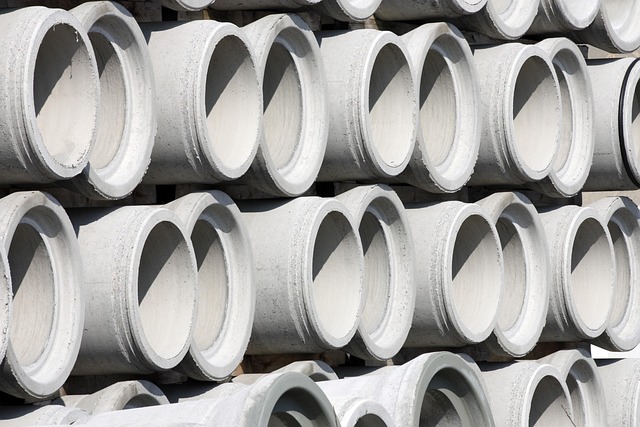
Understanding Common Pipe Issues in Old Homes
Old homes often present unique challenges when it comes to pipe repair, as years of wear and tear can lead to various issues. Some common problems include leaky pipes, which might be caused by outdated fittings or corroded joints. Rust buildup is another frequent concern, especially in homes with metal plumbing, as the rusting process weakens the pipes’ integrity. Additionally, old pipes may have narrow diameters, leading to reduced water flow and potential clogs.
These issues can result in not only inconvenient water damage but also costly repairs if left unattended. Homeowners should be vigilant about these common pipe problems and regularly inspect their plumbing systems. Early detection allows for more straightforward and cost-effective pipe repair solutions, ensuring the longevity of the home’s plumbing.
Assessing Damage: Leaks, Corrosion, and More
When assessing pipe repair needs for old homes, it’s crucial to look beyond obvious signs and identify potential issues that could be hidden from plain sight. Leaks are a common problem, often caused by worn-out joints or corroded pipes, leading to water damage in attics, walls, or floors. Beyond leaks, corrosion is another significant concern. Over time, pipes can degrade due to mineral buildup, rust, or even exposure to acidic water, compromising their structural integrity and increasing the risk of failure.
During inspection, pay close attention to pipe fittings, valves, and joints for any signs of decay, pitting, or separation. Also, check for moisture around pipes, which may indicate a leak, and ensure that pipes are adequately supported, as inadequate bracing can lead to misalignment and stress points. Regular maintenance and prompt repair of identified issues are key to preventing further damage and ensuring the longevity of your home’s plumbing system.
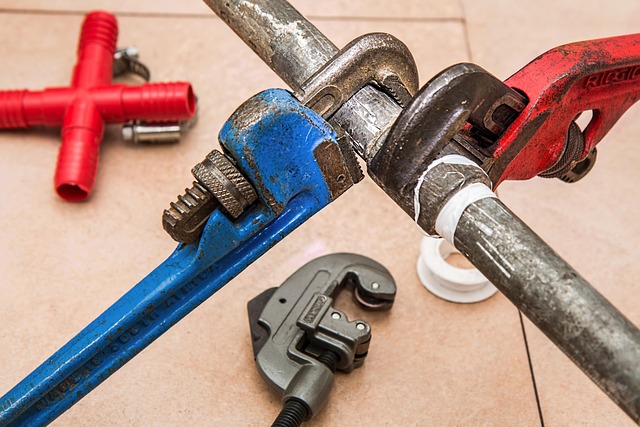
Materials and Tools for Effective Repairs
When tackling pipe repair in old homes, the right materials and tools are essential for a successful and long-lasting fix. Traditional methods often involve using lead-free solder, fluoropolymers (like PTFE or Teflon), and copper or PVC pipes. These materials are chosen for their compatibility with older systems and their ability to withstand corrosion and high temperatures.
For effective repairs, you’ll need basic tools such as pliers, cutting tools, and a soldering iron. More complex jobs might require specialized equipment like pipe cutters, reamers, and leak-detection solutions. Investing in high-quality materials and tools ensures the repair is not only efficient but also durable, addressing potential issues for years to come.
Step-by-Step Guide: Repairing Metal Pipes
Repairing metal pipes in old homes involves a few simple steps that can be completed by most homeowners. First, locate and isolate the pipe that needs repair. Turn off the water supply to prevent leaks during the process. Next, gather your tools and materials, including a wrench, replacement sections of pipe, joint compound, and tape.
Disassemble any fittings or valves connected to the damaged pipe, being careful not to bend or kink the new section when inserting it. Clean the existing pipe and new joints with a wire brush to remove corrosion and debris. Apply joint compound to the connections and wrap them tightly with tape for reinforcement. Finally, test the repairs by turning on the water supply and check for leaks. If all is well, your metal pipes are now repaired and ready to withstand the test of time in your old home.
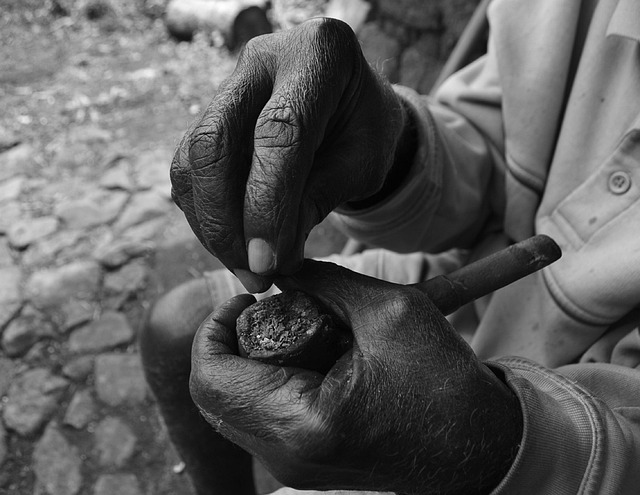
Working with Copper: Techniques and Tips
Copper is a popular choice for pipe repair in old homes due to its durability and aesthetic appeal. When working with copper, it’s crucial to understand the specific techniques required for successful Pipe Repair. One common method involves soldering, where heated metal is applied to join or seal pipes. This technique demands precision and practice to achieve a strong, long-lasting connection.
Using the right tools and materials is essential. Flux, a chemical paste, prepares the copper surface for soldering by removing oxidation. Solders, typically made from tin and lead, melt at high temperatures to create a bond. It’s important to apply flux evenly and allow it to dry before soldering, ensuring a clean and reliable connection. Regular cleaning of tools with a wire brush helps maintain quality throughout the repair process.
Insulating Pipes to Prevent Future Problems

To avoid future issues with pipe repair, it’s crucial to properly insulate pipes in old homes. Exposure to extreme temperatures can cause pipes to expand and contract, leading to leaks and other damage over time. By wrapping pipes with insulation material like foam or fiberglass, you create a protective barrier that helps maintain consistent temperatures. This simple step not only prevents costly repairs but also ensures the longevity of your plumbing system.
Regular inspection and maintenance are key. Check for signs of corrosion, cracks, or loose connections. Insulating exposed pipes during these checks can help identify potential issues early on. Additionally, sealing joints and using pipe wrap to secure connections further reduces the risk of leaks. These proactive measures make pipe repair less of a burden down the line, allowing you to enjoy a reliable plumbing system in your old home for years to come.
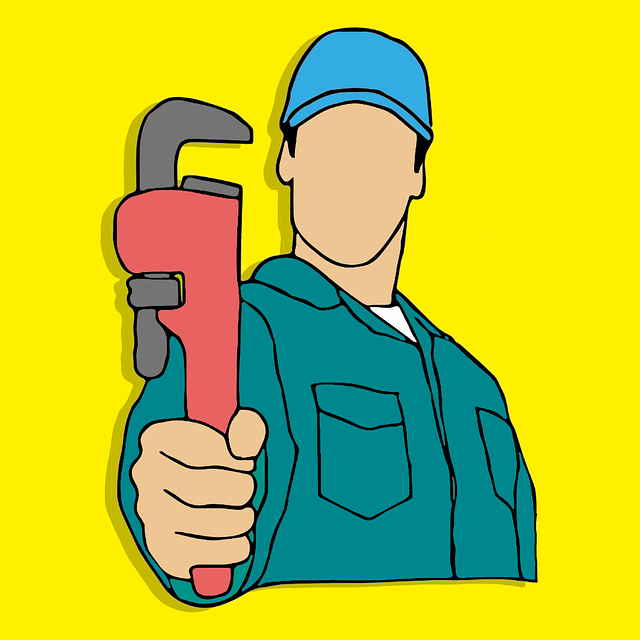
When to Call a Professional Plumber
If you’re dealing with an old home, there’s a good chance it has seen its fair share of wear and tear, especially when it comes to pipes. While some DIY enthusiasts might be inclined to tackle pipe repair themselves, there are instances where professional intervention is necessary. Leaks, for example, can often indicate more severe issues that require the expertise of a licensed plumber. These professionals have the tools and knowledge to assess the situation accurately and provide long-lasting solutions.
Additionally, if your home’s pipes are outdated or made from materials no longer considered safe (like lead), it’s wise to consult a pro. They can advise on the best course of action, whether that involves replacing sections of pipe, relining existing pipes for improved durability, or recommending modern updates that enhance efficiency and safety. Remember, timely intervention by a skilled plumber can prevent minor issues from escalating into costly and time-consuming emergencies.