This text offers comprehensive guidance on faucet repair, addressing common issues like slow drips, malfunctioning sprayers, and leaks. It emphasizes turning off water supply valves beneath the sink before starting repairs to prevent leaks. The process involves identifying the problem (e.g., worn-out O-rings, clogged aerator), gathering tools and replacement parts, disassembling the faucet, replacing damaged components, reassembling securely, and testing for leaks. Regular maintenance, such as lubrication and inspections, is crucial for extending the lifespan of kitchen faucets. For complex issues or stubborn cases, professional plumbers can handle hard water build-up, corrosion, or cartridge replacements.
Looking to fix that leaky or malfunctioning kitchen faucet? This comprehensive guide covers everything from identifying common issues to performing complex repairs. We’ll walk you through gathering the right tools, understanding basic plumbing concepts, and step-by-step instructions for fixing leaks and replacing components. Learn how to perform effective troubleshooting and implement preventive maintenance tips to keep your faucet functioning smoothly for years to come. Master these skills and tackle your faucet repair with confidence!
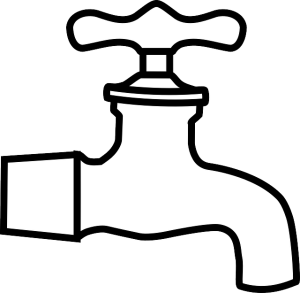
Understanding Common Kitchen Faucet Issues
Common kitchen faucet issues can range from a slow drip to a completely broken sprayer or even a leaking handle. Identifying the problem is often the first step in effective faucet repair. A dripping faucet, for instance, could be caused by worn-out O-rings or a damaged washer inside the faucet’s valve. This issue is relatively easy to fix and can usually be addressed with a simple replacement of these parts.
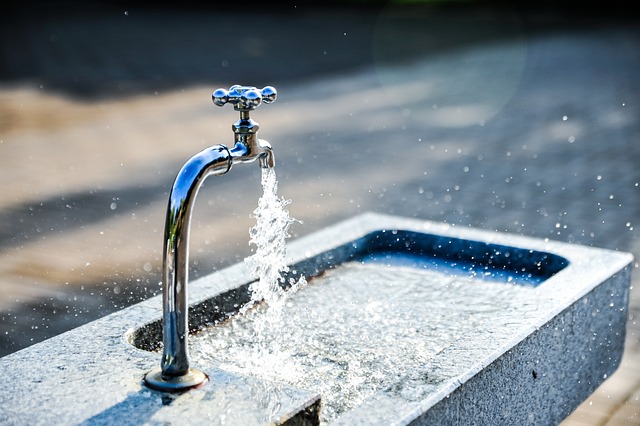
Another prevalent problem is a malfunctioning sprayer. If the water flow is uneven or the sprayer doesn’t work at all, it might be clogged with mineral deposits or debris. Cleaning or replacing the sprayer can resolve this. Leaks at the base of the faucet or around the handle are indicative of seal damage or loose connections, which can often be tightened or replaced during a standard faucet repair procedure.
Gathering the Right Tools for Repair

When tackling a kitchen faucet repair, having the right tools is half the battle won. The most common tools required for this task include a wrench or pliers for gripping and turning parts, an adjustable or combination wrench for tighter spaces, and a screwdriver to remove any screws. A bucket and some soapy water can also be handy for disassembling parts, especially if they’ve been in place for a while and are stubbornly stuck. Many hardware stores carry repair kits specifically designed for faucets, which often include these essentials along with seals, O-rings, and other replacement parts commonly needed during faucet repairs.
Before starting any repair work, it’s crucial to turn off the water supply valves located under the sink. This prevents leaks and ensures your safety while working. Once the valves are turned off, you can proceed with disassembling the faucet, identifying the problem area, and gathering any necessary replacement parts for a successful and stress-free faucet repair.
Step-by-Step Guide to Fixing a Leaking Faucet

Leaky faucets can be a nuisance, but repairing them is often easier than you think. Here’s a step-by-step guide to help you tackle this common kitchen faucet repair. First, turn off the water supply valves located under the sink. This is crucial to prevent any flooding while you work. Next, gather your tools: a wrench or pliers for removing parts, and possibly some replacement O-rings or washers. Disassemble the faucet by unscrewing the handle and spout. You might need to use a screwdriver for this. Once separated, inspect each component for damage or wear, especially the seals and gaskets. Replace any worn-out parts with new ones from your local hardware store. Reassemble the faucet, making sure all parts are securely in place. Finally, turn on the water valves again, check for leaks, and you’re done!
Replacing Faulty Faucet Components
When undertaking a kitchen faucet repair, one of the most common tasks is replacing faulty components. This could involve parts like the washer, O-ring, or cartridge, which are responsible for controlling water flow and pressure. Identifying the specific component at fault requires some troubleshooting. First, shut off the water supply to your faucet. Then, disassemble the faucet according to its unique design, usually by unscrewing the handle or removing the spout. Inspecting the disassembled parts will help you determine which component needs replacing.
Once you’ve identified the faulty part, it’s a straightforward process to replace it. New washers and O-rings are typically easy to install, often requiring only a simple push or twist into place. Cartridge replacement might involve more steps, but most come with clear instructions. Using the right tools and following these guides ensures a smooth replacement process. Remember, proper faucet repair not only saves you money but also keeps your kitchen functioning smoothly, providing better control over water usage and minimizing leaks.
Troubleshooting Difficult Problems
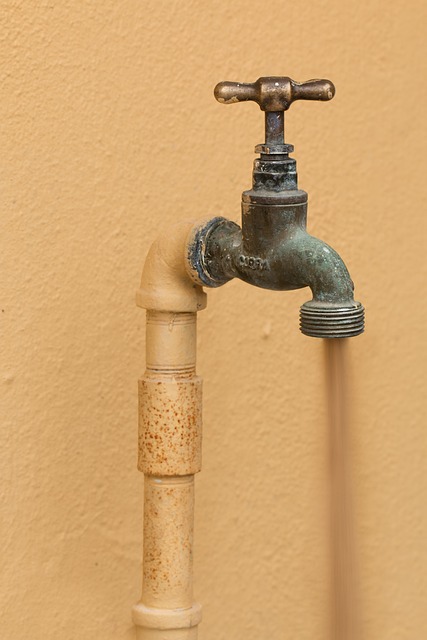
When it comes to complex faucet repair issues, a systematic approach is key. Start by inspecting the faucet for any visible damage or leaks and identifying the specific problem—is it a clogged aerator, worn-out O-rings, or a faulty cartridge? This initial assessment can save time and effort. Once the issue is pinpointed, gather the necessary tools and replacement parts tailored to your faucet’s make and model. Online resources and DIY guides are invaluable at this stage, offering step-by-step instructions for various faucet repair scenarios.
For tricky problems, consider seeking expert advice if do-it-yourself methods fail. Professional plumbers have the expertise and tools to tackle stubborn issues like hard water build-up, corroded parts, or complex cartridge replacements. Remember, proper troubleshooting and repair can extend the life of your faucet, ensuring a steady flow of water for years to come.
Preventive Maintenance Tips for Longevity
Regular maintenance is key to ensuring your kitchen faucet remains in top condition for years to come. A simple yet effective preventive measure is to lubricate the faucet’s components at least once a year. This process involves disassembling the faucet and applying a light coat of lubricant to each part, including the cartridge, stem, and washer. By doing this, you reduce friction and prevent unnecessary wear, which can lead to future leaks or malfunctions.
Additionally, it’s advisable to check for any signs of damage or corrosion regularly. Tighten any loose parts and replace worn-out components promptly. Using a mixture of vinegar and water to clean the faucet can also help remove mineral deposits and prevent buildup, ensuring smooth operation and extending the life of your faucet repair.