
Faucet repair addresses common issues like leaks, drippage, or low water flow. Basic tools like wrenches, pliers, and screwdrivers are essential for simple repairs. More complex issues may require specialized tools and replacement parts. Identify your faucet's valve type to select the right tools and parts. Turn off the water supply, disassemble the faucet, and inspect internal components. Replace washers or cartridges, clean or replace valve seats as needed. Securely reassemble, test for leaks, and adjust water flow. Regular maintenance, including leak checks and lubrication, extends faucet lifespan.
Looking to fix that leaky or dysfunctional faucet? This comprehensive guide walks you through the process of identifying and repairing common faucet valve issues. From understanding essential parts to mastering disassembly and reassembly, we’ll equip you with the knowledge needed for a successful DIY repair. Learn which tools are indispensable, discover different faucet types, and grasp troubleshooting techniques. By following these simple steps, you’ll have your faucet flowing smoothly again, saving time and money on costly replacements.
Understanding Common Faucet Valve Issues
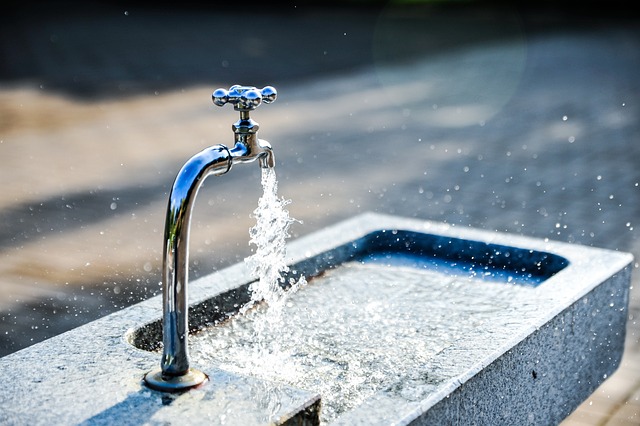
Faucet valves, though often overlooked, can develop issues over time, leading to messy leaks and reduced water flow—common problems that call for timely faucet repair. Understanding these issues is half the battle won when it comes to fixing them. One of the most frequent problems is a worn-out or damaged washer, which results in leaks at the base of the faucet. Washers are relatively easy to replace, making this an DIY-friendly repair. Another prevalent issue is a faulty cartridge, especially in older faucets. Cartridges control water flow and temperature, so when they malfunction, it can lead to either a constant drip or a complete lack of water flow.
The good news is that replacing these components is often straightforward and doesn’t require extensive plumbing knowledge. Many faucet repair solutions involve simple adjustments or swapping out standard parts. However, some issues might be more intricate, such as problems with the valve seat or a damaged aerator. Identifying the exact problem requires careful observation and sometimes professional tools to disassemble the faucet for thorough inspection.
Tools Required for Faucet Valve Repair
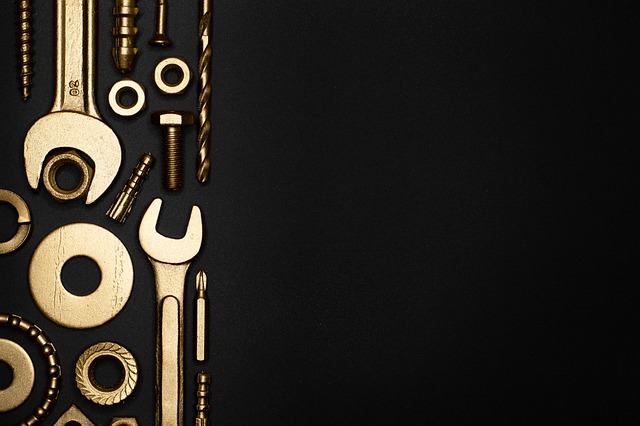
When undertaking a faucet repair, having the right tools is essential for a successful and efficient job. Basic tools required include adjustable wrenches, pliers, and a screwdriver (both flathead and Phillips). For more complex valve repairs, you might need specialized tools like a pipe wrench, an O-ring cutter, or even a new set of faucet valves and gaskets. These tools allow for precise disassembly and reassembly of the faucet’s internal components, ensuring a proper seal and smooth operation upon completion of the repair.
Identifying the Type of Faucet Valve

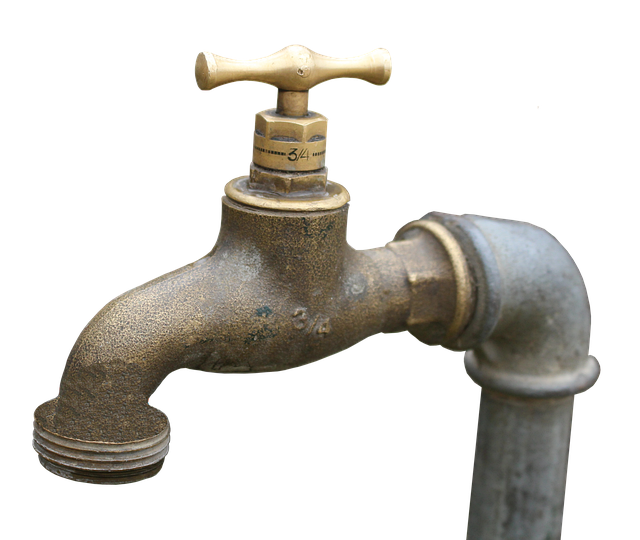
Identifying the type of faucet valve is a crucial step in any faucet repair process. Different faucets are designed with various valve types, each requiring specific tools and replacement parts. The most common types include compression valves, cartridge valves, and ball valves. Compression valves, found in many older faucets, use washers to seal and control water flow. Cartridge valves, prevalent in modern fixtures, offer a more advanced mechanism, often featuring an easy-to-remove cartridge for maintenance. Ball valves, known for their durability, operate with a rotating ball that controls water passage.
When tackling a faucet repair, closely examine the valve’s components and design elements to determine its type accurately. This knowledge ensures you have the right tools and spare parts on hand, making the repair process smoother and more efficient. It’s an essential step for any DIY enthusiast or plumber aiming to address faucet-related issues effectively.
Step-by-Step Guide to Disassembling the Faucet

To begin disassembling your faucet for repair, first turn off the water supply by closing the shut-off valves located under the sink. This is a crucial step to ensure no unexpected water gushes out during the process. Once the valves are closed, gather your tools: an adjustable wrench or pliers for gripping and turning, and possibly a new O-ring or washer if replacement is needed. Start by unscrewing the faucet handle with your tool of choice. Next, remove the decorative cap covering the faucet stem. This often requires a simple twist to release. With the handle and cap off, you’ll now see the faucet’s inner workings—a process known as disassembly. Locate the screws securing the faucet body to the sink and unscrew them carefully. These can usually be accessed from beneath the faucet or along the sides. Once these are removed, gently pull the faucet from the sink to fully expose its internal components.
Troubleshooting and Replacing Faulty Parts

When it comes to faucet repair, troubleshooting faulty parts is often a straightforward process. Start by inspecting the visible components for any signs of damage or wear. Leaks or low water pressure could indicate a simple washer replacement. Washers are easy to install and can be found at most hardware stores.
If the issue persists, the problem might lie with the cartridge or valve seats. Cartridge faucets have a single handle that controls both hot and cold water flow. Replacing the cartridge involves turning off the water supply, disassembling the faucet, and installing a new one. Valve seats, located beneath the faucet’s base, can also cause problems if they’re damaged or worn out. They control the flow of water and should be checked for any debris or corrosion. Cleaning or replacing them is often all that’s needed to restore proper functionality to your faucet repair.
Sealing and Assembling the Faucet Properly
When repairing a faucet, proper sealing and assembly are crucial for ensuring the fix is both durable and leak-free. After replacing or repairing the valve, it’s essential to check that all parts are securely fastened. This includes tightening any visible screws and ensuring gaskets or O-rings are properly seated. Using the right tools and following manufacturer instructions for torque settings can help achieve a secure fit without overtightening.
Once assembled, test the faucet by turning on the water supply and observing for any leaks at the base, handle, or where the spout meets the valve body. Any seepage indicates an improper seal or assembly, requiring further adjustments. Remember that a well-sealed faucet not only prevents water wastage but also saves energy, making it a key aspect of successful faucet repair.
Testing and Adjusting Water Flow Post-Repair
After successfully repairing your faucet valve, testing and adjusting water flow is a crucial step. Begin by turning on the water supply to ensure no leaks are present. Observe if the water flows smoothly and at the desired pressure. If there are any irregularities or excessive flow, you may need to tweak the adjustment screws on the faucet handle. These screws control the water mixture and temperature, so subtle adjustments can significantly impact the overall flow.
Regularly check both hot and cold water outlets for any imbalances in temperature or pressure. A balanced flow ensures an enjoyable showering or washing experience. If issues persist, refer to your repair manual or consult a professional for further assistance. Proper testing and adjustment guarantee not only optimal faucet performance but also prevent future problems related to water wastage or inefficient usage.
Maintenance Tips for Longevity
Regular maintenance is key to extending the lifespan of your faucet repair. Start by checking for any leaks around the base and handles regularly, as even small drips can lead to significant water waste over time. A quick inspection can often prevent major issues down the line.
Keep the faucet’s moving parts lubricated to ensure smooth operation. Use a lightweight lubricant designed for plumbing fixtures, applying it to the valves and stems once or twice a year. This simple step will make opening and closing the faucet feel easier and could save you from more complex repairs in the future.