Faucet repair, while varying in complexity, is crucial for maintaining functional kitchen and bathroom fixtures. Common issues like leaks and low water pressure can be addressed by homeowners through basic DIY repairs or regular maintenance. Key steps include identifying problems, shutting off water supply, gathering tools, and replacing worn parts like O-rings and cartridges. For more complex issues, professional help ensures precise solutions. Regular checks and proactive maintenance extend faucet lifespan, prevent costly repairs, and promote water efficiency.
Professional faucet repairs are essential for maintaining a well-functioning kitchen or bathroom. This comprehensive guide covers everything from understanding common faucet issues and gathering necessary tools, to step-by-step fixes like leak repairs and cartridge replacements. We also offer troubleshooting tips and preventive maintenance advice to ensure your faucets last for years to come. Whether you’re a DIY enthusiast or just want to keep your space in top condition, these expert insights will empower you with the knowledge to tackle any faucet repair head-on.
Understanding Common Faucet Issues
Faucets, though seemingly simple in their operation, can present various issues over time. Understanding these common problems is the first step in effective faucet repair. Leaks, for instance, are a frequent nuisance and can range from minor drips to steady streams. These often stem from worn-out O-rings or cartridges—simple replacements that many homeowners can handle with basic tools.
Another prevalent issue is low water pressure, which could indicate clogged aerators or mineral buildup in the pipes. More complex problems like faulty temperature control or constant running may require professional attention, as they involve specialized components and potential plumbing system interactions. Prompt identification of these issues allows for efficient faucet repair, ensuring your kitchen or bathroom remains functional and efficient.
Gathering Tools and Materials for Repair
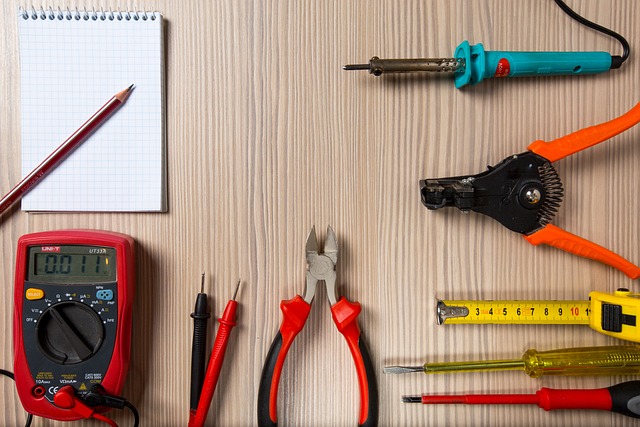
Before tackling any faucet repair, it’s essential to gather the right tools and materials. For most basic faucet repairs, you’ll need a few common household tools such as adjustable wrenches or pliers for gripping and turning components. Additionally, a new washer or O-ring, which are often the culprits behind leaks, should be on your list. Remember to also grab some pipe tape or thread sealant to ensure a secure connection once the repairs are made.
When it comes to materials, consider the type of faucet you have—different fixtures may require specific parts. Have a good look at your faucet to identify any unique components. Online resources can be invaluable in this step, offering diagrams and part lists tailored to various faucet brands and models. This preparation will not only make the repair process smoother but also increase the chances of a successful and long-lasting faucet repair.
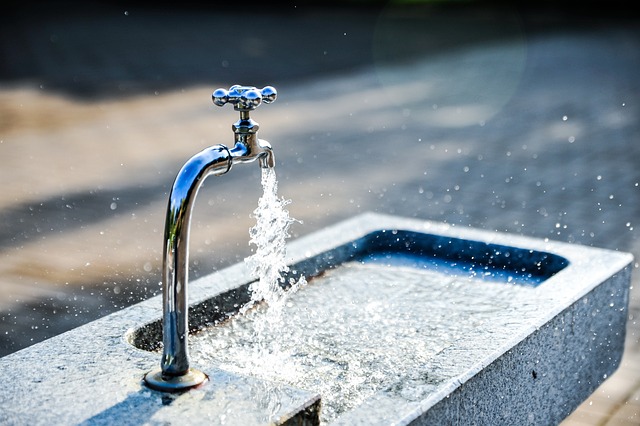
Step-by-Step Guide to Fixing Leaks

Leaky faucets can be a common household nuisance, but fixing them is often straightforward and can save you money on your water bills. Here’s a simple step-by-step guide to repairing leaks on your own. First, locate the faucet’s components. Most faucets have an exterior handle, a cartridge or washer, and an inner stem. Turn off the water supply to prevent any accidents during the repair process. With the right tools—a wrench or pliers for most models—loosen and remove the handle and any visible parts. Inspect each component for damage or wear; this is often the root cause of leaks.
Replace worn-out pieces with new ones designed specifically for your faucet model, ensuring a tight seal to prevent future leaks. Reassemble the faucet, starting with the inner stem, followed by the cartridge or washer, and finally, the handle. Test the water supply and observe if the leak has been successfully stopped. If not, double-check your work, as any misalignment could cause persistent issues.
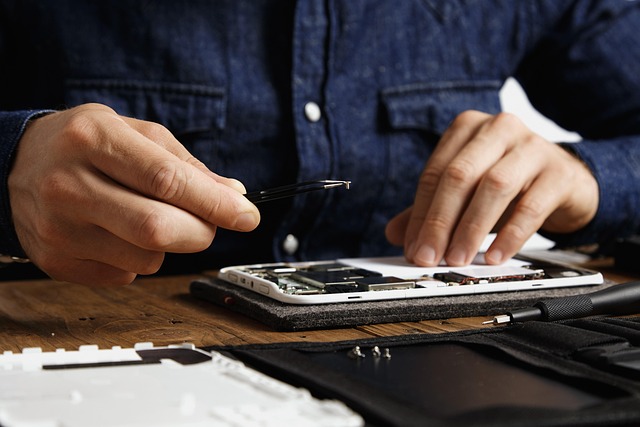
Replacing Faucet Cartridges: A Comprehensive Tutorial

Replacing faucet cartridges is a common task in any home or commercial setting, and it’s a crucial part of regular faucet repair maintenance. This simple process can help extend the life of your faucet and ensure consistent water pressure. The first step involves turning off the water supply to prevent leaks and make removal easier. You’ll typically find two valves under the sink; close both tightly to stop water flow. Next, locate the cartridge—it’s usually a cylindrical component behind the faucet handle—and use a suitable tool (often provided with the new cartridge) to unscrew it counterclockwise. Once removed, inspect for any debris or damage, and clean if necessary.
Install the new cartridge by placing it in position and twisting it clockwise until secure. Ensure all parts are properly seated and aligned. After tightening, open one valve at a time to release pressure and then test the water flow. If everything functions correctly, you’ve successfully completed your faucet repair. This tutorial is a great guide for DIY enthusiasts to tackle common faucet issues, ensuring a smooth and efficient process without the need for professional help.
Troubleshooting Difficulties with Helpful Tips
When faced with faucet repair difficulties, it’s important to approach the issue systematically. Start by identifying the problem—is water pressure low, or is there a persistent leak? Sometimes, a simple adjustment of the aerator or a quick check for loose connections can resolve minor issues. Check under the sink for any visible damage or debris that might be obstructing the faucet’s operation.
Helpful tips include turning off the water supply before beginning repairs to avoid unexpected leaks. Use an adjustable wrench to tighten or loosen fittings, and have a bucket ready to catch any residual water. For more complex problems like clogged aerators or damaged parts, consider consulting a professional plumber for expert advice and precision replacement.
Preventive Maintenance for Longevity

Regular faucet repair and maintenance are essential for ensuring longevity and optimal performance. A simple routine can go a long way in preventing common issues like leaks, clogs, and low water pressure. It’s as easy as checking for any loose connections, tightening aerators, and cleaning out sediment buildup that can clog the faucet’s internal components.
For more involved maintenance, consider inspecting the O-rings and cartridge (if applicable) for wear and replacement. This proactive approach to faucet repair not only saves you from costly repairs but also helps maintain water efficiency in your home or business. Remember, a well-maintained faucet is less likely to develop problems, ensuring years of seamless use.