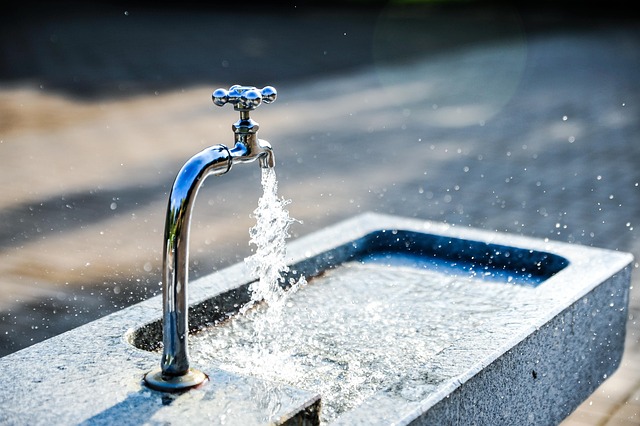
Leaky faucets are a common household issue with various causes and types, requiring prompt action for water conservation and cost savings. DIY methods, using essential tools and materials like wrenches, pliers, O-rings, and sealing tape, can address simple leaks from worn washers or O-rings. Regular maintenance, including tightening adjustments and replacing parts, extends faucet lifespan. For complex issues, professional plumbers are needed to handle modern fixtures with specialized knowledge and tools, ensuring long-lasting solutions.
Tired of that pesky faucet leak? This comprehensive guide breaks down everything you need to know about diagnosing and repairing your leaking faucet. From understanding common causes and types, to step-by-step diagnosis procedures and detailed repair tutorials, we’ve got you covered. Learn advanced tightening techniques, implement preventive measures, and discover when it’s time to call a professional plumber. Take control of your faucet repair with our expert advice tailored for both the DIYer and those who prefer expert help.
Understanding Faucet Leaks: Common Causes and Types
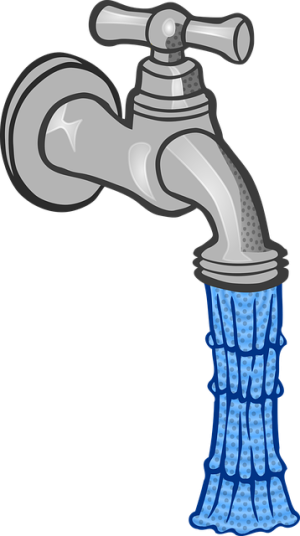
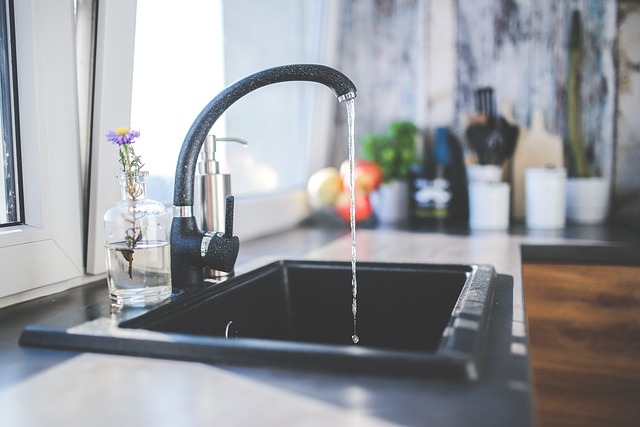
Faucet leaks are a common household issue, but understanding their causes and types is key to efficient repairs. Leaks can occur due to various factors such as worn-out gaskets or O-rings, loose connections, damage to the faucet’s internal components, or even simple misalignment. Different types of leaks include drips from the spout, constant runs from the base, and periodic spurts. Identifying the specific type helps in selecting the right repair method.
For example, a leaky spout often indicates a worn-out washer or cartridge issue, while a running faucet at the base suggests a bad O-ring or valve seat damage. Prompt action on these leaks not only saves water but also prevents higher costs associated with prolonged exposure to water. Efficient faucet repair can be achieved through DIY methods for basic issues or professional assistance for more complex problems, ensuring a leak-free and efficient plumbing system.
Step-by-Step Guide to Diagnosing a Leaking Faucet
To diagnose a leaking faucet, start by observing the faucet’s behavior. Check if water is dripping from the base or handle, and note the frequency and severity of the leak. Next, turn off the water supply valves located under the sink. This step is crucial for Faucet Repair as it prevents unnecessary water waste and facilitates easier fixing.
Examine the faucet components, including O-rings, washer, and cartridge (for modern faucets). Inspect these parts for wear, tear, or debris. Sometimes, a simple replacement of these parts can stop the leak. If you identify damaged components, use the appropriate tools to remove them and replace them with new ones. This process may require a bit of DIY skill but is a common Faucet Repair task that many homeowners can handle.
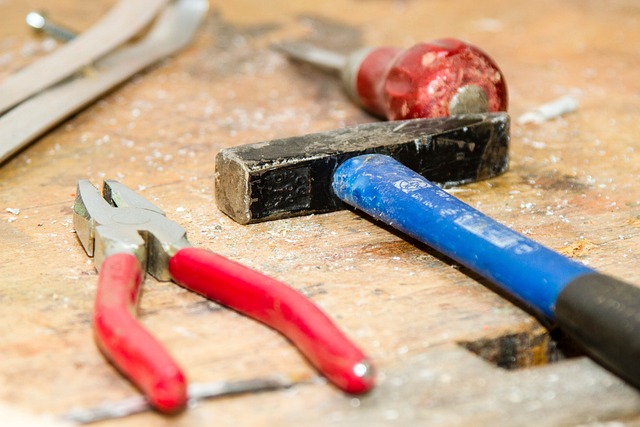
Tools and Materials Needed for Repair
When it comes to faucet repair, having the right tools and materials is essential for a successful and efficient fix. Here’s what you’ll need in your toolkit for most standard faucet repairs: adjustable wrenches (for tightening or loosening pipes), pliers (for gripping and turning tight connections), and a set of hex keys (to tackle various screw types). For more complex leaks, consider adding a faucet repair kit to your collection, which often includes specialized tools like an O-ring installer or a cartridge tool. These kits come in handy when dealing with modern faucets that use cartridges for water flow control.
Don’t forget the materials: replacement parts such as O-rings, washers, or cartridges (depending on the type of leak), and pipe thread tape or plumber’s putty to ensure a secure seal around connections. Having these essentials readily available will save you time and frustration during the repair process, making faucet repair tasks more manageable for any DIY enthusiast.
Fixing the Most Common Leakage Issues
When it comes to faucet repair, addressing common leakage issues is often straightforward. The most frequent cause of leaks is a worn-out or damaged washer or O-ring, which can be easily replaced. These simple parts are responsible for sealing off the water flow, so if they degrade over time, water will escape.
Another typical issue is a loose connection between the faucet handle and the valve stem. This can be fixed by tightening the components or replacing any worn-out parts. Regular maintenance and checking these connections can prevent minor issues from escalating into major leaks.
Replacing O-Rings and Washers: A Detailed Tutorial
When it comes to faucet repair, one common issue that homeowners often encounter is a leaking tap. A simple yet effective solution for many leaks is replacing the O-rings and washers. This DIY task can save you time and money compared to calling a plumber. To get started, gather your tools and materials: a new set of O-rings and washers compatible with your faucet model, pliers, and a small screwdriver. First, turn off the water supply valves under the sink to prevent any accidental spraying or flooding during the repair process. Then, disassemble the faucet by removing the handle and spout, revealing the internal components. Identify the worn-out O-rings and washers, which are usually located near the base of the stem or in the cartridge assembly. Remove the old parts carefully and replace them with the new ones, ensuring proper alignment for a secure fit. Reassemble the faucet, remembering to tighten the valves but not too much to avoid damage. Once finished, turn on the water supply and test the repair by turning on the faucet to ensure it operates smoothly without any leaks.
This tutorial offers a straightforward approach to fixing common faucet leaks. By replacing O-rings and washers, you can extend the life of your faucet and avoid more complex repairs. Remember, regular maintenance and quick action when noticing leaks can prevent significant water waste and potential damage to your home.
Advanced Techniques for Tightening and Adjusting Faucets

In many cases, a leaky faucet isn’t a result of a broken part but rather an issue with the tightening and adjustment mechanisms. For precise control over water flow, modern faucets employ intricate systems that can be finicky to calibrate. Advanced techniques for tightening and adjusting faucets involve understanding these intricate components and their settings.
Using the right tools and following manufacturer guidelines, homeowners can fine-tune these adjustments. This may include tightening or loosening specific nuts and bolts responsible for controlling water pressure and flow direction. Regular maintenance and these precise adjustments can extend the lifespan of a faucet, preventing costly replacements and reducing water waste associated with leaks.
Preventive Measures to Avoid Future Faucet Leaks

Regular maintenance is key in preventing future faucet leaks. One effective measure is to periodically check all faucets for any signs of damage, corrosion, or loose parts. Tighten any loose nuts and bolts, and replace worn-out washer and O-rings under the sink to stop water from seeping through. It’s also a good idea to lubricate the faucet’s moving parts with a silicone-based lubricant to ensure smooth operation and prevent wear over time.
Additionally, consider using waterproof sealant or thread sealing tape on the threads of the faucet’s connections to create a tighter seal. Keep an eye out for any unusual noises coming from your faucets, as these could be early indicators of potential issues. Regular cleaning and inspection will not only save you from costly faucet repair but also ensure your home’s plumbing system remains in top condition.
When to Call a Professional Plumber

If you’ve tried basic troubleshooting techniques, such as tightening the faucet handles or replacing the washer, and the leak still persists, it’s time to consider calling a professional plumber. Faucet repair can sometimes be more complex than it seems, especially with modern fixtures that incorporate advanced features like aerators and temperature control valves. A skilled plumber will have the expertise and tools needed to diagnose the issue accurately, whether it’s a faulty part or a deeper plumbing problem.
Professional assistance is also recommended if you’re dealing with significant water damage caused by the leak or if the faucet is in an area that makes repair difficult, such as behind cabinets or beneath sinks. Plumbers have access to specialized equipment and know-how to navigate these challenges efficiently, minimizing disruption to your daily routine and ensuring long-lasting repairs for your faucet repair needs.