
Faucet repair is essential for maintaining household plumbing efficiency. Common issues include leaks from worn seals, low pressure from mineral buildup or faulty lines, and temperature control problems. Prompt identification and resolution conserve resources and optimize system performance. Gather necessary tools and compatible replacement parts before starting. Regular maintenance like cleaning and checking for loose connections prevents leaks. Cartridge replacement guides and methods for clearing clogged drains are provided. Adjusting water pressure settings promotes balanced flow. Replacing old faucets with new models enhances aesthetics and conserves water. Regular inspections, cleaning, lubrication, and component replacement prevent costly repairs.
Tired of leaky faucets or slow drains? Learn how to tackle common residential faucet issues with our comprehensive guide. From identifying leaks and replacing cartridges to fixing clogged drains and upgrading old models, we’ve got you covered. Discover the tools and parts needed, understand the root causes of problems, and master step-by-step repairs. With these expert tips, you’ll not only save money but also contribute to your home’s longevity. Get ready to become your own plumber with our ultimate faucet repair resource!
Understanding Common Faucet Issues
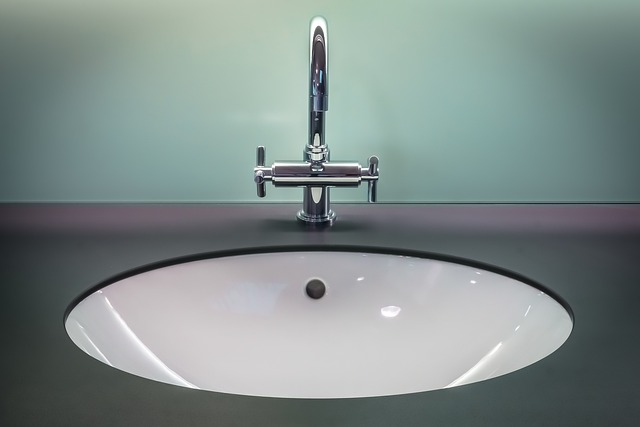
Faucets are an essential part of any home, and like all components, they can develop issues over time. Understanding common faucet problems is the first step in effective residential faucet repair. One of the most frequent issues is a leaky faucet, which can range from a minor drip to a steady stream. This problem often stems from worn-out washer or O-ring seals inside the faucet’s valve.
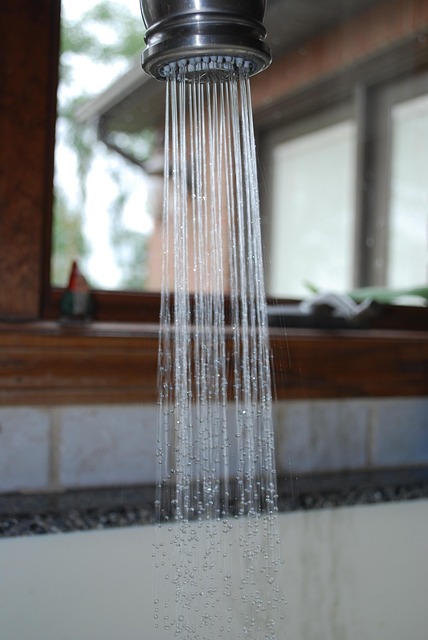
Another prevalent concern is low water pressure, leading to weak spray patterns and hindered cleaning. This issue might be caused by mineral buildup in the aerator or a faulty water supply line. Additionally, temperature control problems, such as an inability to adjust the water temperature or maintain it consistently, can result from malfunctioning cartridges or valves. Identifying these issues promptly not only saves money but also ensures your home’s plumbing system operates efficiently and effectively.
Gather Tools and Replacement Parts

Before tackling any faucet repair, it’s crucial to gather the right tools and replacement parts. This will vary depending on the type of faucet and the specific issue, but some essential items include adjustable wrenches, pliers, a screwdriver (both flathead and Phillips), and O-rings or washers as replacements. Online retailers offer a wide range of faucet repair kits that include these essentials, making it convenient to have everything you need readily available.
Ensure compatibility by checking your faucet’s model number or consulting the manufacturer’s instructions before purchasing parts. Having the correct components is key to successful faucet repair, minimizing frustration and potentially saving money on future repairs.
Identifying Leaks and Their Causes
Leaky faucets are a common household issue, often indicating a problem that’s easy to fix. Identifying the source of the leak is the first step in any faucet repair. Start by observing where the water is escaping—is it from the base of the faucet handle, the spout, or both? Leaks can stem from worn-out O-rings or washer seals, which are simple, affordable replacements. Sometimes, the culprit is a loose connection between the faucet and its supply lines, easily tightened with a wrench.
More complex leaks might involve damaged or corroded internal parts, requiring professional assessment for proper faucet repair. Regular maintenance, such as periodic cleaning and checking for loose connections, can prevent many leaks from occurring in the first place.
Step-by-Step Cartridge Replacement

To perform a cartridge replacement on your residential faucet, first, gather the necessary tools—a wrench or pliers for gripping, and possibly a new cartridge compatible with your faucet model. Turn off the water supply to prevent leaks during the repair. Locate the faucet’s cartridge, usually at the base of the spout. Next, remove any decorative covers or caps securing the cartridge in place. With the appropriate tool, unscrew and lift out the old cartridge. Clean the area thoroughly before inserting the new one. Align the new cartridge with its slots and screw it into place securely. Once the cartridge is installed, turn on the water supply to test the repair and ensure no leaks occur. If all goes well, your faucet should now function as good as new! This simple step-by-step process can save you time and money, extending the life of your faucet and reducing the need for frequent Faucet Repair.
Fixing a Clogged Sink Drain
A clogged sink drain is a common issue that can disrupt your daily routine and cause inconvenience. Thankfully, it’s often an easy fix for homeowners to undertake as part of their basic Faucet Repair skills. The first step is to gather the necessary tools, including pliers, a wrench, and possibly a drainage snake or plunger. Start by removing any traps or P-traps under the sink to gain access to the drain pipe. Then, use the tools to loosen and remove any built-up debris or hair that might be causing the clog.
Rinsing out the pipe with hot water after clearing the blockage can help prevent future clogs. If the drain still won’t unclog, consider using a chemical drain cleaner or a plunger with a larger reach for more stubborn obstructions. Regular maintenance and cleaning of your sink’s drainage system will go a long way in preventing future clogs and keeping your residential Faucet Repair tasks to a minimum.
Adjusting Water Pressure Settings

When it comes to faucet repair, adjusting water pressure settings is a crucial step in ensuring your residential faucet functions optimally. Many modern faucets come with adjustable knobs or cartridges that allow you to tweak the water flow and pressure to your preference. This is particularly useful if you’ve noticed uneven water distribution or experienced issues with water pressure. Start by locating the pressure adjustment mechanism, usually found beneath the faucet handle or within the valve body. Turn the knob clockwise to increase pressure or counterclockwise to decrease it until you achieve the desired setting.
Regular maintenance and adjustments like these can help extend the life of your faucet and prevent future faucet repair issues. Remember, consistent monitoring and slight tweaks over time can make a significant difference in maintaining a balanced water pressure system throughout your home, ensuring every tap provides the right amount of force for various tasks.
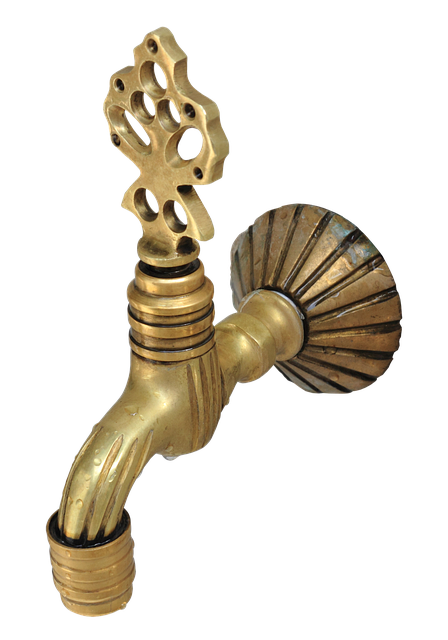
Replacing Old Faucets with New Models

Replacing old faucets with new models is an easy and cost-effective way to improve your home’s water efficiency and aesthetics. Start by assessing your current faucet’s condition, considering factors like leaks, rust, or outdated design. Once identified, visit a hardware store or browse online to select a compatible replacement model that meets your needs. Modern faucets offer various features such as touchless sensors, pull-down sprayers, or aerators for better flow control and water conservation.
Before installation, ensure you have the necessary tools and follow manufacturer instructions. Remove the old faucet carefully, taking note of any intricate parts. Compare the new faucet’s dimensions and connections to guarantee a secure fit. This process not only enhances your kitchen or bathroom’s look but also contributes to reducing water waste, ultimately saving you money on utility bills over time.
Preventive Maintenance Tips
Regular maintenance is key to avoiding costly and inconvenient faucet repair issues down the line. A simple routine can go a long way in keeping your faucets in top condition. Start by inspecting them regularly for any signs of damage, leaks, or unusual noises. Cleaning the aerator, the part at the tip of the faucet that mixes water with air, is another crucial step. Over time, mineral deposits and debris can build up, reducing water flow and potentially leading to faulty operation.
Wipe down the faucet’s exterior and remove the aerator using a suitable tool. Clean it thoroughly, rinse it off, and replace it. Additionally, lubricating the faucet’s moving parts with a silicone-based lubricant can prevent stiffening and ensure smooth operation. Remember, these simple preventive measures not only extend the lifespan of your faucets but also save you time and money in the long run by preventing more complex and expensive repairs.