
Faucet cartridge failure is a common residential issue, causing water pressure problems, leaks, and temperature control inconsistencies. Recognize signs like irregular water flow or base leaks for prompt repair. Identify your faucet type through handle/spout labels, compare with online resources, and check the existing cartridge's size/shape. Gather tools (adjustable wrench, screwdriver), supplies (new cartridges, sealants), and a bucket for safety and efficiency. Disassemble the faucet by turning off water, removing handles, decorative caps, and using appropriate tools based on the cartridge type. Install the new cartridge, ensuring proper seating, then reassemble. Regularly inspect for leaks, tighten connections, clean mineral buildup, and replace filters to extend your faucet's lifespan through faucet repair.
Tired of leaky or low-flow faucets? Learning how to replace your faucet cartridge is easier than you think, offering an effective faucet repair solution for common issues. This step-by-step guide covers everything from understanding faucet cartridge failure and identifying your faucet type to disassembling the faucet, installing a new cartridge, and final checks. By following these simple steps, you’ll have your faucet flowing like new in no time, saving you time and money on professional faucet repair.
Understanding Faucet Cartridge Failure
Many people overlook faucet cartridge failure as a common issue in their homes, often delaying necessary faucet repair. Cartridges are small but vital components that control water flow and temperature in faucets. Over time, they can wear out or become damaged due to sediment buildup, corrosion, or repeated use. When a cartridge fails, it may result in reduced water pressure, leaking, or hot and cold water mixing inconsistently.
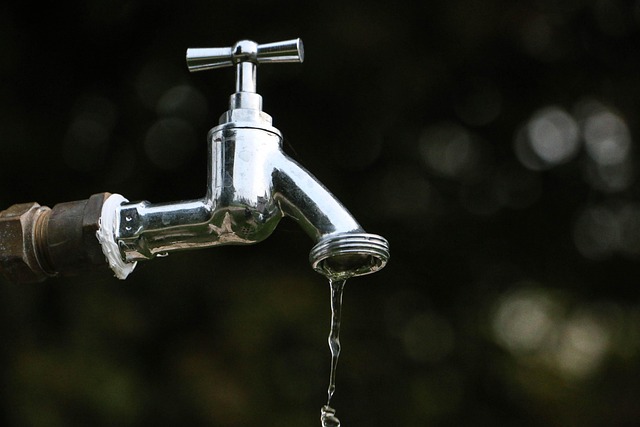
Recognizing the signs of a failing faucet cartridge is essential for effective faucet repair. This includes irregular water flow patterns, noticeable leaks at the base of the faucet, or difficulty in maintaining a consistent temperature during use. Regular maintenance, such as cleaning the faucet and replacing old cartridges promptly, can prevent these issues from escalating and ensure your faucets function optimally.
Identifying Your Faucet Type for Replacement
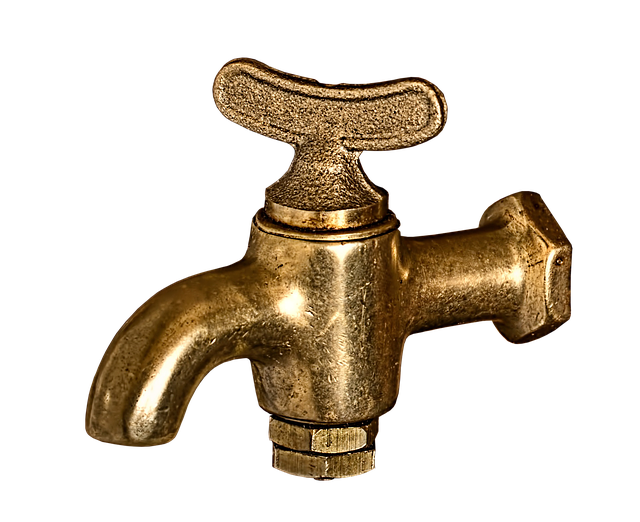
Identifying your faucet type is a crucial step in successful faucet cartridge replacement. Different faucets have unique designs and components, so accurately determining your model ensures you get the right replacement part. Start by examining the faucet’s handle and spout for any labels or markings that could indicate the brand and model. Compare these features with online resources or the manufacturer’s website to pinpoint an exact match.
Consider also checking the cartridge itself, as it’s often visible after detaching the handles. Take note of its size, shape, and any specific features. This information can guide you in sourcing a replacement cartridge that fits seamlessly, ensuring your faucet repair is done efficiently with minimal hassle.
Gathering Tools and Supplies

Before beginning your faucet cartridge replacement, it’s crucial to gather the right tools and supplies for a successful faucet repair. You’ll need a few basic items, such as an adjustable wrench or pliers, a screwdriver (often a flathead or Phillips), new cartridge(s) compatible with your faucet model, and possibly some pipe sealants or washers to ensure a secure fit. These tools enable you to disassemble the faucet without damaging its components, allowing for a clean installation of the new cartridge.
When purchasing a replacement cartridge, ensure it’s a genuine part from a reputable brand, matching your faucet’s make and model. This guarantees compatibility and longevity. Additionally, have a bucket or bowl nearby to catch any excess water during the disassembly process, as faucets can be quite messy when worked on. With these essentials in hand, you’re well-prepared to tackle the task of replacing your faucet cartridge like a pro.
Disassembling the Faucet to Access the Cartridge

When it comes to faucet cartridge replacement, the first step is disassembling the faucet to access the cartridge. This process varies slightly depending on the type and brand of your faucet, but many common faucets can be taken apart with just a few simple tools. Start by turning off the water supply valves located under the sink or at the base of the faucet. Then, using an adjustable wrench or pliers, carefully remove the handle and any decorative caps or covers that conceal the cartridge. Once these components are removed, you’ll gain access to the internal mechanism where the cartridge is nestled.
Next, identify the specific type of cartridge you’re dealing with—ball valve, disk-style, or ceramic disc—as this will determine the disassembly method. For ball valves, twist and pull the cartridge out. Disk-style cartridges might require a flathead screwdriver to release locking tabs before removal. Ceramic disc cartridges often have a simple lever or button that secures them; depress this to unlock and remove the cartridge. With the old cartridge removed, you can now insert the new one, ensuring it’s properly seated and aligned before reassembling the faucet.
Installing a New Cartridge Step-by-Step

Installing a new faucet cartridge is a straightforward process that can be accomplished in just a few simple steps. First, turn off the water supply to your faucet. This is crucial for your safety and to prevent any unexpected leaks during the repair. Next, remove the old cartridge by unscrewing it counterclockwise using a suitable tool, such as a plier or a screwdriver, depending on your faucet’s design. Once the cartridge is removed, clean the faucet’s interior and threads to ensure no debris or old sealant remains.
After preparing the faucet, insert the new cartridge in its place, making sure it aligns correctly with the existing structure. Tighten the cartridge securely but gently with your fingers. Finally, turn on the water supply and test the faucet for any leaks or proper functionality. If everything operates as expected, you’ve successfully completed a faucet repair by replacing the cartridge.
Final Checks and Maintenance Tips
Before finalizing your faucet cartridge replacement, double-check a few key things. Verify that the new cartridge is compatible with your faucet model and type. Different cartridges are designed for specific types of faucets, so ensure you have the right one to avoid any issues. Next, inspect all parts for damage or wear and replace any faulty components to prevent future problems.
For ongoing maintenance, regularly check your faucet for leaks around the cartridge and stem. Tighten any loose connections gently but firmly. Additionally, keep an eye out for mineral buildup, which can affect water flow. Regular cleaning or replacement of the filter can help maintain optimal performance. Remember, proper care and regular checks can extend the life of your faucet and ensure smooth operation for years to come, making faucet repair a valuable skill in any homeowner’s toolkit.