Homeowners can efficiently tackle common faucet repair issues by identifying leaks or flow problems. Replace worn O-rings and washers for leaks, or clean/replace aerators for flow issues. Stock essential tools and materials based on faucet type to save time. Disassemble the faucet, inspect parts, and understand their functions. Observe faucet behavior, check for damage, and locate problem areas. Replace faulty parts like O-rings, cartridges, or valves with simple processes. Reassemble, test, and celebrate successful faucet repair for optimal performance.
Tired of a leaky or sluggish bathroom faucet? Learning faucet repair is easier than you think. This comprehensive guide walks you through understanding common issues, gathering the right tools and materials, disassembling your faucet, diagnosing problems, replacing faulty parts, and finally, reassembling and testing it for optimal performance. Master these steps, and you’ll save money, extend your faucet’s lifespan, and enjoy a fully functional bathroom fixture once again.
Understanding Common Faucet Issues
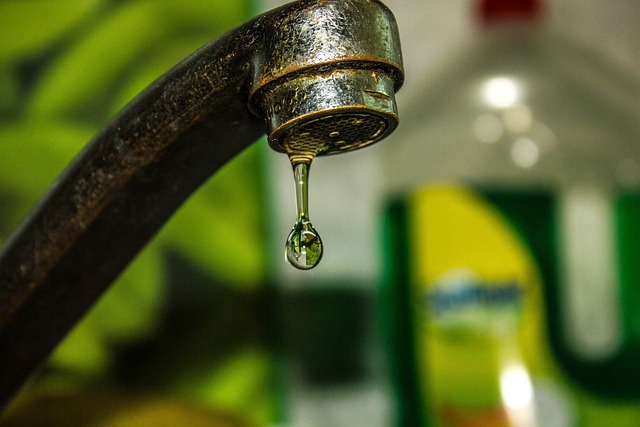
Common faucet issues can range from a simple leak at the base to an intermittent or completely stopped flow of water. Often, these problems are caused by worn-out O-rings or washers inside the faucet. Over time, these components can degenerate and no longer seal properly, leading to leaks. Another prevalent issue is a clogged aerator, which can restrict water flow and cause pressure to build up, resulting in drips.
When addressing bathroom faucet repair, it’s crucial to identify the specific problem before attempting any fix. If the leak is coming from the base, replacing the O-ring or washer is usually sufficient. However, if the water flow is severely restricted or stopped, cleaning or replacing the aerator might be necessary. Understanding these common issues and their causes can help homeowners tackle minor faucet repair tasks effectively, saving time and money.
Gathering Tools and Materials
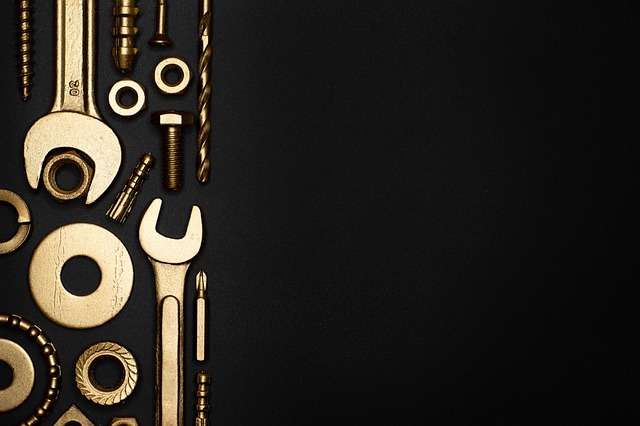
Before tackling any faucet repair, make sure you have the right tools and materials on hand. This typically includes a wrench or pliers for gripping and turning components, an adjustable or ratcheting screwdriver for loosening screws, and possibly a new washer or O-ring if your faucet is leaking. For more complex repairs, you might need a pipe wrench to tighten connections, a replacement cartridge or valve assembly, and some basic sealers or adhesives. Stocking these essentials ensures that you’re prepared for most common faucet issues, making the repair process smoother and more efficient.
When gathering your supplies, consider the type of faucet you have—whether it’s a compression, cartridge, or ball-type faucet—as this will determine the specific parts required. Double-check your existing hardware to identify any missing pieces and ensure compatibility with replacement parts. Having an organized collection of tools and materials will not only save time but also help you confidently approach the repair task ahead.
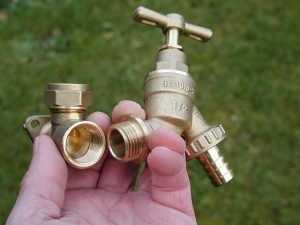
Disassembling the Faucet

When repairing a bathroom faucet, disassembling it is often the first step. This process can vary slightly depending on the faucet’s make and model but generally involves removing the handle and spout to access the internal components. Start by turning off the water supply valves beneath the sink to prevent leaks during the disassembly. Then, using the appropriate tools (such as pliers or a screwdriver), carefully loosen and remove each part, working methodically to avoid losing small pieces.
Once the faucet is completely disassembled, inspect each component for damage, corrosion, or wear and tear. This step allows you to identify which parts need replacement, ensuring an effective faucet repair and minimizing additional costs. It’s crucial to have a clear understanding of how each part functions before reassembling to ensure proper operation once the faucet is back together.
Diagnosing the Problem
When it comes to bathroom faucet repair, diagnosing the problem is the first step to ensuring a successful fix. Start by observing the faucet’s behavior – is there a noticeable leak, or does water flow at an unusual pressure? Check for any visible damage, such as broken parts or corrosion, which can provide valuable clues about the issue.
Common faucet repair problems include worn-out O-rings and washers, clogged aerators, or damaged valve cartridges. Inspect these components carefully, as they are often the root causes of leaks and poor water flow. If you’re unsure about the specific problem, consider consulting a professional plumber who can diagnose and address the issue efficiently.
Replacing Faulty Parts
When undertaking a faucet repair, one of the most common issues is faulty parts. This can include worn-out O-rings, damaged cartridges, or corroded valves. Replacing these parts is often a straightforward process that many homeowners can handle with minimal effort and tools. For instance, an O-ring replacement typically involves turning off the water supply, removing the faucet handle, and then unscrewing the faulty O-ring for a new one. Cartridge replacements might require disassembling the faucet spout, while corroded valves may need to be replaced entirely to ensure proper water flow and prevent leaks.
Having the right replacement parts is essential for effective faucet repair. It’s recommended to identify the specific model of your faucet to get the exact fit. Many hardware stores carry a wide range of replacement parts, making it easy to find what you need. Additionally, online marketplaces offer an extensive selection, allowing you to compare prices and read reviews from other customers who have performed similar repairs. By replacing faulty parts, you can extend the life of your faucet and maintain a reliable water supply in your bathroom.
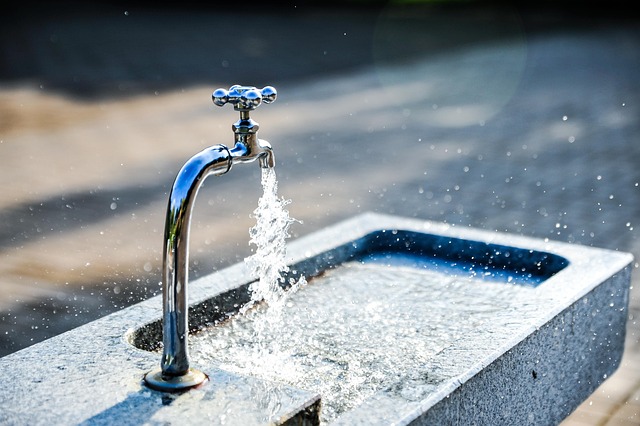
Reassembling and Testing the Faucet
After successfully replacing the faulty parts, it’s time to reassemble the faucet and put it to the test. Carefully bring all the components back together, ensuring each part is securely in place. Start by tightening any loose screws or clips that hold the spout and handle in position. Double-check the connections between the spout, valve, and supply lines to guarantee a snug fit.
Once everything is reassembled, turn on the water supply valves and gently open the faucet to release any residual pressure from the pipes. Observe as the faucet begins to operate normally, checking for any leaks at the joints or where the spout meets the base. If all seems well, you’ve successfully repaired your bathroom faucet! This process, though seemingly simple, is a crucial step in ensuring your newly mended faucet functions flawlessly and prevents future issues that could lead to costly repairs.