
TL;DR:
To effectively clean your kitchen floor, first identify its material (ceramic, vinyl, wood) for tailored care. Promptly treat spills and consider traffic patterns. Gather suitable cleaning tools and supplies, including a bucket, microfiber cloths, mild detergent, scrub brush, squeegee, gloves, and possibly a mask.
Clear furniture, remove debris, and protect surfaces. Prioritize safety with protective gear and ventilation. Test cleaning solutions on a small area first.
Deep clean by:
1. Sweeping/vacuuming to remove dirt.
2. Preparing warm water and mild detergent (test first).
3. Applying cleaner with a mop or sponge, focusing on high-traffic zones.
4. Scrubbing gently, rinsing thoroughly, and drying promptly.
Address specific issues like stains, grease, and mold with targeted cleaners. Regularly maintain floors by:
– Wiping down after meals.
– Using non-abrasive cleaners.
– Avoiding excess water exposure.
– Cleaning heavy traffic areas regularly.
Finally, sweep/wipe with a damp mop, air dry completely before use, and adhere to regular maintenance for floor longevity.
Uncover the secrets to a deep clean kitchen floor that shines like new. This comprehensive guide navigates the intricate process, from understanding your floor’s surface to applying expert cleaning techniques. We equip you with essential knowledge on gathering the right supplies and implementing safety measures.
Learn step-by-step methods tailored to various kitchen floor issues, discover maintenance tips for longevity, and master the art of final touches. Revitalize your space with these expert strategies for optimal kitchen floor cleaning.
Understanding Your Kitchen Floor Surface
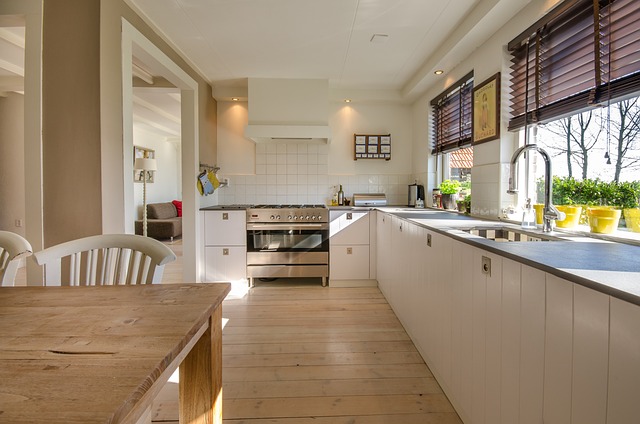
Before diving into any deep cleaning routine, it’s crucial to understand your kitchen floor surface. Different materials require distinct care approaches. Ceramic tiles, for instance, may only need a simple mopping with a mild detergent, while vinyl floors could demand specialized cleaners to prevent damage. Wood floors necessitate a more delicate touch; using the wrong cleaner can lead to staining or even permanent damage.
Regular traffic and spillage patterns also play a significant role in floor care. High-traffic areas are more prone to wear and tear, necessitating frequent cleaning. Spills should be treated promptly to prevent staining. Identifying these factors will help tailor your kitchen floor cleaning routine, ensuring both efficiency and longevity of your flooring.
Gathering the Necessary Cleaning Supplies
Before diving into the deep cleaning process, ensure you have all the essential tools and supplies on hand. For kitchen floor cleaning, a good start is having a bucket, clean microfiber cloths or sponges, a mild floor cleaner suitable for kitchen use, and a scrub brush with soft bristles. Don’t forget a squeegee to remove excess water effectively.
Additionally, protective gear like rubber gloves can ensure your hands stay clean, while a mask might be useful if you’re sensitive to the fumes from some cleaning products. Having these ready makes the cleaning process smoother and more efficient, allowing you to focus on achieving that gleaming kitchen floor without any delays.
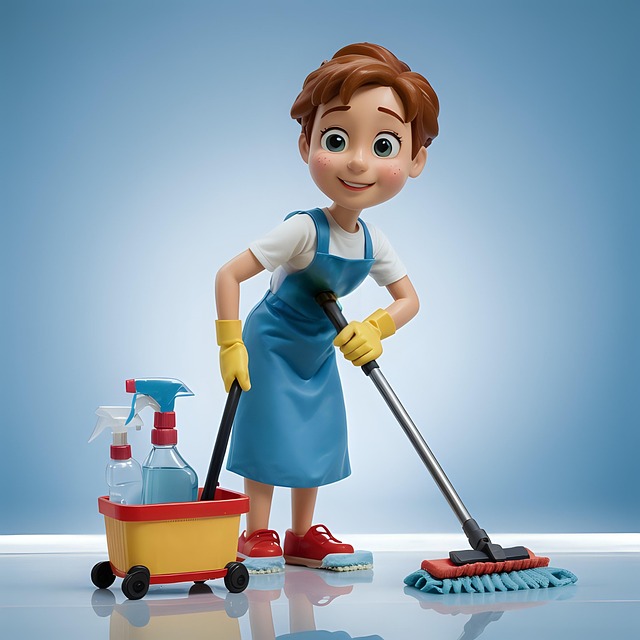
Preparation and Safety Measures

Before beginning any deep cleaning process, preparation is key to achieving optimal results. For kitchen floor cleaning, start by clearing all furniture and appliances away from the floor area. Remove any loose debris, food particles, or dirty items to ensure a thorough clean. Cover nearby surfaces with drop cloths or old towels to protect them from potential cleaning solutions and splashes. This step ensures that your cleaning session is efficient and effective, leaving no stone unturned in the quest for a sparkling kitchen floor.
Safety should always be a priority when handling cleaning products. Wear protective gear such as gloves and a mask to avoid direct contact with harsh chemicals. Ensure proper ventilation in the kitchen by opening windows or using exhaust fans. Choose non-toxic, environmentally friendly cleaning agents suitable for kitchen floors to maintain a healthy atmosphere. Additionally, test any cleaning solution on a small, discreet area first to ensure it doesn’t damage or discolor your flooring material.
Deep Cleaning Steps for Kitchen Floors

Deep cleaning your kitchen floors is an essential part of maintaining a hygienic and inviting space. Start by sweeping or vacuuming to remove any loose dirt or debris, ensuring you get into all corners and along baseboards. This initial step prevents particles from settling further, making the subsequent cleaning process more effective.
Next, prepare a solution of warm water and mild detergent suitable for your floor type. Test the solution on a small, inconspicuous area first to check for any adverse reactions. Apply the cleaner using a mop or sponge, focusing on high-traffic zones and areas prone to staining. Scrub diligently but gently, avoiding excessive pressure that could damage the floor. Rinse thoroughly with clean water, ensuring no soapy residue remains, as this can attract dirt and create a sticky surface. Dry the floors promptly to prevent water damage and promote a clean, sparkling finish.
Addressing Common Kitchen Floor Issues
Kitchen floors often face unique challenges due to their high traffic and exposure to various substances, leading to common issues like stains, greasy buildup, and even mold growth. Addressing these problems promptly is essential for maintaining a clean and safe kitchen environment. Regular kitchen floor cleaning involves more than just mopping; it requires targeted solutions to tackle specific issues effectively.
For instance, oil and grease stains need specialized cleaners to break down the accumulation without damaging the flooring surface. Similarly, mold and mildew thrive in damp environments, so deep cleaning should include thorough drying and sanitizing to prevent these health hazards. By understanding these common kitchen floor problems and employing appropriate cleaning methods, you can extend the life of your floors and ensure a fresh, hygienic space for food preparation.
Maintenance Tips for Longevity
Regular maintenance is key to keeping your kitchen floors looking their best and extending their lifespan. After each meal, take a few minutes to wipe down the surfaces with a damp mop or cloth. This simple step prevents food particles from drying on the floor, which can lead to tough stains and odors over time.
Additionally, consider using non-abrasive floor cleaners and avoiding excessive water exposure. Too much moisture can damage the flooring, especially if it’s not meant for high-humidity environments. Lastly, be mindful of heavy traffic areas—regularly clean and dry these zones to prevent rapid wear and tear. By incorporating these practices into your daily routine, you’ll ensure that your kitchen floors remain in excellent condition for years to come.
Final Touches and Letting the Floor Dry

After thoroughly cleaning your kitchen floor, it’s time for the final touches. Sweep or vacuum the area to remove any lingering dust or debris from the cleaning process. This step ensures a streak-free finish and prevents any grit from scratching the floor. Once swept, give the floor a quick wipe down with a clean, damp mop to catch any remaining dirt and ensure an even sheen.
Allowing the kitchen floor to dry properly is crucial for deep kitchen floor cleaning. After wiping it down, let the floor air dry completely before walking on it or using the space. Proper drying prevents water damage and ensures the floor’s longevity. You can speed up the process by using a fan or opening windows, but always check that the surface is dry to touch before proceeding with any activities in the kitchen.