
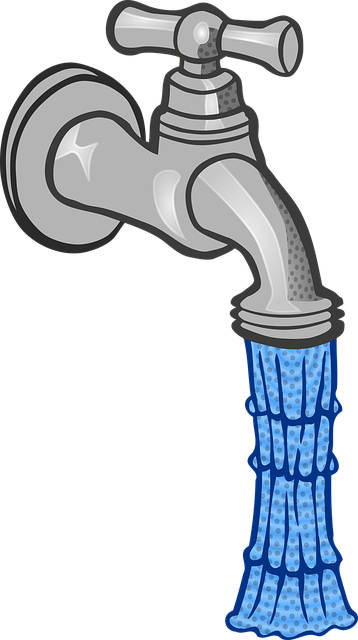
Faucet repair can be easily managed by homeowners through simple DIY techniques, saving time and money. This guide emphasizes identifying specific issues like leaks, low water pressure, and loose handles, providing tips for regular cleaning and referring to online tutorials. Essential tools include wrenches, pliers, O-rings, and washer packets, tailored to the repair task. Key repairs cover leaky faucets (6 easy steps), cartridge replacement (minimal effort), and fixing loose handles. Upgrades like aerators and new handles can enhance both aesthetics and water pressure control. While minor issues are DIY-friendly via online tutorials, complex problems require professional intervention for accurate solutions. Regular maintenance, including leak checks and lubrication, ensures optimal faucet performance and longevity, reducing the need for costly replacements.
Looking to fix that leaky faucet without breaking the bank? This guide is your go-to resource for all things faucet repair. From identifying common issues like leaks and loose handles, to step-by-step tutorials on replacing cartridges and tightening parts, we’ve got you covered.
Learn the basics of DIY faucet upgrades for improved flow and aesthetics, and know when it’s time to call in professional help. Discover essential maintenance tips to ensure your faucets last for years to come – all without overspending. Get ready to tackle those pesky faucet problems with confidence using these affordable solutions.
Understanding Common Faucet Issues
Many common faucet issues can be easily resolved with simple repairs, saving you time and money. One of the most frequent problems is leaks, whether from the base or the spout. This often results from worn-out O-rings or cartridges—easily replaceable parts. Another typical issue is low water pressure, which can be caused by mineral buildup in the aerator or a clogged drain pipe. Regular cleaning and maintenance can prevent these issues.
Faucet repair shouldn’t be intimidating; most problems follow clear patterns. Identifying the specific issue is the first step towards fixing it. Online tutorials and DIY guides are readily available for various faucet models, making repairs more accessible. Understanding these common issues equips homeowners with the knowledge to tackle basic faucet repair, promoting a cost-effective and empowering approach to maintaining your kitchen or bathroom fixtures.
Gather Tools and Materials for Repair

Before starting any faucet repair, it’s essential to gather all necessary tools and materials. This typically includes a wrench or pliers for removing parts, replacement O-rings or washer packets, and possibly a new faucet aerator if the current one is damaged or outdated. Having these readily available ensures a smoother process and reduces potential delays.
When preparing your toolkit, consider the specific type of faucet repair you’ll be conducting. For instance, if it’s a simple leak fix, you might only need basic tools and replacement parts. However, for more complex issues like replacing the entire faucet or fixing a low-flow problem, you may require specialized tools and additional components tailored to those tasks.
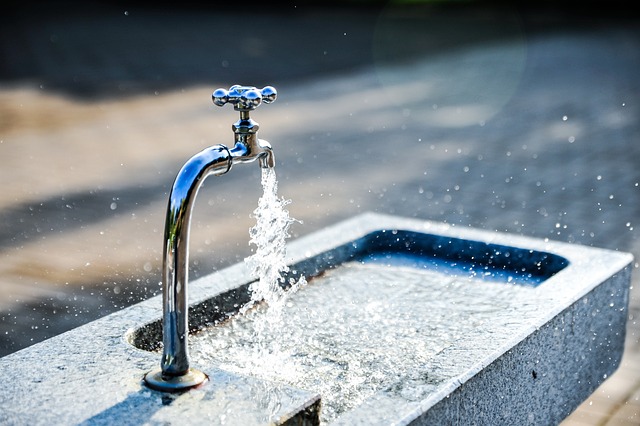
Step-by-Step Guide to Fixing a Leaking Faucet
Leaky faucets aren’t just a nuisance; they can also waste a significant amount of water over time. Fortunately, fixing a leaking faucet is a straightforward process that most homeowners can tackle themselves with just a few simple tools and supplies. Here’s a step-by-step guide to help you get started on your faucet repair:
1. Turn off the water supply: Before beginning any repair work, it’s crucial to shut off the water to prevent leaks during the process. Locate the shut-off valves under the sink or behind the faucet and turn them clockwise until they’re tightly closed.
2. Gather your tools and supplies: You’ll need a few essential items for the job: an adjustable wrench or pliers, new O-rings or washers (ensure they’re compatible with your faucet), and possibly some pipe tape or waterproof sealant.
3. Remove the faucet handle: Depending on your faucet’s design, you may either unscrew or pop off the handle. This usually involves rotating the handle counterclockwise or gently pulling it away from the spout.
4. Disassemble the faucet: Next, you’ll need to remove the stem and other internal parts. This might require some force with your wrench or pliers. Take note of how these parts are arranged as you disassemble them for easier reassembly later.
5. Inspect and replace worn parts: Examine the O-rings, washers, and gaskets for any signs of damage or wear. If they’re worn out or damaged, replace them with new ones.
6. Reassemble and test: After replacing all necessary parts, carefully reassemble the faucet in reverse order of disassembly. Tighten the components gently to avoid stripping threads. Turn on the water supply and check for leaks at each connection point. If there are no leaks, your faucet repair is a success!
Replacing Faucet Cartridges: A Simple Process
Faucet cartridges are an essential component in most modern faucets, controlling the flow and temperature of water. Replacing them is a straightforward process that can extend the life of your faucet and save on costly repairs or premature replacement. Many cartridges fail due to mineral buildup or damage from hard water, but with a few simple tools and steps, you can swap them out in no time.
First, turn off the water supply to your faucet under the sink. Then, locate the cartridge—it’s usually accessible by detaching the faucet handle or removing a small panel on the faucet body. Once exposed, twist the old cartridge counterclockwise to remove it, and insert the new one in its place, ensuring it clicks into position. Finally, turn on the water supply and test the flow and temperature control before disposing of the old cartridge responsibly. This simple DIY task can be accomplished by most homeowners without professional help, saving money and potentially preventing more complicated faucet repairs down the line.
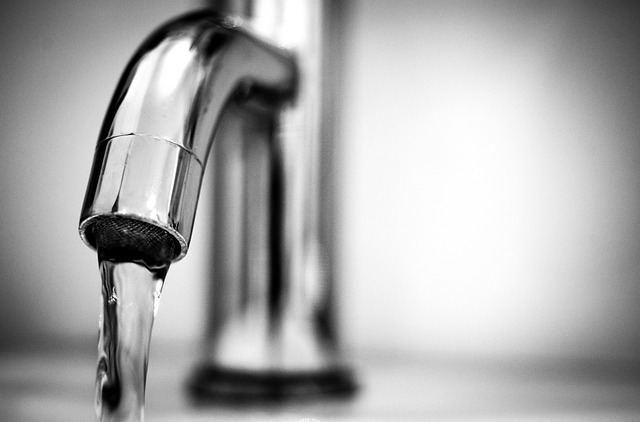
How to Tighten a Loose Faucet Handle
If your faucet handle is loose, it’s a simple faucet repair task that can be completed in just a few minutes with the right tools. First, gather an adjustable wrench or pliers, as these will help you tighten the components beneath the handle. Turn off the water supply to your faucet before beginning to avoid any accidental spills or water damage. With the water shut off, unscrew the handle from the valve stem using your chosen tool. Once removed, inspect the parts for any debris or damage. Clean the area thoroughly and replace any worn-out parts if necessary. Reattach the handle securely, ensuring it’s tightly fastened to the valve stem. Turn on the water supply and test the handle’s firmness.
DIY Faucet Upgrades for Better Flow and Look

Transforming your faucet can be an easy, cost-effective way to upgrade your kitchen or bathroom without breaking the bank. Many DIY enthusiasts find that a simple faucet repair or replacement can significantly improve both the functionality and aesthetics of their space. With a few basic tools and some creative flair, you can achieve a whole new look and feel.
One popular method involves installing aerators, which not only enhance water flow but also add a modern touch. These devices attach to your existing faucet and mix air with water, creating a smoother, more powerful stream. Additionally, consider swapping out old faucet handles for contemporary designs, available in various styles and finishes to match any decor. This simple upgrade can instantly elevate the look of your sink while also providing better control over water pressure.
When to Call in the Professionals

If your faucet issues are minor and easy to fix, like a leaky tap or a slow-flowing water stream, DIY methods can be an affordable solution. You can find many tutorials online that guide you through simple faucet repair processes. However, there comes a time when these quick fixes aren’t sufficient. Complex problems such as severe leaks, damaged or broken parts, or unusual noises might indicate a need for professional help. Faucet repair experts have the specialized tools and knowledge to diagnose intricate issues accurately. They can also ensure that any replacement parts are compatible and of high quality, preventing future breakdowns. Calling in the professionals is especially advisable if your faucet is connected to other plumbing systems or if you’re unsure about handling the repair yourself.
Maintenance Tips for Long-Lasting Faucet Solutions

Regular maintenance is key to ensuring your faucet solutions last for years to come. Start by periodically checking for any signs of leaks, even tiny drips can lead to significant water waste over time. Addressing leaks promptly with a simple repair kit or replacing worn-out parts can prevent major damage and costly replacements.
Keep your faucets in top shape by lubricating the valves and discs regularly. Most faucet repairs involve these components, so maintaining them now can save you money later. Additionally, consider using a funnel to pour cleaning solutions directly into the drain to clear any buildup without disassembling the faucet entirely. These small acts of care will contribute to the longevity and functionality of your affordable faucet solutions.