Leaky faucets commonly result from worn washers, O-rings, loose connections, or faulty cartridges/valves, with corroded supply lines as a lesser cause. Before repairing, assemble essential tools like wrenches and pliers, and consider a replacement cartridge. DIY repairs are affordable; disassemble the faucet, identify issues, replace parts (washers, O-rings), test, and tighten components. Regular tightening, maintenance, and inspections prevent leaks and ensure efficient Faucet Repair.
“Tired of that persistent drip-drip-drip? Don’t let a leaky faucet drain your wallet or patience. Learn how to tackle common leaky faucet issues with this comprehensive guide, offering a simple and affordable solution. From disassembling the fixture to replacing worn washers and O-rings, each step is demystified for even novice DIYers.
Equipped with the right tools and knowledge, you can fix that nagging leak, save money on plumbing bills, and prevent further damage. Get ready to turn a mundane task into a satisfying feat of faucet repair!”
Understanding Common Leaky Faucet Issues
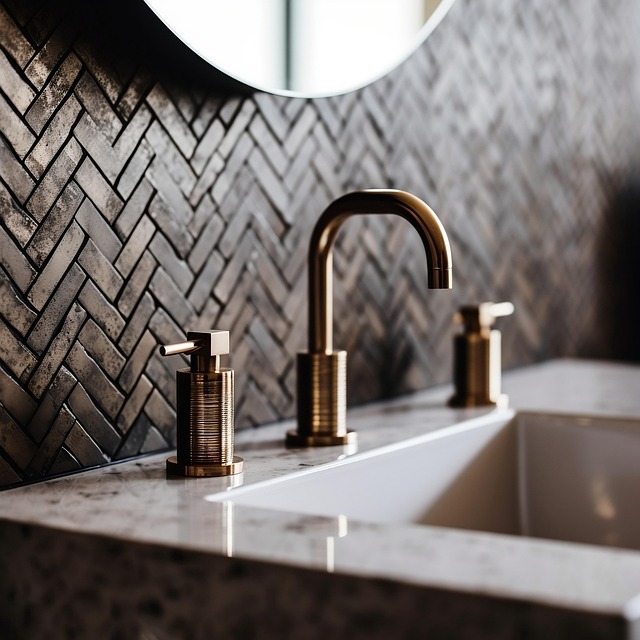
Leaky faucets are a common household issue, often stemming from various parts within the faucet’s structure. The most frequent culprit is a worn-out or damaged washer or O-ring, which controls the water flow. Over time, these components can deteriorate, allowing water to escape and drip relentlessly. Another typical cause is loose connections, especially at the base of the faucet where pipes meet. This can lead to not only leaks but also unpredictable water pressure issues.
Additionally, older faucets might have faulty cartridges or valves that regulate water flow and temperature. Cartridge replacements are relatively straightforward fixes for this issue. Conversely, corroded or damaged supply lines connecting to the faucet can also contribute to leaks, requiring either cleaning or complete replacement during a faucet repair. Recognizing these common problems is essential in addressing them efficiently when undertaking a faucet repair.
Gather Tools and Materials for Repair
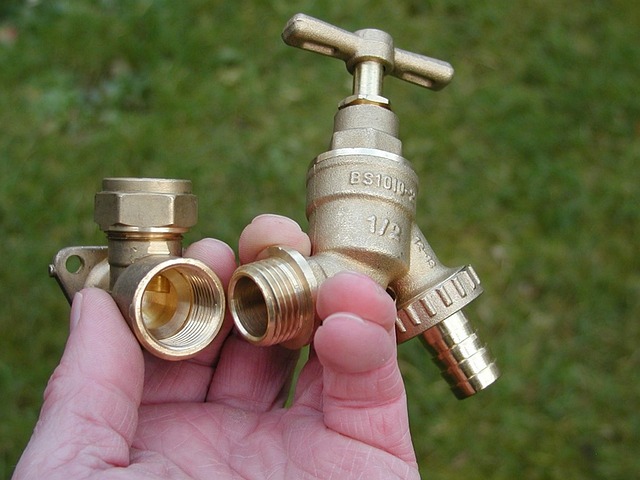
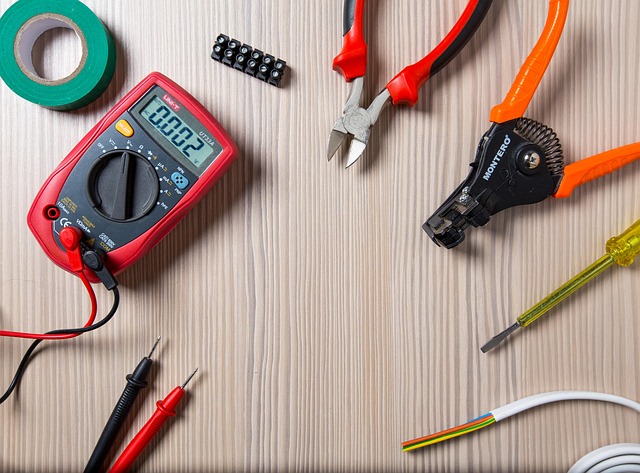
Before tackling a leaky faucet repair, ensure you have the necessary tools and materials at hand. This typically includes a wrench or pliers for unscrewing parts, Teflon tape or faucet seals, and sometimes a replacement cartridge if the problem is with the internal valve. For more complex repairs, you might need an adjustable wrench, channel locks, or even a new faucet handle set. Having these readily available will save time and make the repair process smoother.
When preparing for a faucet repair, consider your skill level and the type of faucet you have. Some fixtures may require specific tools or knowledge, so it’s beneficial to research beforehand. Many hardware stores offer helpful guides and even rent tool sets for DIY repairs, making it accessible for everyone to tackle a leaky faucet and save on potential plumber costs.
Step-by-Step Guide to Faucet Disassembly

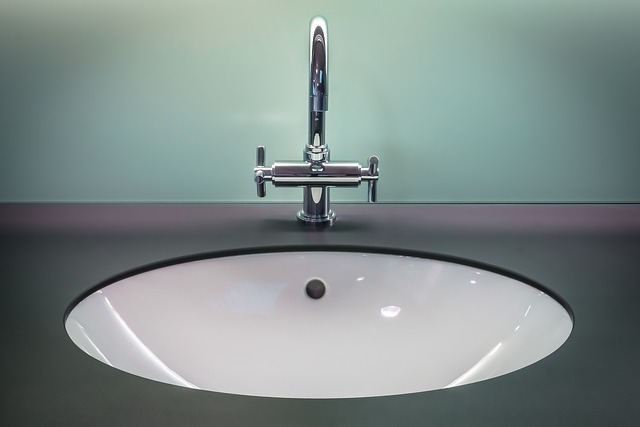
Fixing a leaky faucet yourself is an affordable and satisfying DIY project. Before tackling any faucet repair, it’s crucial to understand that most faucets share similar components, making disassembly a relatively straightforward process. Start by turning off the water supply valves located under the sink or at the base of the faucet. Then, gather your tools: a wrench or pliers for removing nuts and bolts, and possibly a new O-ring or washer if yours is worn out. Next, unscrew the faucet handle and remove it to access the spout. This usually involves detaching the handle from the valve stem with a slight twist. Once exposed, carefully disassemble the internal parts, taking note of how they are arranged. Identify the specific component causing the leak, whether it’s an O-ring, washer, or cartridge. Replace it with a new one and reassemble the faucet, ensuring all parts are securely fastened. Testing is key; turn on the water supply and observe if the leak has been successfully stopped.
Replacing Washers and O-Rings Effortlessly
When it comes to leaky faucets, one of the simplest and most cost-effective fixes is replacing the washers and O-rings. These components are often the culprit behind even the smallest leaks. Washers and O-rings are relatively inexpensive and easy to install, making them a DIYer’s dream. With just a few basic tools, you can have your leaky faucet fixed in no time.
First, turn off the water supply under the sink using the shut-off valves. Then, remove the existing faucet handle and expose the cartridge or stem assembly. Next, locate the washers and O-rings—they’re usually color-coded for easy identification—and replace them with new ones of the same type. Ensure a tight fit to prevent future leaks. Once everything is securely in place, turn on the water supply and test the faucet to confirm the leak has been successfully stopped. This quick and easy process can save you money and reduce water waste caused by those annoying drips.
Tightening Faucet Components Securely

When fixing a leaky faucet, one of the initial steps is to tighten the various components securely. This often involves the handle, cartridge, and stem. Begin by turning off the water supply beneath the sink using the shut-off valves. Then, with the right tools (often just a wrench or pliers), gently yet firmly tighten these parts. Make sure not to overtighten, as it can cause damage; a slight turn should suffice.
Regular maintenance and timely tightening can prevent leaks from occurring in the first place. It’s an easy task that anyone can do with basic tools, saving you money on potential faucet replacements or professional repairs. Remember, proper installation and security of these components are key to effective faucet repair.
Final Testing and Prevention Tips
After completing your leaky faucet repair, it’s crucial to perform a final test to ensure the issue has been fully resolved. Turn on the faucet and observe if any water leaks remain. Check for drips at the base of the faucet, around the handle, or at the connection points. If the faucet still leaks, re-evaluate your repair steps, double-checking for any loose parts or improper assembly.
To prevent future leaky faucet issues, maintain regular upkeep of your plumbing fixtures. Periodically inspect faucets for any signs of damage or wear and tear. Lubricate the faucet’s moving parts as needed to ensure smooth operation. Additionally, consider using water-efficient aerators to reduce water flow without compromising pressure, thereby saving on both water and energy bills. Remember, timely maintenance and a keen eye for potential problems can go a long way in keeping your faucets in top condition.