This text identifies common bathroom faucet issues like dripping, low pressure, and temperature control problems caused by wear and tear. It emphasizes the importance of identifying these issues for prompt faucet repair. The guide provides step-by-step instructions on gathering tools, inspecting damage, disassembling the faucet, replacing parts (e.g., O-rings, cartridges), reassembling, and testing to ensure leak-free performance. Regular maintenance is key to extending faucet lifespan.
“Are you tired of a leaky or faulty bathroom faucet? This comprehensive guide will empower you to tackle common faucet repair issues head-on. From identifying leaks and replacing cartridges to tightening connections, we’ll navigate you through every step.
Learn how to access the faucet under the sink, understand basic mechanisms, and perform effective troubleshooting. Master essential tools and techniques for a successful DIY faucet repair, saving time and money. Get ready to transform your bathroom with this handy resource on faucet repair.”
Understanding Common Faucet Issues
Many bathroom faucet issues stem from simple wear and tear or incorrect usage. One common problem is a dripping faucet, which can be caused by loose or damaged O-rings or washer cartridges—components that control water flow and seal off the spout. Over time, these parts can degrade, allowing water to leak out. Another frequent issue is low water pressure, often due to mineral buildup in the aerator or a partial clog in the drain pipe.
Additionally, faucets might make strange noises, such as squeaking or banging, indicating loose connections or damaged internal components. Some issues may also be related to temperature control, with hot and cold water handles sticking or not mixing correctly. Identifying these problems is crucial for effective faucet repair, ensuring homeowners can quickly address them to maintain a well-functioning fixture.
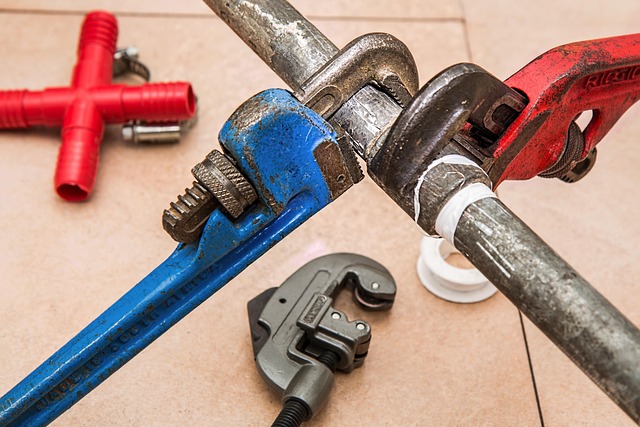
Gather Tools and Replace Parts

Before starting any faucet repair, ensure you have all the necessary tools, such as adjustable wrenches, pliers, and replacement parts specific to your faucet model. These may include O-rings, seals, or cartridge assemblies. Gather them based on what seems damaged or worn out during initial inspection. Remove any decorative covers or caps securing the faucet handle to access the internal components.
Use your tools to carefully disassemble the faucet, starting with the handle and then the spout. Once exposed, identify and locate the faulty parts. Replace them one by one, tightening connections securely yet gently. Double-check that all parts are in place and functioning correctly before reassembling the faucet, ensuring a leak-free seal.
Accessing the Faucet Underneath the Sink

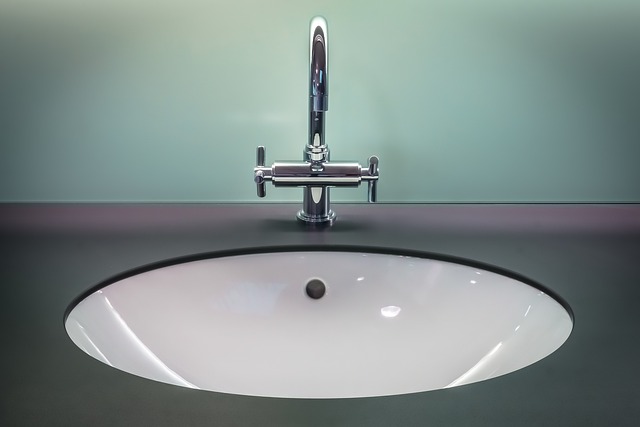
To begin your faucet repair, the first step is accessing the faucet underneath the sink. This typically involves lifting up or removing the sink’s base, depending on your model. Once you’ve gained access, you’ll be able to inspect and address any issues with the faucet components. It’s a good idea to gather the necessary tools beforehand—a wrench or pliers are usually all you need—to make the process smoother.
Underneath the sink, look for the supply lines and the faucet itself. These parts can be secured by various types of connections, such as compression fittings or ceramic disc cartridges. By carefully manipulating these connections, you can release them to gain access to internal parts that may require replacement during your faucet repair.
Identifying Leaks and Fixing Them
Leaky faucets are a common issue that many homeowners face. Identifying the source of the leak is the first step in fixing it. Typically, leaks occur due to worn-out O-rings or washer cartridges within the faucet mechanism. These components can deteriorate over time, allowing water to escape and drip continuously.
To fix a leaky faucet, you’ll need to turn off the water supply valves beneath the sink and disassemble the faucet. Once exposed, inspect the internal parts for any damage or debris. Replace worn-out O-rings or cartridges with new ones specifically designed for your faucet model. Ensure proper seating of these parts and reattach the faucet. After reassembly, turn on the water supply and test the repair by checking if the leak has been effectively halted.
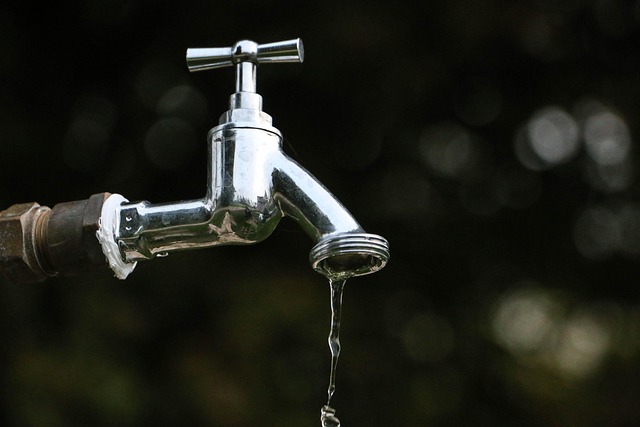
Troubleshooting Dripping Faucets
If your bathroom faucet is dripping, it’s likely a simple fix. Start by checking the faucet for loose or damaged parts, as a loose washer or O-ring could be the culprit. These components are usually easy to replace and can be found at most hardware stores.
Next, examine the faucet’s seal or cartridge. Over time, these can wear out and cause leaks. If the problem persists after replacing the washer or O-ring, it might be necessary to disassemble the faucet to access and repair or replace the cartridge. Online tutorials can guide you through this process, ensuring a successful Faucet Repair without needing a professional.
Replacing Cartridge or Valve Mechanisms
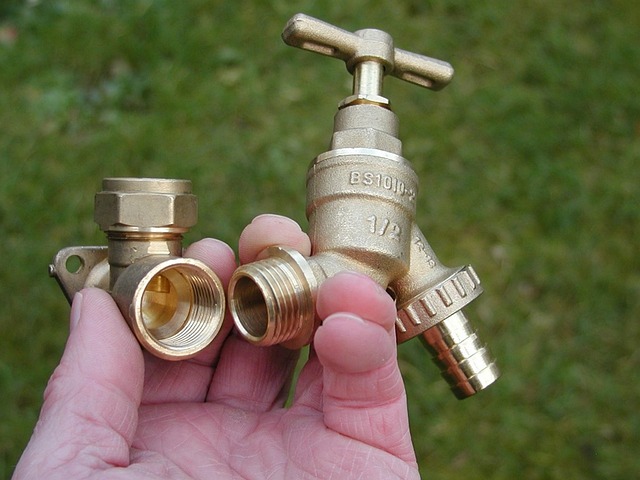
When it comes to faucet repair, replacing cartridge or valve mechanisms is often a straightforward process that can extend the life of your fixture. These components are responsible for controlling the water flow and temperature in your bathroom faucet. If they start to leak, drip, or fail to maintain pressure, it’s time for a replacement.
Cartridge and valve assemblies come in various styles and sizes, so identifying the correct part is crucial. Most modern faucets use a single-handle cartridge system, while older models might feature separate hot and cold control valves. Understanding your faucet’s make and model will help ensure you get the right parts, making the repair job more efficient and effective.
Tightening Connections and Sealing
When fixing a leaky or malfunctioning bathroom faucet, one of the most common tasks is tightening connections and sealing. Start by locating the faucet’s supply lines—usually behind the faucet or under the sink—and check for any loose connections. Use a wrench or pliers to gently tighten the fittings, ensuring they’re secure but not overly tight to avoid damage.
Next, inspect the seals or gaskets around the faucet spout and base. These can wear out over time, leading to leaks. Replace any worn-out parts with new ones specifically designed for your faucet model. Apply a bead of waterproof sealant around these joints to create a secure, leak-proof seal. This simple step can significantly improve the overall efficiency of your faucet repair.
Final Testing and Maintenance Tips

After successfully replacing or repairing your bathroom faucet, it’s crucial to conduct final testing to ensure everything functions as expected. Start by turning on the water supply and checking for any leaks at the connections. Also, test the faucet’s temperature control (if applicable) and pressure to guarantee consistent performance. If all seems well, move on to maintenance tips to keep your new or repaired faucet in top shape. Regularly inspect O-rings and gaskets for signs of wear and replace them as needed. Wipe down the faucet with a soft cloth to prevent mineral buildup, which can cause water spots and reduce luster over time. Lastly, remember to clean the aerator regularly to maintain optimal water flow and prevent clogs. These simple steps will help extend the life of your bathroom faucet repair, ensuring years of smooth operation.