Faucet leaks commonly arise from worn O-rings/washers or faulty aerators. Early identification through signs like dripping water is crucial for efficient faucet repair. The right tools—pliers, wrench set, channel locks, plumber's putty, replacement parts—enable DIY repairs. Visual inspection, turning off water valves, and checking connections are initial steps. Understanding sink components aids in troubleshooting leaks. Washer/O-ring replacements typically fix common issues; disassembly may be needed for severe cases. Regular maintenance, inspections, high-quality repair kits, and aerators prevent future leaks.
“Discover how to identify and fix those annoying faucet leaks! This comprehensive guide covers everything from understanding leak causes—like worn out O-rings or cartridge failures—to advanced repair techniques. We equip you with essential tools and walk you through a step-by-step detection process. Learn about common faucet parts, basic troubleshooting tips, and preventive measures to keep your fixtures in top shape. Master faucet repair and save money by tackling leaks head-on.”
Understanding Faucet Leak Causes
Faucet leaks are a common household issue, but understanding their causes is the first step towards efficient faucet repair. The most prevalent reasons include worn-out or damaged O-rings and washers inside the faucet’s internal mechanism. Over time, these components can degenerate due to mineral buildup, corrosion, or simple wear and tear, leading to leaks. Another less common but significant cause is a faulty aerator—the part responsible for mixing air with water—which can become clogged or damaged, resulting in an irregular water flow and potential leaks.
Identifying the specific cause of a leak is crucial when considering faucet repair. Homeowners should look out for signs like dripping water at the base of the faucet, a constant low-level hum or noise, or water pooling under the sink. Addressing these issues promptly not only saves water but also prevents further damage and higher repair costs.
Essential Tools for Repair
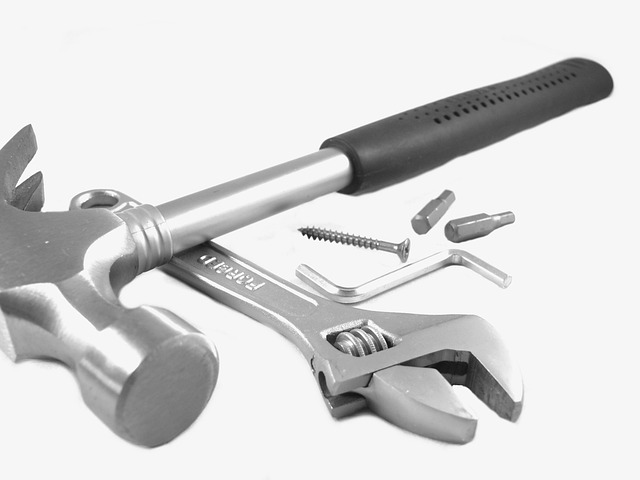
When it comes to faucet repair, having the right tools is essential. For any standard faucet leak or issue, a few key tools will be your best allies. Start with a good set of adjustable pliers, perfect for gripping and turning nuts and bolts that might be tight or corroded. A wrench set, specifically designed for plumbing, is another must-have; these come in various sizes to accommodate different faucet parts.
Additionally, consider investing in a pair of channel locks, which provide a firm grip on pipes and are ideal for tightening or loosening connections. A bucket, some plumber’s putty, and replacement O-rings or washers will also be handy. These tools enable you to effectively diagnose and repair common faucet leaks, ensuring your plumbing system remains in top condition.
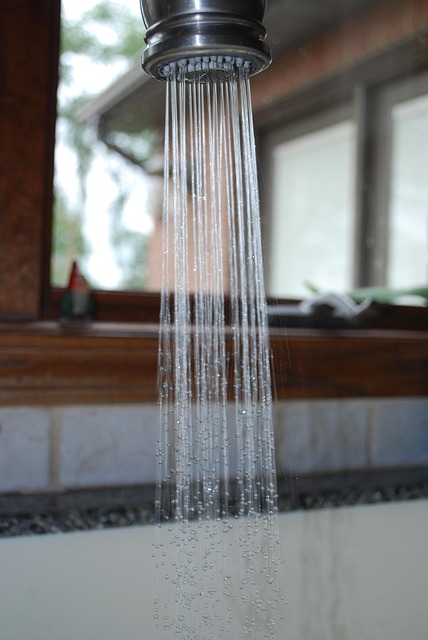
Step-by-Step Leak Detection Process

To begin your faucet leak detection process, start by observing any visible signs of water damage around the faucet. Check for dripping water or moisture on the counter or floor beneath the faucet. This can indicate a clear leak. Next, turn off the water supply valves located under the sink to halt water flow and prevent further leakage. After shutting off the valves, open the faucet to release any residual pressure from the pipes.
The next step involves checking for leaks at the faucet’s various components. Inspect the connections between the faucet handle, valve stems, and cartridge (if applicable). Look for any loose fittings or signs of corrosion. A tight seal at these joints is crucial for leak prevention. If you identify any issues, tighten the fittings using a suitable wrench or pliers. If the leak persists, it might be due to a faulty cartridge or valve seat, requiring replacement during your faucet repair.
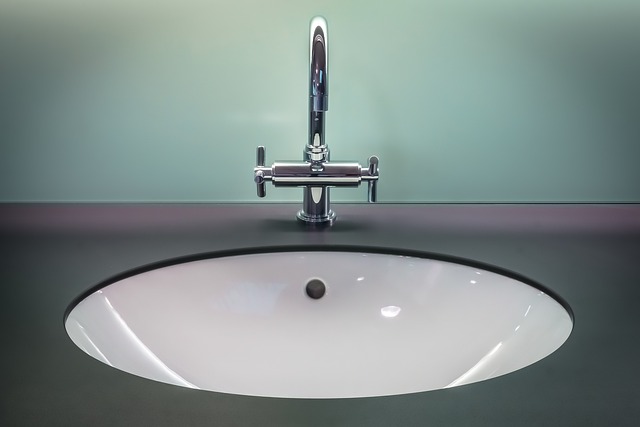
Common Faucet Parts and Their Functions

Faucet repairs often revolve around understanding the various components that make up your sink fixture. Common faucet parts include the handle, spout, cartridge, valve seats, O-rings, and gaskets. Each plays a specific role in the water flow process. The handle controls the water volume and temperature by manipulating the valve beneath the sink. The spout is responsible for directing the water flow, while the cartridge acts as the core mechanism, regulating the water pressure and mix. Valve seats are where O-rings and gaskets create a seal to prevent leaks, ensuring efficient water control. Familiarizing yourself with these parts can significantly aid in troubleshooting and repairing a leaky faucet, making faucet repair tasks more manageable for any DIY enthusiast.
Troubleshooting Basic Leak Issues
If your faucet is leaking, the first step in troubleshooting is to identify the source of the problem. Most leaks fall into one of two categories: a faulty washer or a damaged O-ring. A leaky washer is usually easy to fix—it’s a simple matter of removing the faucet handle and replacing the worn-out washer with a new one. This process often involves turning off the water supply under the sink, so be sure to have a towel handy to catch any drips.
If your problem lies with an O-ring, it might be a bit more challenging. The O-ring is responsible for sealing the faucet’s internal components, and over time, it can become damaged or hardened, leading to leaks. Replacing an O-ring typically requires disassembling the faucet and may need specialized tools. However, many DIYers find that with a little patience and the right replacement parts, they can successfully tackle this Faucet Repair on their own.
Advanced Repair Techniques for Complex Leaks
When it comes to complex faucet leaks, traditional repair methods may not be enough. In such cases, advanced techniques are required to identify and fix the issue effectively. One such method involves using specialized tools to locate the source of the leak, especially in hard-to-reach areas or multiple-joint connections. These tools can include high-tech sensors that detect even the slightest water pressure changes, helping to pinpoint the exact location without causing further damage.
For severe leaks, a more intricate approach is necessary. This might include disassembling parts of the faucet, such as the cartridge or valve seats, to thoroughly clean and replace worn-out components. Advanced repair techniques also offer the advantage of precision, ensuring that every part is examined and replaced if needed. By employing these sophisticated methods, homeowners can tackle complex faucet leaks, prolonging the life of their fixtures and conserving water resources.
Preventive Measures for Future Leaks

To prevent future faucet leaks, regular maintenance is key. Check your faucets periodically for any signs of damage or wear, especially around the O-rings and gaskets, which are common leak points. A simple visual inspection can help identify potential issues early on. Replacing these parts before they fail can save you from costly repairs and water waste.
Additionally, consider using high-quality faucet repair kits designed to last longer. Installing water-saving aerators on your faucets can also reduce the risk of leaks by limiting the water flow without compromising pressure. Regular cleaning of mineral deposits and corrosion will further protect your fixtures, ensuring they remain in top condition for years to come and minimizing the need for frequent faucet repair.