Understanding potential cartridge failures (mineral buildup, corrosion, lifespan) is key to preventing plumbing issues in faucet repair. Identify your faucet's type and manufacturer for accurate replacement. Gather necessary tools: pliers, screwdriver, pipe tape, new cartridge, and a bucket. Disassemble the faucet, turn off water supply, and carefully extract the old cartridge while noting its orientation. Clean the valve seat, install a new cartridge, test, adjust pressure, and address common issues like leaks or stuck cartridges caused by worn O-rings.
Tired of leaky faucets? Don’t worry, you’re not alone. Faucet cartridge replacement is a common home repair that can extend the life of your faucet and stop those annoying drips. This comprehensive guide walks you through the process step-by-step, from understanding cartridge failure to troubleshooting common issues. We’ll equip you with the knowledge and tools needed to successfully repair your faucet, saving you time and money on this essential faucet repair.
Understanding Faucet Cartridge Failure
When it comes to faucet repair, understanding the potential failures of the cartridge is a crucial first step. Cartridge failure in faucets can occur due to various reasons, such as mineral buildup, corrosion, or simply reaching the end of its lifespan. Over time, these cartridges can develop leaks or lose their ability to maintain water pressure, leading to a decrease in flow rate and performance.
Regular maintenance and timely replacement are key to preventing such issues. By keeping an eye on any unusual noises, leaks, or reduced water flow, homeowners can address the problem early on. Understanding the common signs of cartridge failure allows for easy faucet repair, ensuring that simple issues don’t escalate into more complex (and costly) plumbing problems.
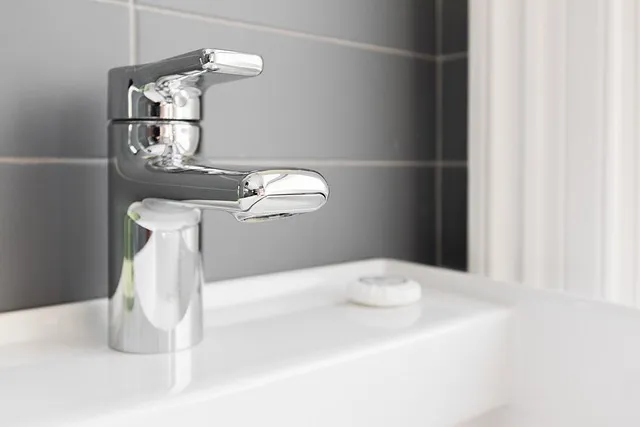
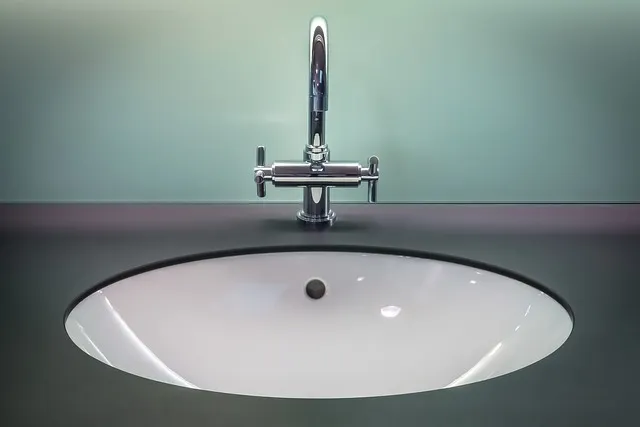
Identifying Your Faucet's Type and Cartridge

Identifying your faucet’s type and cartridge is a crucial step in any faucet repair process. Different faucets have unique designs and use specific cartridge types, making it essential to know exactly what you’re dealing with before attempting replacement. Start by examining the faucet closely; note its style, finish, and any distinctive features. This information will help narrow down the possibilities.
Next, check the cartridge itself. Cartridges are typically located beneath the faucet’s handle and spout. They may be accessible through a small access panel or by removing the handle. Inspecting the cartridge can provide vital clues about its manufacturer and model, often printed on the body. This knowledge is key to finding a suitable replacement, ensuring a smooth and successful faucet repair process.
Gathering Tools for Cartridge Replacement

When it comes to faucet cartridge replacement, being prepared is key. Before you begin your faucet repair, gather a few essential tools. A set of pliers, ideally adjustable or needle-nose, will help you grip and twist the old cartridge out. Don’t forget a new faucet cartridge that’s compatible with your model, along with some pipe tape or thread sealant to ensure a secure fit. A bucket or tray can also be useful for collecting any hardware parts as you disassemble. With these tools at hand, you’ll be ready to tackle the process of replacing your faucet cartridge like a pro.
Disassembling the Faucet: Step-by-Step Guide

Disassembling your faucet for a cartridge replacement is a straightforward process that every homeowner can accomplish with some basic tools. Begin by turning off the water supply to prevent leaks during the repair. Next, gather the necessary tools: a wrench or pliers for removing the handle and nuts, and possibly a small screwdriver for accessing internal components. Place a bucket or towel under the faucet to catch any residual water. Loosen and remove the handle, usually done by unscrewing a single screw or nut securing it in place. With the handle off, you’ll access the cartridge housing. Use your tools to carefully take apart the faucet’s external parts, exposing the inner mechanism. This involves removing screws, seals, and other components that surround the cartridge.
Once the faucet is fully disassembled, locate the old cartridge and remove it with care. Take note of its orientation or mark the position of each part for easy reassembly later. The new cartridge will have instructions specific to your faucet model, so follow these carefully during installation. This step-by-step process ensures a successful faucet repair, saving you time and money compared to calling a professional.
Removing the Old Cartridge: Tips and Tricks

When it comes to removing the old cartridge during a faucet repair, precision is key. Start by turning off the water supply valves located under the sink to prevent any accidental leaks or water damage. Next, gather your tools: a new cartridge, pliers, and possibly a small screwdriver. Remove the handle and sprayer (if applicable) from the faucet to gain better access to the cartridge.
Loosening the cartridge can be tricky due to its tight seal. Use pliers to gently grasp the cartridge at its base, where it meets the valve stem. Gently pull upwards while rotating counterclockwise to break the seal. Be cautious not to apply excessive force, as this could damage internal parts. Once the old cartridge is removed, inspect the valve seat for any debris or mineral build-up, ensuring a clean and smooth surface for the new cartridge installation in your faucet repair process.
Installing a New Cartridge: A Detailed Walkthrough

Installing a new faucet cartridge is a straightforward process that can extend the life of your faucet and improve its performance. Begin by turning off the water supply to your faucet, typically located under the sink. This step is crucial for Faucet Repair as it prevents leaks and ensures safe working conditions. Once the water is shut off, disassemble the faucet by removing any decorative handles or covers. Depending on your faucet model, you might use a wrench or a screwdriver.
Next, locate the cartridge, usually a small cylindrical component within the faucet body. Old cartridges often stick due to mineral buildup, so use a mild solvent or a specialized cleaner to dissolve any residue. After cleaning, carefully remove the old cartridge and insert the new one, ensuring it aligns correctly with the faucet’s internal mechanisms. Tighten any securing components, such as springs or retainers, without overtightening to avoid damage. Finally, turn on the water supply and test the faucet for any leaks or proper functioning.
Testing and Adjusting Water Pressure After Replacement

After successfully replacing your faucet cartridge, it’s crucial to test and adjust the water pressure to ensure optimal performance. Start by turning on the faucet and observing if there are any leaks at the base or around the handle. Any drip or continuous flow indicates a potential issue with the new cartridge or its installation.
Next, check the water pressure. Turn off the water supply valves beneath the sink and then turn on the faucet to release any residual pressure. Once the faucet is dry, open the valves fully and turn on the water again. Adjust the handle position if needed to achieve the desired water flow. A balanced mix of hot and cold water should emerge without any sudden spikes or drops in pressure. This simple adjustment ensures your newly replaced faucet functions seamlessly and delivers the perfect blend of comfort and efficiency for everyday use, making it a successful faucet repair project.
Common Issues and Troubleshooting for Faucet Cartridge Repair

When it comes to faucet repair, one of the most common issues is a leaking or dripping cartridge. This can be caused by worn-out O-rings or seals within the cartridge, which need to be replaced. Over time, these components can degrade and lose their effectiveness in sealing, leading to water leakage. Another frequent problem is a stuck or frozen cartridge, often due to mineral buildup or debris that has entered the mechanism. This can result in the faucet not opening or closing properly, requiring careful disassembly and cleaning to resolve.
Troubleshooting these issues involves some simple steps. First, try tightening any loose connections around the cartridge. If that doesn’t help, check for damaged or worn parts like O-rings, which may need replacing. For mineral buildup, use a mixture of white vinegar and water to soak the affected areas, then carefully scrub away the residue. If these methods fail, it might be best to replace the entire cartridge, as attempting to repair a severely damaged one could lead to further complications or ongoing leaks.