This text offers comprehensive guidance on faucet repair, emphasizing everyday wear and tear as common causes of issues. It suggests regular maintenance and highlights specific problems like leaks, sputtering, or a faucet refusing to turn on. The guide provides step-by-step instructions for DIY repairs, including disassembly, replacing worn parts (washers, O-rings), and reassembly. It stresses the importance of proper tools, materials, and expert intervention for complex issues. Regular checks post-repair ensure optimal performance and address potential problems like unusual noises or vibrations.
“Are you tired of leaky faucets that waste precious water and drive you crazy with their constant drip? This comprehensive guide is your go-to resource for mastering faucet installation and repair. From identifying common issues like leaks and low water pressure to replacing worn-out parts, we’ll equip you with the knowledge and step-by-step instructions to tackle these tasks yourself. Learn how to gather the right tools, disassemble and inspect your faucet, and perform effective repairs, saving time, money, and conserving water.”
Understanding Common Faucet Issues and Their Causes

Many common faucet issues can be easily attributed to everyday wear and tear, while others may indicate a more complex problem. Leaks, for instance, could result from worn-out O-rings or seals, which can be replaced relatively simply. Conversely, a faucet that won’t turn on might be due to a faulty control valve or a problem with the water supply lines, requiring more thorough troubleshooting. Understanding these potential causes is the first step in effective faucet repair.
Identifying the specific issue is crucial in determining the appropriate solution. Regular maintenance, such as cleaning and lubricating parts, can often prevent problems from escalating. However, if a faucet starts to display unusual behavior, like dripping excessively or sputtering when turned on, it’s best to consult a professional plumber to avoid further damage or unnecessary expense.
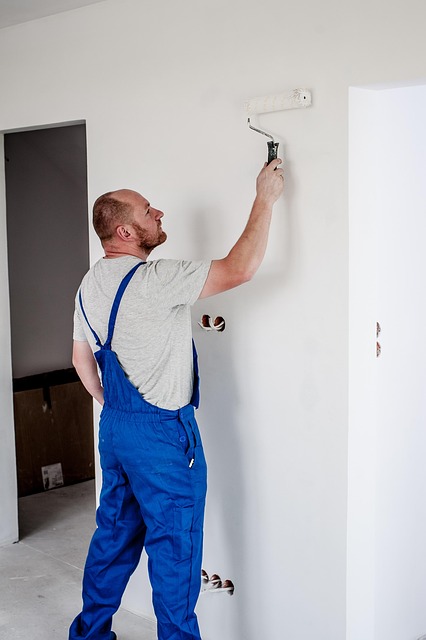
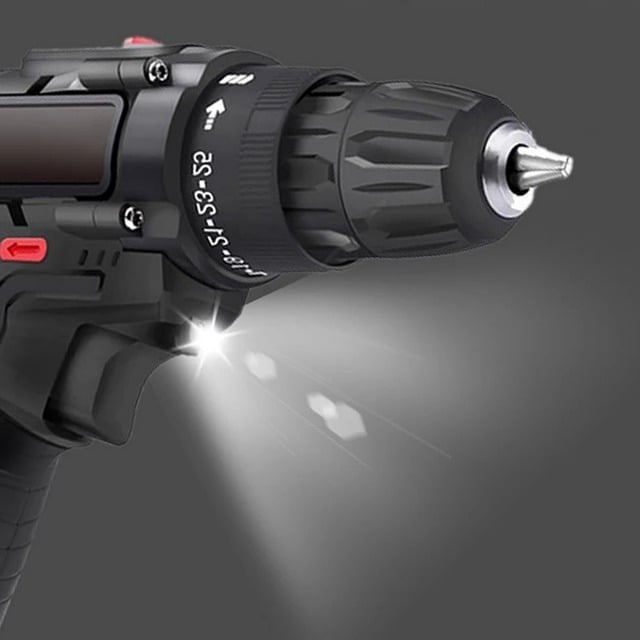
Gather the Necessary Tools and Materials for Repair

Before tackling any faucet repair, ensure you have all the required tools and materials at hand. This typically includes a wrench or pliers for unscrewing parts, replacement washers or O-rings, and potentially new faucet parts like handles or cartridges, depending on the issue. Having these ready prevents mid-repair pauses and streamlines the process.
When gathering your supplies, consider the type of faucet you have—compression, cartridge, or ceramic disk—as each requires specific tools and parts. Online tutorials can guide you in identifying these components. Additionally, having a bucket, rubber grommets, and pipe tape on hand can aid in disassembly and ensure a secure reassembly.
Steps to Disassemble and Inspect the Faucet
To begin the faucet repair process, disassembling the faucet is the first step. This involves turning off the water supply to your sink or countertop to prevent leaks during the process. Once the water is shut off, you can start taking apart the faucet. Typically, this includes unscrewing the handle and spout, which may be secured with a few simple screws. Be sure to lay out all the parts for easy access and inspection.
During inspection, it’s crucial to look for any signs of damage or wear. Check the valves, O-rings, and gaskets for cracks, tears, or deformations. These components are essential for proper water flow regulation and sealing. If you notice any issues, they may need replacement, which is a common part of faucet repair.
Fixing Leaks: A Step-by-Step Guide
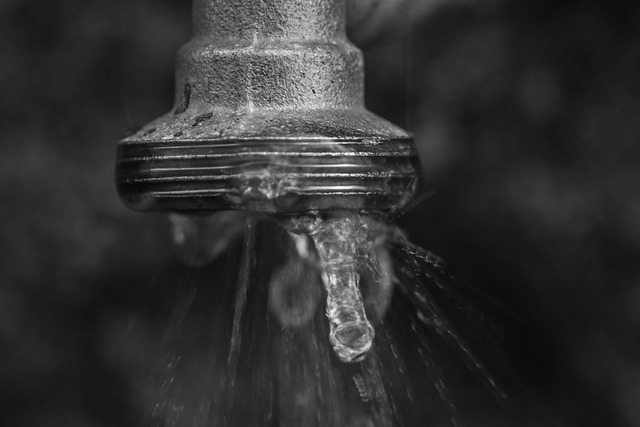
Leaky faucets can waste a significant amount of water and disrupt your daily routine, but fixing them is usually a straightforward process that many homeowners can handle themselves. Here’s a step-by-step guide for repairing leaks from common faucet types.
First, turn off the water supply to the faucet under the sink or at the main shutoff valve in your home. Then, gather the necessary tools: an adjustable wrench, pliers, and replacement washer or O-ring (specific to your faucet model). Remove the existing washer or O-ring by unscrewing any retaining nuts and carefully pulling them out. Inspect the parts for damage or wear, replacing them if needed. Reassemble the faucet, tightening the components securely but avoiding overtightening to prevent damage. Finally, turn on the water supply and check for leaks, making adjustments as necessary. If the leak persists, consult a professional plumber for further assistance.
Replacing Worn-Out Parts or Cartridges
When it comes to faucet repair, one common issue that homeowners often encounter is worn-out parts or cartridges. These essential components play a vital role in controlling water flow and temperature in your kitchen or bathroom fixtures. Over time, due to frequent use or exposure to mineral deposits, the cartridges can degrade, leading to leaky faucets or inconsistent water pressure.
To address this problem, replacing the worn-out parts or cartridges is often the best course of action. This DIY task involves identifying the specific part that needs replacement and acquiring a compatible spare. Most hardware stores stock a wide range of faucet repair kits, making it convenient to find the right fit for your fixture. With a few simple tools and clear instructions, you can efficiently fix the issue, ensuring your faucets function optimally once again.
Final Touches and Testing After Faucet Repair
Once the faucet has been repaired, it’s time to perform some final touches and testing to ensure everything is working as expected. Start by checking the water pressure; adjust the hot and cold valves if needed to achieve a balanced flow. Next, turn on the faucet and observe for any leaks at the joints or base. A thorough cleaning with mild soap and warm water will remove any residue or mineral buildup, enhancing the faucet’s appearance. Test the temperature control by adjusting the handle positions and checking the water temperature. Lastly, ensure the faucet is fully functional by running hot and cold water sequentially and observing for any unusual noises or vibrations, signifying potential underlying issues that require further attention.