
Concrete floor cracks require careful consideration for effective repair. First, assess crack size and depth, then choose the right patching method: epoxy or polyurethane compounds for small to medium cracks. Prepare the area thoroughly by cleaning and removing debris. Avoid common mistakes like using unsuitable compounds or improper damage assessment. After filling the crack, allow it to dry (24-48 hours), then seal with high-quality concrete sealer. Regular maintenance, including gentle sanding and cleaning, ensures the patched floor's longevity.
Concrete floor cracks can range from minor aesthetic issues to structural concerns. Understanding the causes and types of cracks is crucial for effective crack repair, or crack patching. This comprehensive guide covers everything from preparing your concrete surface, choosing the right patching compound, and step-by-step application instructions. Learn how to avoid common mistakes and seal your repairs for longevity, ensuring a durable fix that complements your concrete floor’s unique character.
Understanding Concrete Floor Cracks: Causes and Types
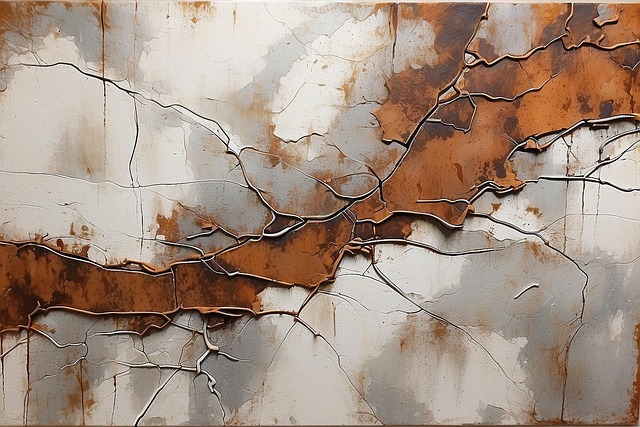
Concrete floor cracks can be both cosmetically and structurally concerning. Understanding their causes and types is crucial for effective crack repair. These cracks often result from a variety of factors, with the most common being settlement, shrinkage, and structural stress. Settlement occurs when the concrete settles unevenly due to changes in soil conditions or weight distribution, leading to hairline cracks. Shrinkage happens as concrete sets and hardens; it contracts slightly, causing cracks to form, especially near joints or edges. Structural stress is caused by heavy loads, temperature fluctuations, or poor initial mixing, resulting in more significant cracks that can be structural concerns.
Identifying the type of crack is essential for selecting the right crack repair method. For narrow, shallow cracks due to settlement or shrinkage, self-leveling concrete or epoxy injections are effective solutions. Wider or deeper cracks, potentially indicating structural issues, may require more intensive repairs like carbon fiber reinforcement or full concrete replacement. Regular maintenance and inspection can help in catching these issues early, preventing minor cracks from turning into major problems that necessitate costly repairs.
Preparation: Cleaning and Evaluating the Damage
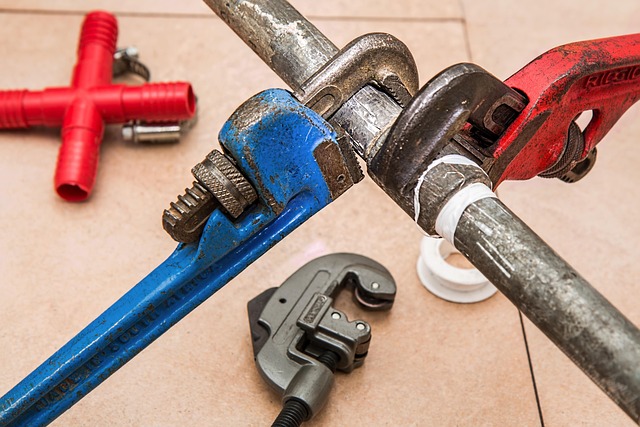
Before patching any concrete floor, thorough preparation is key. The first step in this process involves cleaning the area around the damage to remove any loose debris, dirt, or grease. This ensures a clean surface for the patch to adhere to effectively. Use a pressure washer or a stiff-bristled brush to thoroughly scrub the affected area, then allow it to dry completely.
Once the floor is clean, carefully evaluate the extent of the damage. Inspect for cracks, chips, or holes and determine their size and depth. Cracks repair can range from simple filling and smoothing to more complex repairs involving replacement sections. Assessing the damage accurately will help you choose the appropriate patching method and materials, ensuring a strong and long-lasting fix.
Choosing the Right Patching Compound
When it comes to concrete floor patching, selecting the appropriate patching compound is a crucial step in ensuring long-lasting and effective crack repair. The market offers various options tailored for different types of cracks and surfaces. For small to medium-sized cracks, a high-quality epoxy or polyurethane-based compound is often recommended. These compounds provide excellent adhesion and resistance to chemicals and moisture, making them ideal for both residential and commercial settings.
Epoxy patches are known for their strength and durability, creating a solid fix that can withstand heavy traffic. Polyurethane compounds, on the other hand, offer flexibility, making them suitable for areas prone to movement or temperature changes. When choosing a patching compound, consider factors like crack width, depth, and environmental conditions to guarantee a successful crack repair that will stand the test of time.
Applying the Patch: Step-by-Step Guide

Applying the Patch: A Step-by-Step Guide
Start by preparing the concrete floor surface. Clean the area around the crack to remove any loose debris, dirt, or grease using a wire brush and cleaner solution. This ensures good adhesion for the patch material. After cleaning, dry the surface completely before proceeding.
Next, mix the concrete patching compound according to the manufacturer’s instructions. Use a putty knife to apply a thin layer of the compound over the crack, ensuring it fills the entire length and width. Smooth the surface with the knife to create a level finish, matching the surrounding concrete as closely as possible. Let the patch dry completely, usually 24-48 hours, before heavy traffic or further finishing is allowed.
Common Mistakes to Avoid During Repair

When it comes to concrete floor patching, there are common mistakes that homeowners and DIY enthusiasts should be aware of to ensure a successful repair. One of the most frequent errors is not properly assessing the extent of the damage before beginning the crack repair process. It’s crucial to identify whether the crack is structural or merely cosmetic, as this will dictate the repair method. Using the wrong patching compound for your concrete can also lead to issues; some compounds are better suited for filling small cracks, while others handle larger repairs more effectively.
Another mistake to avoid is neglecting preparation. Concrete floors need a clean and dry surface for optimal bonding. Failing to remove loose debris, dust, or existing sealers can result in an inferior repair that doesn’t last long. Additionally, improper mixing of patching materials can cause issues. Always follow the manufacturer’s instructions for mixing ratios to ensure a strong, durable patch that seamlessly blends with your concrete floor.
Sealing for Longevity: Best Practices
To ensure the longevity of your concrete floor, proper sealing is essential after crack repair. The goal is to create a protective barrier that shields against moisture, chemicals, and other contaminants that can weaken the structure over time.
Best practices for sealing involve using high-quality, commercially available sealers designed specifically for concrete. These products should be applied uniformly, following manufacturer instructions for drying times and coverage rates. Regular maintenance, including cleaning and reapplication every few years, will further extend the life of your patched and sealed floor.
Final Touches and Maintenance Tips
After applying the concrete floor patching compound, allow it to cure completely for the best results. Once cured, inspect the patched area for any rough spots or imperfections and gently sand them down if necessary. This ensures a smooth, even surface that matches the surrounding concrete. Regular maintenance is key to keeping your patched floor in top condition. Sweep or vacuum the floor regularly to remove loose debris and dirt. Periodically clean it with a mild detergent and warm water using a soft-bristled brush or mop. For stubborn stains, use a commercial cleaner specifically designed for concrete floors. Avoid using harsh chemicals or abrasive cleaners that could damage the patching compound or etch the surface. Also, be mindful of heavy traffic areas and promptly address any new cracks or damage with crack repair techniques to maintain the longevity of your patched floor.