
Understanding common kitchen faucet issues like leaks, low pressure, and temperature control problems is key for effective repair. Regular maintenance, including aerator cleaning and leak checks, prevents many issues. Before repairing, shut off water supply valves, gather necessary tools and parts, and disassemble the faucet to identify problem areas. Diagnosing issues involves observing functionality and identifying faulty parts like O-rings or cartridges. Simple repairs often involve replacing these components, while more complex repairs may require a new faucet assembly. After reassembling, test for leaks and ensure proper water flow. Regular maintenance through inspections, tightening connections, and cleaning prevents future problems, promoting efficient operation and kitchen hygiene.
Tired of leaky or jammed kitchen faucets? This comprehensive guide will walk you through common issues and step-by-step repairs, empowering you to tackle problems like a pro. From understanding fundamental faults to final maintenance tips, learn how to effectively diagnose and replace faulty parts – cartridge, washer, O-ring – ensuring your faucet functions seamlessly once more. Equip yourself with the right tools, follow simple instructions, and bid farewell to annoying faucet glitches.
Understanding Common Kitchen Faucet Issues
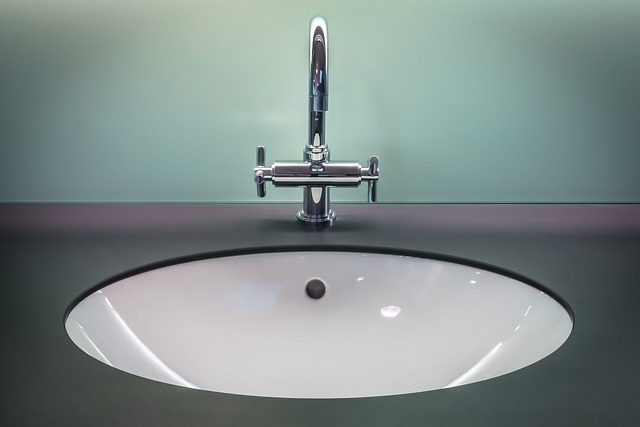
Understanding common kitchen faucet issues is the first step in effective faucet repair. Leaks, low water pressure, and faulty temperature control are among the most frequent problems homeowners encounter. A leak, often caused by worn-out O-rings or cartridge failures, can start as a subtle drip but escalate into a significant waste of water over time. Low water pressure might be due to mineral buildup in the aerator or a clog in the supply lines, both easily addressed with the right tools and knowledge.
Faulty temperature control, whether it’s failing to mix hot and cold water properly or maintaining an inconsistent temperature, is typically linked to issues within the faucet’s cartridge or valve. Regular maintenance, such as cleaning the aerator and periodically checking for leaks, can prevent many of these problems. However, when issues persist, knowing which specific part needs replacement—be it a new O-ring, cartridge, or entire faucet assembly—is crucial for effective faucet repair.
Gather the Necessary Tools and Parts
Before tackling any faucet repair, it’s crucial to gather all the necessary tools and parts. For standard faucet repairs, a few essential items will do the trick: adjustable wrenches for gripping tight fittings, pliers for removing stubborn components, and replacement parts specific to your faucet model (O-rings, cartridges, or valve seats). These tools enable you to disassemble and inspect the damaged areas effectively.
Additionally, ensure you have a good understanding of your faucet’s inner workings and the steps involved in repair. With the right equipment and knowledge, you can easily fix leaks, restore proper water flow, and extend the lifespan of your kitchen faucet.
Shutting Off the Water Supply
Before you begin any faucet repair, it’s crucial to shut off the water supply to prevent leaks and potential flooding. In most homes, there are two shut-off valves located under the sink, one for the hot water line and one for the cold water line. Turn these valves clockwise until they’re fully tightened to cut off the water flow. If your valves are tough to turn, you might need a wrench to give them a firm grip. Once the valves are turned off, test the faucets to confirm that there’s no dripping or water pressure, ensuring the repair process can begin safely and effectively.
For added precaution, it’s always a good idea to place towels or buckets around the sink area to catch any residual water that might escape during the repair process. This simple step can make cleaning up afterward much easier and less stressful.
Disassembling the Faucet

When it comes to kitchen faucet repair, disassembling the faucet is a crucial step in identifying and addressing the issue. Start by turning off the water supply valves located under the sink to prevent any accidental leaks or flooding during the repair process. Then, using a wrench or pliers, carefully remove the faucet handle and spout. Depending on the faucet’s make and model, you may need to twist, pull, or unscrew various components to take it apart.
Once the faucet is disassembled, inspect each part for damage, corrosion, or loose connections. This close examination will help you pinpoint the source of any leaks or problems. Keep track of how each piece is connected and its corresponding location to make the reassembly process easier later on. By taking the time to thoroughly disassemble the faucet, you’ll be better equipped to perform effective kitchen faucet repair and ensure a leak-free, efficient watering system.
Diagnosing the Problem
When it comes to diagnosing a faucet repair issue, the first step is identifying the problem itself. Start by observing the faucet’s functionality—is there a leak, or does it not turn on/off smoothly? Check for common signs like worn-out O-rings, damaged cartridges, or corroded parts, which are often the root causes of many faucet repair needs.
Next, gather information about your faucet’s make and model to find specific replacement parts. Many modern faucets come with universal parts that can be interchanged, while vintage models might require more specialized repairs. Online resources and tutorials can guide you through the process, ensuring you approach the faucet repair with confidence.
Replacing Faulty Parts (Cartridge, Washer, O-Ring)
When it comes to kitchen faucet repair, replacing faulty parts is often a straightforward and cost-effective solution. The most common components that need replacement are the cartridge, washer, or O-ring. These parts are responsible for controlling water flow and preventing leaks. If your faucet is leaking or not providing enough water pressure, checking these simple yet crucial elements could be the first step in fixing the issue.
The cartridge, located beneath the faucet handle, regulates water flow and temperature. Over time, it can wear out or get contaminated with mineral deposits, leading to reduced performance. Washers and O-rings, on the other hand, are sealing components that prevent leaks at the base of the faucet handle and spout respectively. They can become damaged or distorted due to constant use or exposure to hard water, causing leaks around the base or spout. Replacing these parts is a simple DIY task that can save you time and money compared to installing an entirely new faucet.
Reassemble and Test the Faucet

After successfully replacing the faucet parts, it’s time to reassemble and test your newly fixed faucet. First, ensure all components are securely fastened, following the manufacturer’s instructions for tightening. Double-check connections at the base of the faucet, as well as any supply lines or fittings. Once everything is in place, turn on the water supply to each fixture separately and check for leaks. Observe if water drips from any joints or around the base. If you find any leaks, shut off the water immediately and re-tighten any loose connections. Continue testing until there are no more leaks, indicating a successful faucet repair.
Final Tips for Maintenance and Prevention
To ensure longevity and optimal performance, regular maintenance is key for your faucet repair and overall kitchen hygiene. Start by inspecting the faucets periodically for any leaks or unusual noises. Addressing these issues early can prevent minor problems from escalating into costly repairs. A simple routine includes tightening loose connections, replacing worn-out O-rings or gaskets, and lubricating the faucet’s components to maintain smooth operation.
Additionally, consider a regular cleaning regimen. The aerator, located at the tip of the spout, can accumulate mineral deposits over time, impacting water flow. Regularly unscrewing and cleaning the aerator will ensure optimal water pressure and prevent hard water stains. Remember, preventive measures like these not only save you from unexpected faucet repair costs but also contribute to a cleaner and more efficient kitchen environment.