
Commercial faucets face common issues like leaks, water buildup, and temperature control challenges. Successful DIY repairs require proper tool preparation, identification of faucet components, disassembly, replacement of O-rings, washers, and cartridges, and careful reassembly. Regular maintenance prevents costly repairs. Complex issues may necessitate professional faucet repair services for reliable, hygienic solutions.
Struggling with a faulty commercial faucet? This comprehensive guide is your go-to resource for seamless repairs. From identifying common issues like leaky spouts and aerator clogs, to navigating diverse faucet types and parts, we’ve got you covered. Learn the ins and outs of disassembly, replacement, and reassembly, ensuring top-notch functionality. Discover expert tips for preventive maintenance and know when to call a professional plumber. Master the art of faucet repair with these practical steps and save costs along the way.
Understanding Common Commercial Faucet Issues
Commercial faucets, despite their robust design, can encounter various issues over time, leading to disruptions in daily operations. Leaks, for instance, are a frequent concern, often caused by worn-out O-rings or damaged washer mechanisms. These problems not only result in wastage of water but also pose a financial burden due to the associated damage and increased utility bills.
Another prevalent issue is faucet buildup, particularly in hard water areas. Minerals can accumulate on aerators, reducing water flow and leading to clogs. Regular cleaning might prevent this, but severe cases may require professional faucet repair services. Additionally, commercial settings often face challenges with temperature control, especially in kitchens where hot and cold water mixing can malfunction, causing inconsistent or failing to reach the desired temperature.
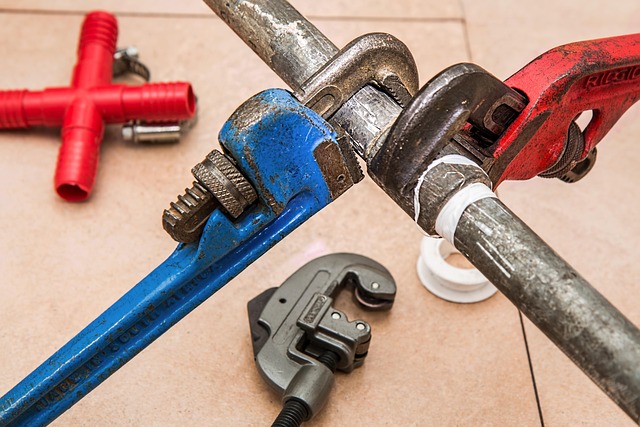
Gather Tools and Materials for Repair
Before starting any faucet repair, it’s crucial to gather all the necessary tools and materials. This typically includes a wrench or pliers for gripping and turning components, a screwdriver for accessing screws, and replacement parts specific to your faucet model, such as cartridges, washers, or O-rings. Having these ready ensures you can efficiently tackle the issue without interruption.
When preparing for a faucet repair, consider gathering additional items like pipe sealers, thread tape, and a bucket. These can come in handy if you need to disassemble parts of the plumbing or handle water-related tasks. Remember, having the right tools makes any DIY project smoother and more successful, so take your time to ensure you have everything needed for effective faucet repair.
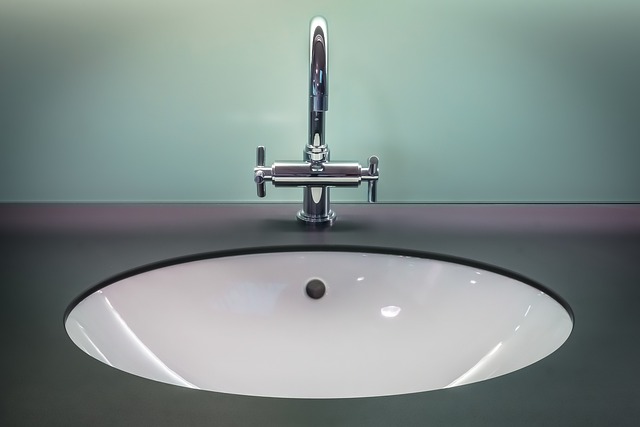
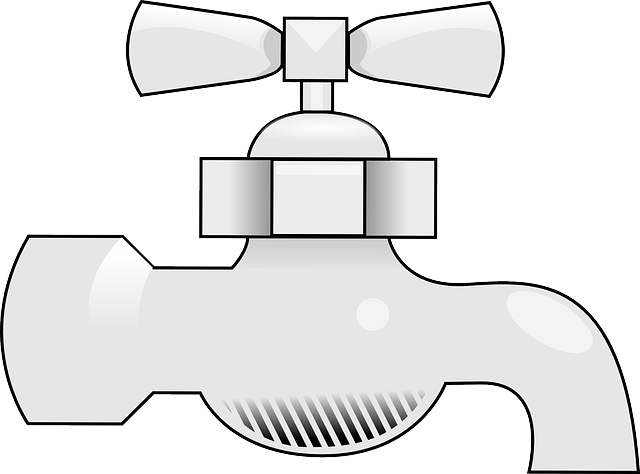
Identifying the Faucet Type and Components
When tackling a commercial faucet repair, understanding the specific type and components of your faucet is key to a successful fix. Commercial faucets often differ from residential models in design and durability requirements, so identifying the right parts is crucial. Start by examining the faucet’s construction – is it compression, cartridge, or lever-style? Each type has unique mechanisms and replacement parts.
Next, take note of the materials used—brass, stainless steel, or plastic—as well as the finish (chrome, bronze, or matte black). Some models may have additional features like temperature control or pull-down sprayers. Documenting these details allows you to order compatible spare parts for a seamless repair, ensuring your commercial faucet functions optimally and efficiently.
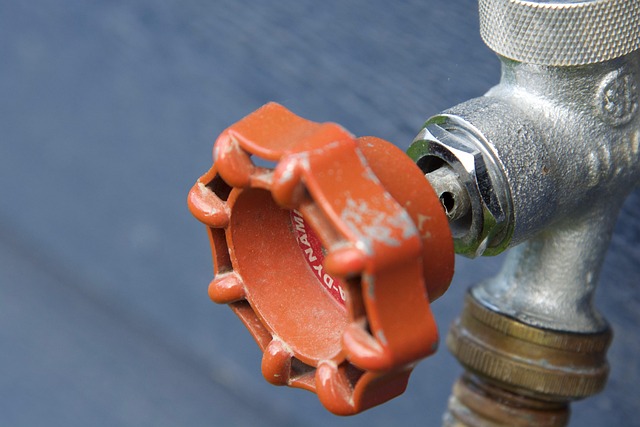
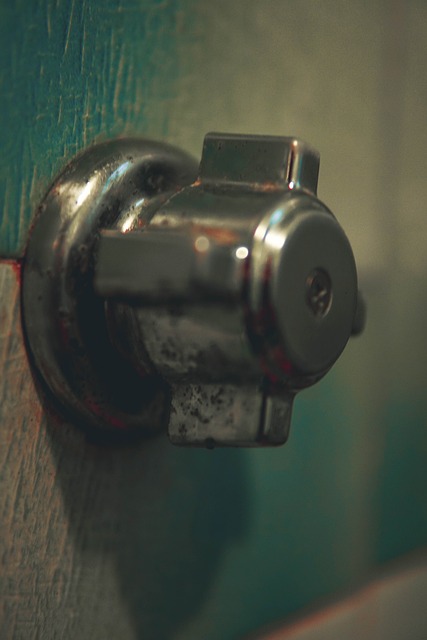
Disassembling the Faucet for Inspection
When it comes to faucet repair, disassembling the fixture is a crucial step in the process. By carefully taking apart the various components, you gain access to potential problem areas and can inspect each part for damage or wear. This meticulous approach allows for an accurate diagnosis of the issue, whether it’s a leaky washer, a broken cartridge, or a seized stem.
During disassembly, it’s essential to lay out all the parts in a systematic manner, ensuring you know where each component belongs. Many faucets have similar assembly structures, allowing for common replacement strategies. This knowledge, combined with the right tools, empowers homeowners and maintenance personnel to tackle commercial faucet repair with confidence, ultimately saving time and money on potential repairs.
Replacing Worn-Out or Damaged Parts

When performing a faucet repair, one of the most common issues is worn-out or damaged parts. These can include O-rings, cartridges, and washers, which are often responsible for leaks and reduced water flow. Identifying these components is key during the repair process. Once located, replacing them is usually a straightforward task that can significantly improve the faucet’s functionality.
Many hardware stores carry replacement parts specifically designed for various faucet models, making it easy to find the right fit. Ensure you have the correct parts before beginning the repair, as using incompatible or incorrect pieces may lead to further complications. A swift replacement of these worn-out elements can extend the life of your faucet and restore its performance to optimal levels.
Reassembling the Faucet Properly
After identifying and fixing the specific issue causing your commercial faucet’s malfunction, it’s crucial to reassemble the faucet properly. This step ensures that all parts are secured correctly, preventing future leaks or malfunctions. Begin by double-checking that every component is in its designated place; even a slight misalignment can lead to problems. Tighten any loose connections using the appropriate tools, ensuring that the faucet handle, cartridge, and spout align perfectly.
Proper reassembly requires patience and precision. Make sure the faucet’s base is firmly attached to the sink or countertop. Test each part’s functionality as you go along, turning on the water supply to check for leaks. If all seems well, you’ve successfully reassembled your commercial faucet, ready to withstand the demands of a busy establishment, ensuring smooth operations and maintaining hygiene standards in your business.
Testing the Faucet Functionality After Repair
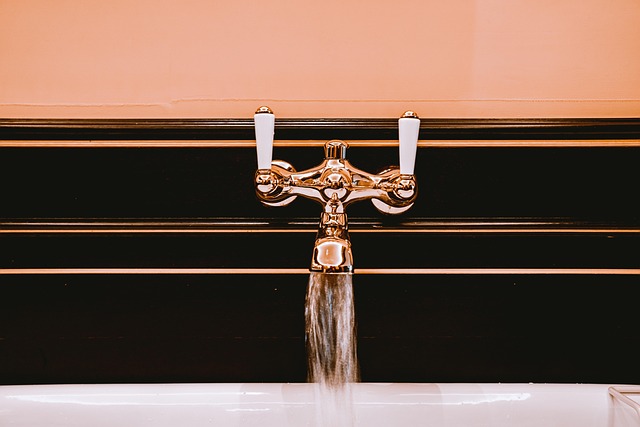
After completing a faucet repair, testing its functionality is a crucial step. Start by ensuring the water supply is turned off to avoid any accidental leaks or damage during the testing process. Then, turn on the faucet and observe if it flows smoothly and without any unusual noises or vibrations. Check for both hot and cold water temperatures, making sure they reach the desired level and are evenly distributed. If there are any issues, such as a weak stream, air in the line, or temperature imbalances, further adjustments may be needed.
Inspect the faucet’s components to ensure everything is properly aligned and sealed. Look for leaks at the connections and base of the faucet. It’s also essential to verify that the aerator is clean and free from mineral deposits or debris, as this can impact water flow and temperature control. By thoroughly testing the faucet’s functionality, you can guarantee a successful repair and identify any potential issues early on.
Preventive Maintenance Tips for Commercial Faucets

Regular maintenance is key to preventing costly and inconvenient faucet repairs in commercial settings. A simple yet effective strategy is to establish a routine cleaning regimen, focusing on removing mineral deposits and calcium buildup that can obstruct water flow. This can be achieved through periodic flushing and wiping down of the faucet’s components using mild detergent and distilled white vinegar, which effectively breaks down hard water minerals without harsh chemicals.
Additionally, checking for loose connections and replacing worn-out parts, such as O-rings and seals, on a regular basis can go a long way in forestalling leaks and drips. Keeping an eye out for unusual noises, like squeaking or grinding, and addressing them promptly can also save time and money in the long run. These simple preventive measures ensure optimal faucet performance, minimizing disruption to daily operations and reducing the need for frequent faucet repair services.
When to Call a Professional Plumber
If you’re faced with a leaky faucet or a slow-dripping tap, it might be tempting to attempt a DIY repair. However, there are times when calling a professional plumber is the best course of action for efficient and lasting faucet repair. Complex issues such as hard water build-up, faulty valves, or damage to the pipes often require specialized tools and knowledge that only a licensed plumber possesses.
Additionally, if your problem involves a commercial faucet—especially in high-traffic areas like restaurants or hotels—it’s crucial to call a professional. These settings demand not just reliable repairs but also adherence to health and safety standards. A seasoned plumber will have the expertise to handle any scale of commercial faucet repair, ensuring your facility maintains cleanliness and functionality.