
Faucet leaks, caused by worn O-rings or washer cartridges, require targeted repairs. Essential tools include adjustable wrenches, new washers/O-rings, and specific replacement parts for older fixtures. Initial steps involve turning off water supply, disassembling (based on faucet type), and inspecting damaged parts. Regular maintenance, proactive care, and monthly inspections prevent leaks. Hidden leaks may need advanced tools like cameras to locate issues accurately. For complex repairs or ancient fixtures, call a professional plumber.
Tired of that persistent dripping? Understanding and fixing a leaky faucet is easier than you think. This comprehensive guide breaks down the process step-by-step, from identifying common leak types and causes to providing detailed repair instructions for O-rings and washers. Learn preventive maintenance tips and when it’s time to call in a professional plumber. Equip yourself with the knowledge to tackle faucet leaks head-on and save money on your water bills.
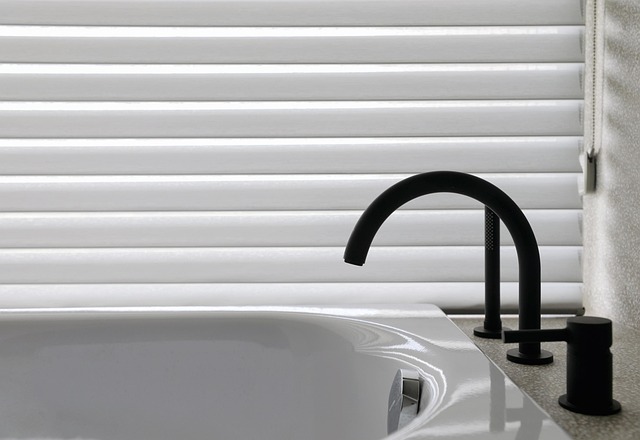
Understanding Faucet Leaks: Common Causes and Types

Faucet leaks can range from annoying drip-drips to full-blown gushers, and understanding their causes is the first step in effective faucet repair. Common culprits include worn-out O-rings or washer cartridges, which are often responsible for slow leaks. These parts can degenerate over time due to mineral buildup or general wear and tear, leading to water escaping from the faucet spout or handle. More severe leaks, characterized by sudden gushing or high-pressure streams, usually originate from damaged supply lines or a faulty valve.
Different types of leaks demand tailored approaches for faucet repair. For instance, fixing a leak at the base of the faucet typically involves replacing the packing nut or O-ring, while addressing a leak between the handle and spout may require swapping out specific parts within the cartridge assembly. Identifying the exact type of leak is crucial in choosing the right replacement parts, ensuring efficient and effective faucet repair.
Tools and Materials Required for Repair

When tackling a faucet leak repair, having the right tools and materials is essential for success. For most standard faucet repairs, you’ll need just a few basic items. Start with an adjustable wrench or pliers for gripping and turning parts, as well as a new washer or O-ring (the gaskets that seal the spout) specifically designed for your faucet model. A bucket and some rags can also come in handy to catch any drips while you work. If your leak is due to an old or faulty aerator, you may require a replacement aerator assembly, which includes an aerator screw and often a new mesh filter to prevent mineral buildup.
Don’t forget about protective gear, such as rubber gloves, to keep your hands clean and safe from any sharp edges or splashes. In some cases, especially with older fixtures, you might need specialized tools like a faucet repair kit, which includes various components for different types of leaks. Always double-check that the parts you purchase are compatible with your faucet model to ensure a successful repair without further complications.
Step-by-Step Guide to Diagnosing the Leak

Faucet Leak Detection and Repair: Step-by-Step Guide to Diagnosing the Leak
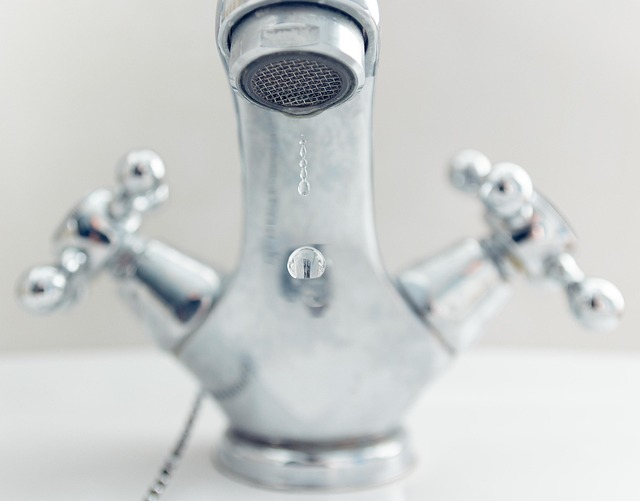
Start by observing the faucet’s behavior. Note any unusual noises, such as dripping or continuous running, even when the handle is turned off. Check for visible signs like water stains on the counter or floor beneath the faucet. These initial observations can point towards the source of the leak—the cartridge, O-ring, or aerator.
Next, turn off the water supply to the faucet. Most faucets have two valves under the sink; close both. Locate the specific component causing the leak by testing each part individually. Turn on the faucet and observe. If water escapes only when the handle is in a certain position, the issue might be with the cartridge or O-ring. A steady drip could indicate a worn-out aerator. By systematically eliminating possibilities, you can pinpoint the exact problem area, making the repair process more efficient for your faucet repair.
Fixing the Most Common Types of Faucet Leaks
Faucet leaks can be annoying and waste a significant amount of water, but fixing them is often straightforward. The most common types of faucet leaks occur at the base or neck of the faucet, where the handle meets the spout, or around the seals and gaskets. To address these issues, start by turning off the water supply to the faucet under the sink using the shut-off valves. Then, disassemble the faucet according to its type (single-handle or two-handle) to access the leaking parts.
For base or neck leaks, inspect the O-ring or washer for damage and replace it if necessary. Sealing these components with plumber’s grease can also prevent future leaks. If the leak is around the seals or gaskets, clean the area and reinsert or replace the faulty parts. Ensure all parts are properly aligned and secured before reassembling the faucet and turning on the water supply. Regular maintenance and prompt attention to leaks can extend the life of your faucet and save you money in the long run.
Replacing O-Rings and Washers: A Detailed Process
When it comes to faucet repair, one common issue that homeowners often encounter is a leak, usually caused by worn-out O-rings and washers. These small parts play a crucial role in maintaining water tightness around the faucet’s spout and handle. To replace them, you’ll need some basic tools and a step-by-step approach.
First, turn off the water supply to your faucet. This is typically done by twisting the shutoff valves located under the sink. Once the water is cut off, remove the faucet handle to gain access to the O-ring and washer. These parts are usually held in place by a small screw or clip. Carefully extract them and inspect for damage or wear. Replace both the O-ring and washer with new ones designed specifically for your faucet model. Ensure proper alignment during installation and tighten the screw or clip securely but gently. After reassembling, turn on the water supply and test the repair by turning on the faucet to check for any leaks.
Handling Difficult or Hidden Faucet Leaks
When it comes to faucet repair, hidden or difficult leaks can be a real challenge. These types of leaks often occur behind walls, under sinks, or in hard-to-reach areas, making traditional repair methods more complex. However, with some patience and the right tools, homeowners can tackle these issues effectively.
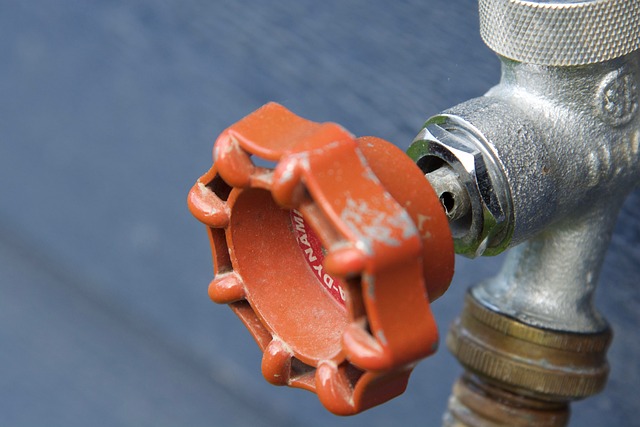
One common approach is to locate the main water shut-off valve, usually found near the faucet or beneath the sink, and temporarily turn off the water supply. Then, using specialized equipment like a camera or a flexible hose with a light, you can inspect the pipes and identify the leak’s source. This method allows for precise targeting of the problem area, enabling successful repair without causing further damage or inconvenience.
Preventive Measures: Maintenance Tips for Future Repairs

Regular maintenance is key to preventing future faucet repairs. Start by regularly inspecting your faucets for any signs of damage or wear, such as loose parts or unusual noises. Lubrication can be done monthly with a light application of silicone spray on all moving parts, ensuring smooth operation and prolonging the lifespan of your faucet’s components.
Additionally, keep an eye on the washers and O-rings inside the faucet. These parts are crucial for sealing and preventing leaks. Replacing them every 1-2 years or when showing signs of damage can significantly reduce the risk of leaks and save you from costly emergency repairs. Remember, a little routine care goes a long way in keeping your faucets in top condition.
When to Call a Professional Plumber
If you’ve attempted basic troubleshooting and the leak persists, it’s time to consider calling a professional plumber for faucet repair. While minor issues like loose seals or aerator problems can often be fixed with some DIY effort, persistent leaks that involve constant dripping or significant water wastage are best handled by experts. Pro plumbers have the specialized tools and knowledge required to diagnose intricate issues, such as hidden pipes or complex valve mechanisms.
Additionally, if your faucet is ancient, made from delicate materials, or features unusual design elements, a professional plumber will possess the expertise to repair or replace it without causing damage. They can also ensure that any repairs are done correctly, preventing future leaks and saving you money in the long run.