This text provides comprehensive guidance on fixing leaky faucets, emphasizing DIY approaches for common issues like cartridge replacement, aerator cleaning, and basic maintenance. It identifies worn-out O-rings, washer cartridges, or misaligned supply lines as primary causes of leaks. The content recommends gathering essential tools and supplies, including pliers, wrenches, washers, O-rings, and plumber's putty. Key sections address:
– Cartridge Replacement: Learning when to replace the faucet cartridge for continued leak prevention.
– Aerator Maintenance: Simple steps to fix clogged or damaged aerators, reducing water wastage.
– DIY vs Professional Repair: Differentiating between minor DIY repairs and complex issues requiring professional plumbers.
– Proactive Maintenance: Importance of regular inspections and replacing worn parts like O-rings and washer seats.
– Cost-Effective Solutions: DIY faucet repair as an economical alternative, using affordable supplies and natural lubricants for sustainability.
“Tired of that persistent drip-drip-drip? Don’t let a leaky faucet drain your wallet or patience. This guide unveils simple, affordable solutions for fixing common faucet leaks, from identifying the source and gathering tools to step-by-step cartridge repairs.
Learn when a replacement cartridge is needed, discover eco-friendly options, and arm yourself with preventive measures to stop future leaks. By mastering these DIY techniques, you can save money on faucet repair and rest easy knowing your waters flow freely.”
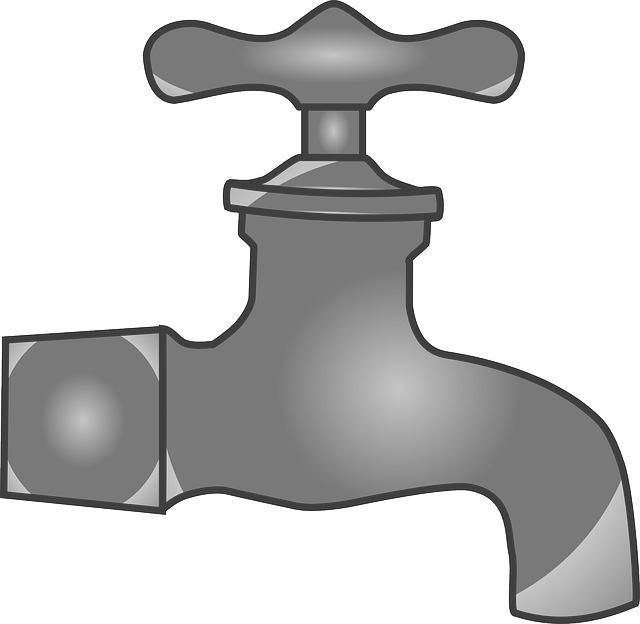
Understanding Common Faucet Leaks: Identifying the Source
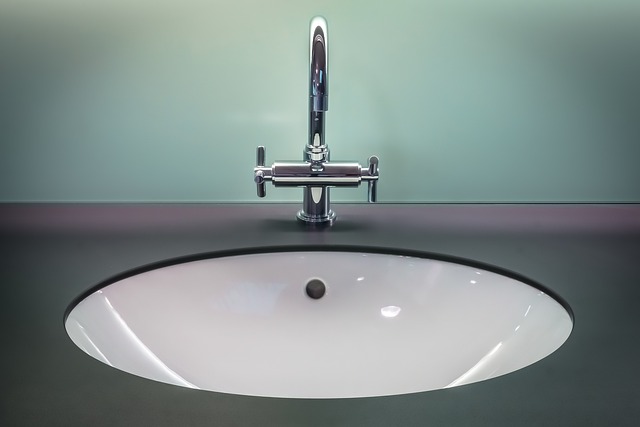
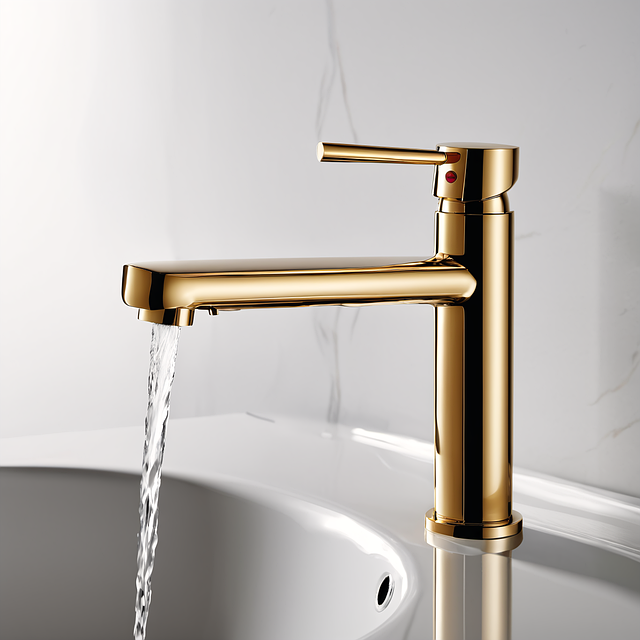
Faucet leaks are a common household issue, often considered a nuisance but easily fixable with some basic knowledge and tools. Understanding where the leak is coming from is the first step in any successful faucet repair. Most leaks fall into two categories: those caused by worn-out O-rings or washer cartridges, and those due to damaged or misaligned supply lines.
O-rings and washer cartridges are located inside the faucet’s handle and control water flow. Over time, these components can degrade, allowing water to seep out around them. On the other hand, loose or damaged pipes connecting to your faucet can also lead to leaks. By carefully observing where water is dripping from, you can identify whether the issue lies within the faucet mechanism itself or in the supply lines. This simple observation can save time and money by guiding you towards the right repair method—whether it’s a quick replacement of worn parts or a more involved task involving pipe repairs.
Gather Your Tools: What You'll Need for the Fix

Before you begin any faucet repair, it’s essential to gather the right tools for the job. This DIY project doesn’t require a lot, but having the following items on hand will make the process much smoother. Start with some basic tools like adjustable pliers and an adjustable wrench, both of which are useful for tightening or loosening various parts. A set of slip-joint pliers is also handy for gripping and turning hard-to-reach components.
Don’t forget to include a new washer and O-ring in your kit, as these are common culprits when it comes to leaky faucets. Washers and O-rings come in various sizes, so measure the existing parts to ensure you get a perfect fit. Additionally, having some pipe compound or plumber’s putty will help create a watertight seal once the repair is complete. With these tools ready, you’re well on your way to fixing that leaky faucet without breaking the bank.
Step-by-Step Guide: Repairing a Leaky Faucet Cartridge
Repairing a leaky faucet cartridge is an easy DIY task that can save you time and money. Here’s a step-by-step guide to help you get started. First, gather your tools: adjustable pliers, a new faucet cartridge (make sure it’s compatible with your model), and a bucket to catch any residual water. Turn off the water supply by closing the valves located under the sink or at the base of the faucet. This is crucial to prevent leaks during the repair process. Once the water is shut off, you can begin disassembling the faucet. Loosen and remove the handle using the pliers, then take out the old cartridge by unscrewing it counterclockwise. Clean the area thoroughly before inserting the new cartridge. Ensure all parts are in good condition and properly aligned before screwing it back into place, making sure not to overtighten. After reassembling, turn on the water supply and check for leaks. If the faucet is still leaking, double-check your connections and tighten any loose components. With these simple steps, you can efficiently repair a leaky faucet cartridge and say goodbye to unnecessary water waste and rising bills.
When to Replace: Knowing When a Faucet Needs a New Cartridge
Knowing when to replace your faucet cartridge is an essential part of effective faucet repair. While leaky faucets can often be fixed with simple adjustments and tightening, there comes a point where a new cartridge becomes necessary. If your faucet has been leaking for some time and the leaks seem to be coming from the base or handle, it’s likely that the O-rings or washer within the cartridge have worn out or become damaged. This wear and tear can cause persistent leaks despite your best efforts at tightening.
Additionally, if you’ve tried multiple repairs and the leaks still persist, or if the faucet spout starts to drip or leak in unusual places, it’s a clear sign that the cartridge needs replacement. Old or faulty cartridges can lead to inefficient water flow and increased water wastage over time. Therefore, if your leaky faucet is not responding to typical repair methods, consider replacing the cartridge as a more permanent solution for effective faucet repair.
Faucet Aerator Troubleshooting: Fixing That Slow Drip

Many a time, what seems like an incessant drip from your faucet is actually a simple issue of a clogged or damaged aerator—a quick and affordable fix for leaky faucets. Before you call in a plumber, consider these easy troubleshooting steps to solve the problem yourself. Start by turning off the water supply valves under the sink. Then, remove the aerator by twisting it counterclockwise with a wrench or pliers. Inspect it for any debris or mineral buildup; clean if necessary and reattach. If water still drips, the aerator might be damaged or not designed to stop slow leaks; in this case, replacing it is as simple as purchasing a new one that suits your faucet’s type.
A well-maintained aerator can significantly reduce water wastage, so don’t overlook this step when addressing leaky faucets. Remember, basic faucet repair like this one is a practical skill to have and could save you money in the long run by preventing minor leaks from becoming bigger problems.
DIY or Professional Help: Determining Your Comfort Level
When it comes to leaky faucets, deciding between DIY repair and professional help depends on your comfort level with tools and problem-solving. For minor issues like loose handles or damaged washers, many homeowners feel confident tackling these fixes themselves. Faucet repair kits are readily available at hardware stores, offering step-by-step instructions for common problems. Online videos provide visual guides, making these simple repairs achievable for the DIY enthusiast.
However, if your leaky faucet involves complex parts like cartridges or valves, professional assistance might be the safer bet. These intricate repairs require specialized tools and knowledge to avoid causing further damage. Plumbers are equipped with the right equipment and expertise to handle these situations, ensuring the job is done correctly the first time. They can also identify potential underlying issues that a DIYer might overlook, preventing future problems.
Preventive Measures: Tips for Avoiding Future Leaks
Regular maintenance is key to preventing leaky faucets. Start by inspecting your faucets periodically for any signs of damage, such as worn-out O-rings or damaged washer seats. These components are often the primary sources of leaks and can be easily replaced during a simple DIY faucet repair. Keep an eye on loose connections too; tightening them can sometimes solve minor leaks.
Additionally, consider using faucet aerators to reduce water flow without compromising pressure. This simple fix can significantly cut down water wastage. Remember, preventing leaks is not just cost-effective but also environmentally friendly. So, why wait for a leak to occur when you can take proactive steps and save yourself time and money in the long run?
Cost-Effective Solutions: Saving Money on Faucet Repairs

When it comes to leaky faucets, many homeowners assume a fix will be costly. However, there are several cost-effective solutions that can save you money and time. A simple DIY approach can often address the issue, preventing the need for an expensive plumber. All you might need is a few basic tools and some readily available supplies—like rubber seals or O-rings—which are usually very affordable.
By regularly checking your faucets for any signs of leaks and addressing them promptly, you can avoid unnecessary expenses. These quick fixes not only save money but also help conserve water, further reducing utility costs. So, the next time you notice a dripping faucet, don’t panic; instead, gather your tools, follow some easy online tutorials, and get it fixed—all while keeping your wallet happy.
Green Options: Eco-Friendly Ways to Fix a Leaky Faucet
Fixing a leaky faucet is not only an effective way to save money on your water bills but also an eco-friendly approach that reduces wastage. When it comes to green options for faucet repair, there are several simple and sustainable methods you can adopt. One of the most common causes of leaks is worn-out washer or O-ring seals. Replacing these parts is an easy, do-it-yourself task that can be accomplished with minimal tools. Opting for reusable or recycled materials ensures a more environmentally conscious fix.
For instance, many modern faucet repair kits now come with eco-friendly washers made from durable yet biodegradable materials. These replacements not only reduce plastic waste but also help conserve water by minimizing the leakage. Additionally, using natural lubricants like silicone grease instead of petroleum-based products can further benefit the environment without compromising the faucet’s performance.