
Understanding common faucet issues like leaky O-rings, damaged cartridges, or hard water problems is crucial for successful bathroom faucet repair. Prepare tools (pliers, wrench) and replacement parts before starting. Follow steps to shut off water supply, disassemble the faucet, replace worn components, reassemble, test, and fix any leaks or flow issues. Regular maintenance including leak checks, washer/O-ring replacements, lubrication, and wax protection prolongs faucet life and prevents costly repairs.
Tired of leaky faucets? Learning how to fix your bathroom faucet is easier than you think. This comprehensive guide covers everything from identifying common issues like persistent leaks or low flow, to detailed steps for disassembling, repairing, and reassembling your faucet. We’ll walk you through replacing worn parts like O-rings and washers, tightening loose components, and offer advanced troubleshooting tips for stubborn problems. Keep your bathroom fixtures in top shape with our expert faucet repair advice.
Understanding Common Faucet Issues

Many common faucet issues can be easily addressed with some basic knowledge and the right tools. Understanding these problems is the first step in successful bathroom faucet repair. One of the most frequent issues is leaky faucets, which can be caused by worn-out O-rings or washernuts. These parts control the water flow and can degrade over time due to mineral buildup or normal wear and tear. Another prevalent problem is a faucet that doesn’t mix hot and cold water correctly, resulting in sudden temperature changes when the handle is moved. This issue often stems from damaged or misaligned cartridges or valves.
Additionally, hard water can contribute to faucet problems by causing mineral deposits, leading to reduced water pressure and flow. Faulty aerators or strainers can also restrict water flow. Recognizing these common issues equips homeowners with the information needed to either fix them themselves or know when to call a professional for more complex repairs, ensuring that simple bathroom faucet problems don’t turn into costly plumbing headaches.
Gather Tools and Parts for Repair

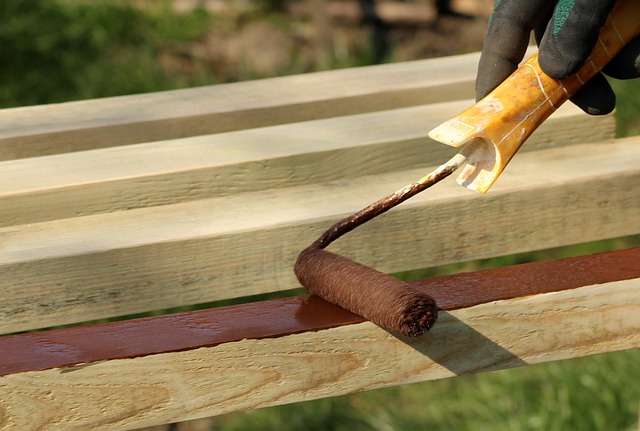
Before tackling any faucet repair, it’s crucial to gather the right tools and replacement parts. For a typical bathroom faucet, you’ll need a set of adjustable pliers, a wrench (usually an open-end or box-end), and possibly a new washer or O-ring. It’s important to identify the specific parts that might be damaged or worn out—like the cartridge, valve seats, or aerator—as these will guide your search for compatible replacement parts at your local hardware store.
Ensure all tools are readily available and arranged in a logical order. Having everything within reach will save you time and effort during the repair process. Some faucets might also require specific types of wrenches or specialized tools, so double-check the instructions or consult an expert if needed. Remember that proper preparation is key to a successful faucet repair, ensuring your bathroom remains functional and efficient.
Disassembling the Faucet
To begin your faucet repair, the first step is to disassemble the faucet. Start by turning off the water supply to your bathroom, typically located under the sink or within the wall. Then, using a wrench or pliers, carefully remove the handle and any visible components. This process may vary slightly depending on your faucet’s design, but often involves unscrewing or unclipping parts to gain access to the internal mechanisms.
Once disassembled, inspect the various parts for damage, wear, or corrosion. This visual assessment will help you identify the specific issues and determine the required replacement parts. Common problems include leaky O-rings, worn-out cartridges, or damaged washer plates. By understanding these components and their functions, you’ll be better equipped to tackle your faucet repair project with confidence.
Identifying Leaks and Their Causes
Leakage from your bathroom faucet is a common issue that can be frustrating and, left unaddressed, could lead to higher water bills and even damage to your home. Identifying where the leak is coming from is the first step in effective faucet repair. It could be as simple as a loose washer or O-ring, which are relatively easy fixes. However, more complex issues might involve faulty valves or damaged pipes beneath the sink, requiring professional attention.
Understanding the source of the leak is crucial for choosing the right repair method. For instance, if water is leaking from the base of the faucet, it’s likely a sign of worn-out seals or gaskets that can be replaced relatively easily. In contrast, consistent drips from the spout might indicate mineral buildup or a damaged aerator, which could necessitate cleaning or complete replacement. Regular maintenance and prompt action when leaks occur are key to avoiding more extensive—and costly—damage down the line.
Replacing O-Rings and Washers
When it comes to faucet repair, one common issue that homeowners often encounter is leaky or dripping faucets. A simple yet effective solution for many is replacing the O-rings and washers inside the faucet. These small parts are responsible for sealing off water flow, so when they wear down or become damaged, leaks can occur. You can easily identify them as they typically sit between the valve stem and the faucet head. Over time, these O-rings and washers can stiffen or lose their effectiveness, leading to a steady drip or a continuous leak.
To replace them, you’ll need to turn off the water supply to your faucet, usually located under the sink or in the basement. Once that’s done, disassemble the faucet by removing any decorative covers and unscrewing the handle. Underneath, you’ll find the valve assembly where the O-rings and washers are situated. Remove these old parts, ensuring to clean the area before inserting new ones. New O-rings and washers are typically made of durable rubber or plastic and should fit snugly into place. Reassemble the faucet, making sure everything is sealed properly, then turn on the water supply and test for any leaks. If done correctly, your faucet repair will have solved the issue, providing a tighter seal and stopping that persistent drip.
Tightening or Replacing Faulty Components

When dealing with a leaky or malfunctioning bathroom faucet, one common solution is to simply tighten or replace faulty components. This quick and cost-effective method can often resolve issues related to loose connections, worn-out O-rings, or damaged valve seats. Start by turning off the water supply valves located under the sink to prevent any further water leakage during the repair process. Then, disassemble the faucet, identifying the problematic parts.
For minor adjustments, tightening the aerator or the connection nuts can suffice. However, if the damage is more extensive, replacing specific parts like the O-rings, cartridges, or valve assemblies might be necessary. Ensure you have the right replacement parts before proceeding, and follow the manufacturer’s instructions for proper installation to ensure a seamless faucet repair.
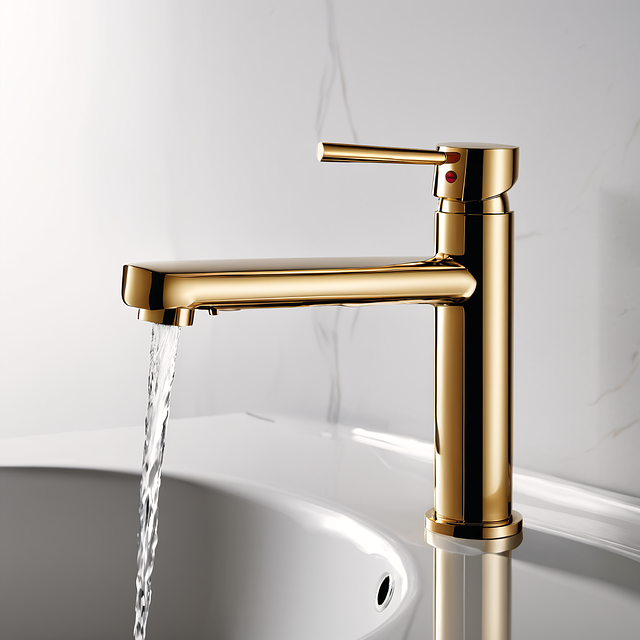
Reassemble and Test the Faucet
After disassembling the faucet, carefully put all the components back together. Make sure every part is in its proper place and securely fastened. Once reassembled, test the faucet to ensure it’s functioning correctly. Turn on the water supply and observe if there are any leaks or unusual noises. Check both the hot and cold water settings to ensure they work smoothly. If everything seems to be in order, your faucet repair is complete. However, if you notice any issues, refer back to the previous steps and double-check your work or consider seeking professional assistance for more complex problems related to faucet repair.
Advanced Faucet Troubleshooting Techniques
When it comes to advanced faucet repair, understanding the various troubleshooting techniques can save time and money. If the standard methods like checking for loose connections or replacing O-rings haven’t resolved the issue, it’s time to get more intricate. Start by inspecting the cartridge or valve assembly for any debris or mineral buildup that might be causing a blockage. A delicate cleaning with a soft brush or compressed air can often fix this.
Another advanced technique involves testing the faucet’s pressure balance system, especially in modern models. This ensures both hot and cold water flow smoothly and uniformly. Adjusting the pressure balance cartridge or checking for cross-connected lines can resolve issues related to temperature inconsistency. Remember, each faucet repair is unique, so patience and a methodical approach are key to successfully diagnosing and fixing complex problems.
Preventive Maintenance Tips for Longevity

Regular maintenance is key to extending the life of your bathroom faucet and avoiding costly repairs. Start by checking for any leaks around the base and handles regularly, as even small drips can lead to significant water waste over time. Replacing worn-out O-rings or washers is a simple task that can prevent major damage.
Additionally, lubricating the faucet’s moving parts with a silicone spray can help reduce friction and rust buildup. This preventive measure ensures smooth operation and longevity. Keep an eye on the faucet’s finish as well; applying a thin layer of carnauba wax periodically can protect against scratches and corrosion, maintaining its shiny appearance and performance.