
Faucet repairs are common household tasks addressing leaks, low pressure, dripping, and erratic temperature control, typically caused by worn O-rings, mineral buildup, or faulty washers. Preparation involves gathering tools and materials, creating a clutter-free workspace, and referring to online tutorials for specific parts. Diagnosis includes observing water flow, listening for noises, and checking for leaks around the base. A straightforward guide offers steps for DIY repair, focusing on removing/inspecting aerators and cartridges, reassembling, and testing. The process emphasizes starting with turning off water supply valves and following model-specific instructions for replacement parts like cartridges or valves. Regular maintenance and prompt attention to damage are crucial for preventing future repairs.
Need to fix that leaky faucet? This comprehensive guide breaks down the process step-by-step, from diagnosing common issues like drips and low flow to replacing cartridges or valves. We’ll equip you with the essential tools, offer troubleshooting tips, and provide expert advice for a successful residential faucet repair. Conquer those plumbing problems once and for all – no professional needed!
Understanding Common Faucet Issues
Faucet repairs are a common household task, and understanding the most frequent issues can help homeowners tackle problems efficiently. Leaks, for instance, are a widespread concern—often caused by worn-out O-rings or cartridges. A simple replacement of these parts usually fixes the issue. Another common problem is low water pressure, which can result from mineral buildup in the aerator or a clogged drain pipe. Cleaning or replacing these components can restore optimal water flow.
Dripping faucets and erratic water temperature control are also typical issues. Dripping may indicate a faulty washer or seal inside the faucet mechanism, while temperature control problems often stem from damaged valves or heat-adjusting components. Regular maintenance, such as tightening connections and cleaning aerators, can prevent many of these issues.
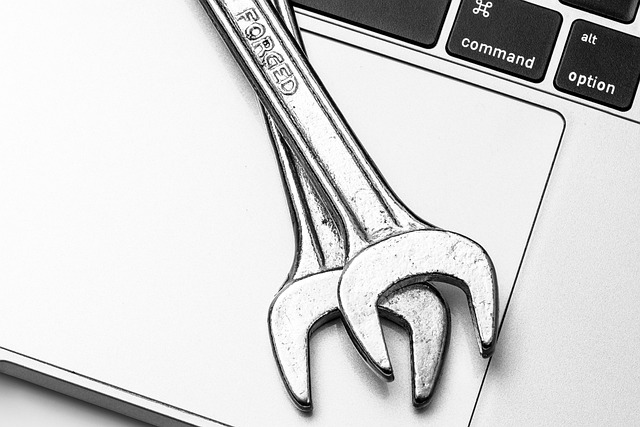
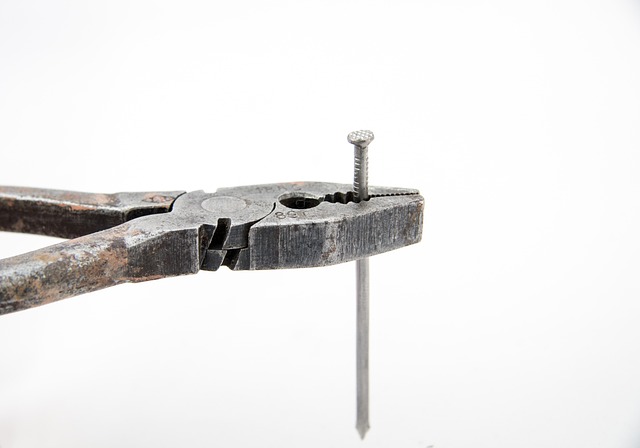
Gather Tools and Materials for Repair
Before starting any faucet repair, it’s essential to gather the right tools and materials. This will ensure the job is done efficiently and effectively. Common items needed for most faucet repair tasks include a wrench or pliers, replacement parts such as O-rings or cartridges, and possibly some pipe compound or thread seal tape. It’s also helpful to have an adjustable or pipe wrench on hand for tighter fittings. Online tutorials can guide you in identifying the specific parts required for your faucet model.
Once you’ve collected everything you need, create a workspace around your sink that’s clear of clutter. Lay out your tools and materials in a way that makes them easily accessible during the repair process. This preparation will save time and reduce frustration as you work on fixing your leaky or malfunctioning faucet.
Steps to Diagnose the Problem
To diagnose a faucet repair issue, start by observing the water flow and any unusual noises coming from the fixture. Check for leaks around the base, handles, or spout—dripping or seeping water indicates a problem with gaskets, O-rings, or cartridges. Next, try turning off the water supply valves located under the sink; if the water stops flowing immediately, the issue is likely related to these valves or the connections between them and the faucet.
Inspect the faucet’s components for damage or debris. Cartridges, for instance, can become clogged or worn out over time, affecting water pressure and flow. Tighten any loose parts, replace damaged components, and clean any debris buildup inside the faucet to resolve common issues.
Fixing Leaks: A Step-by-Step Guide
Leaky faucets can waste a lot of water and disrupt your daily routine, but fixing them is usually easier than you think. Here’s a simple, step-by-step guide for residential faucet repair. First, turn off the water supply to your sink by closing the shutoff valves located under the sink or at the base of the faucet. This prevents any flooding while you work.
Next, remove the faucet handle and aerator. The aerator is the plastic tip at the end of the faucet spout; it can be unscrewed with a quarter-turn. Behind the aerator, you’ll find the cartridge or washer that’s causing the leak. Inspect it for damage or debris, then replace or clean as necessary. Reassemble the faucet by putting back the aerator and handle, ensuring each part is securely fastened. Finally, turn on the water supply and check if the leak has been fixed.
Replacing Faucet Cartridges or Valves
When it comes to faucet repair, one common and relatively straightforward task is replacing the cartridges or valves. These components are responsible for controlling water flow and temperature in your residential faucets. Over time, they can wear out or become damaged, leading to leaks or poor performance. To replace them, you’ll need a few basic tools and a new cartridge or valve compatible with your faucet model. Start by turning off the water supply to the faucet under the sink or at the main shut-off valve in your home. Then, remove the existing cartridge or valve by unscrewing it from the faucet body. Once exposed, compare the old part to the replacement and follow instructions specific to your new component to install it properly.
Tightening and Adjusting Faucet Components
When performing a residential faucet repair, one common yet important step is tightening and adjusting various components to ensure optimal performance. Begin by locating the faucet’s adjustment screws or clamps, typically found under the faucet handle or at the base of the spout. These parts are responsible for controlling water flow and temperature. A simple turn with a wrench can often fix leaks or irregular water pressure.
Remember that different types of faucets might have unique mechanisms. Some may have cartridge-based systems where replacing or adjusting the cartridge is key, while others could feature compression or ceramic disc valves. Understanding your faucet’s structure will help you identify the specific components to tighten or adjust, making your repair process more efficient and effective.
Final Checks and Maintenance Tips
After successfully repairing your residential faucet, it’s crucial to perform final checks to ensure the issue has been resolved completely. First, turn on the water supply valves and observe if any leaks persist. If there are no leaks, the next step is to test the faucet’s functionality by turning it on fully and checking for any abnormal noises or vibrations, which could indicate underlying problems. Regular maintenance is key to preventing future faucet repairs. Consider setting a schedule to check for mineral buildup or corrosion around the faucet components. Cleaning these parts with mild soap and warm water can help maintain optimal performance. Additionally, keep an eye on any signs of damage or wear, addressing them promptly to avoid more complex repairs down the line.