This text provides a comprehensive guide to common residential faucet issues, emphasizing wear and tear as primary causes. It offers step-by-step instructions for DIY repairs, highlighting the importance of having the right tools and materials. Key areas covered include identifying faucet brands and models for accurate part selection, disassembling faucets for access to internal components, and a systematic approach to troubleshooting and fixing issues like leaks, low flow rates, and intermittent stops. Regular maintenance through cleaning, inspection, and prompt replacement of worn parts is emphasized as crucial for long-term reliability and water efficiency in homes.
Struggling with a leaky or dysfunctional faucet in your home? Don’t fret—faucet repair is a manageable task for any DIY enthusiast. This comprehensive guide walks you through every step of the process, from identifying common issues like seal leaks and temperature control problems to replacing faulty parts. Armed with the right tools, knowledge, and these expert tips, you’ll have your kitchen or bathroom faucet functioning like new in no time, saving you time and money on professional repairs.
Understanding Common Faucet Issues
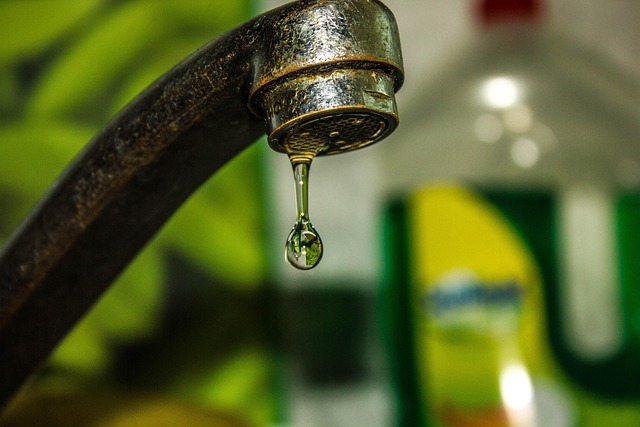
Many residential faucet issues stem from simple wear and tear, but others may indicate more complex problems. Leaks, for instance, can range from a subtle drip to a gushing flow, often caused by faulty washer or cartridge replacement parts. The former is typically an easy, do-it-yourself fix while the latter might require professional faucet repair expertise.
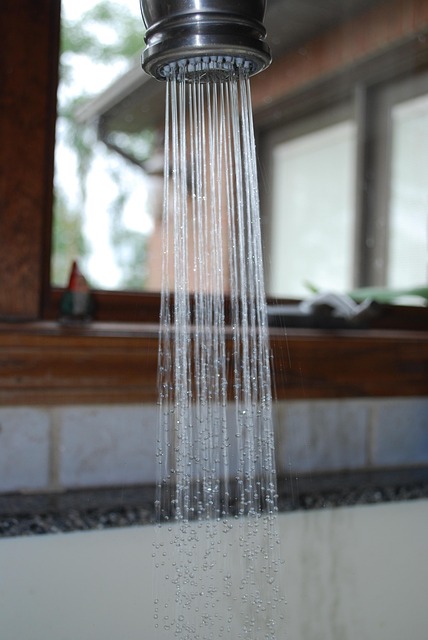
Aerator issues are another common problem, leading to reduced water pressure and flow rate. These can be addressed by cleaning or replacing the aerator, a relatively straightforward process that doesn’t usually necessitate specialized tools. Understanding these common problems is the first step in effective faucet repair, empowering homeowners to tackle minor issues themselves and know when professional assistance is required.
Gather Tools and Materials for Repair

Before starting any faucet repair, it’s essential to gather the right tools and materials. For most residential faucet repairs, a basic toolkit should suffice. This includes pliers, adjustable wrenches, screwdrivers (both flathead and Phillips), and replacement parts specific to your faucet model, such as O-rings, washers, or cartridge assemblies. Stocking these essentials ensures you’re prepared to tackle common issues like leaking, low water pressure, or temperature control problems.
When shopping for replacement parts, consider purchasing from reputable hardware stores or online retailers that offer genuine manufacturer parts. Always check your faucet’s model and serial number to ensure compatibility. Additionally, having a bit of knowledge about the repair process can help you choose the right tools and materials, making the job quicker and more efficient.
Identifying the Type of Faucet You Have

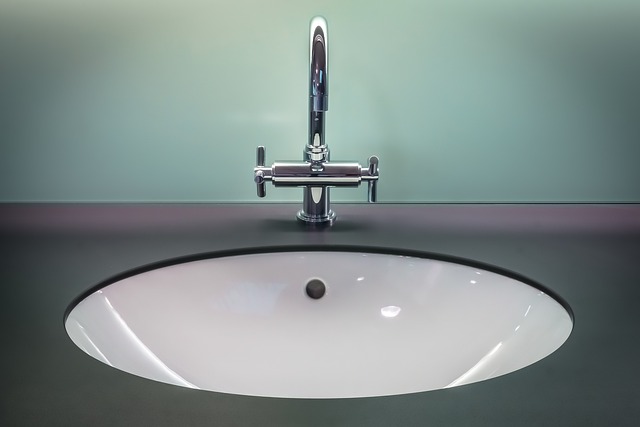
Identifying the type of faucet you have is the first step in any successful faucet repair. Different models and brands require specific tools and techniques, so understanding your faucet’s design will make the process smoother. Look for the brand name and model number, usually found on a plate or sticker at the base of the faucet. This information can also be helpful when searching for replacement parts online.
Additionally, consider the type of valve system your faucet uses. Common types include compression valves, cartridge valves, and ceramic disk valves. Each operates differently, so knowing which one you have will help you choose the right repair kit or parts. Once you’ve identified these key details, you’re well on your way to successfully repairing your residential faucet.
Disassembling the Faucet for Repair
When it comes to faucet repair, disassembling the faucet is often the first step. This process varies depending on the type and brand of your faucet, but a general approach involves turning off the water supply, removing the handle and spout, unscrewing the base or cartridge, and carefully separating the various components. Each part needs to be inspected for damage, wear, or leaks. Cartridges, for instance, often need replacement if they’re damaged or stuck.
By disassembling the faucet, you gain access to these internal parts, allowing you to address any issues accurately. It’s crucial to keep track of each component as you remove them—a simple step that can make reassembly much easier later on. With proper care and attention during this process, you’ll be better equipped to handle common faucet repair tasks effectively.
Troubleshooting Common Problems Step-by-Step
When it comes to residential faucet repair, troubleshooting common problems can seem daunting, but with a systematic approach, it becomes manageable. Start by identifying the issue—is it a leaky faucet, a low flow rate, or an intermittent stop? Next, turn off the water supply at the shut-off valves located under the sink. This simple step prevents any water damage during the repair process.
Once the water is turned off, disassemble the faucet according to its type (compression, cartridge, or ceramic disk). Inspect the components for wear, corrosion, or debris. Replace worn-out parts and ensure proper sealing. For leaks, check connections and tighten them if loose; for low flow, clean the aerator or replace a clogged filter. Each step is crucial in ensuring your faucet repair is effective and long-lasting.
Replacing Faulty Parts Effectively
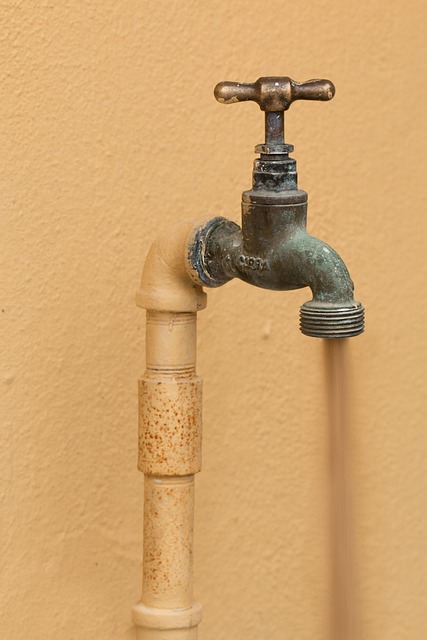
When undertaking a faucet repair, one of the most effective strategies is to identify and replace faulty parts promptly. This approach not only saves time but also ensures the job is done efficiently, potentially preventing further damage or leaks. Start by inspecting the faucet for common issues like worn-out O-rings, damaged cartridges, or corroded components. These parts are often the culprits behind dripping taps or reduced water pressure.
Once identified, replacing them with new, compatible spares is relatively straightforward. Many hardware stores stock a wide range of faucet repair parts tailored to various models and brands. Ensure you have the right tools and follow instructions carefully. A well-executed replacement can restore your faucet’s functionality, enhancing your home’s overall efficiency and hygiene, especially in kitchens and bathrooms where water flow and pressure are critical.
Final Tips and Maintenance Guidelines
When it comes to maintaining your residential faucet, regular cleaning and inspection are key. Keep an eye out for any signs of damage or leaks, addressing them promptly to prevent further complications. Consider using a mixture of vinegar and water to naturally clean the faucet’s aerator, removing buildup and ensuring optimal water flow.
For long-term reliability, replace worn-out parts such as O-rings and cartridges at the first sign of trouble. Regular maintenance, including checking for loose connections and tightening as needed, will ensure your faucet repair needs are minimal. Remember, addressing issues early on not only saves you from costly repairs but also preserves the longevity of your plumbing system.