
Discover the transformative power of deep tile cleaning—a meticulous process designed to rejuvenate your space. This comprehensive guide unravels the art and science behind this powerful technique, highlighting its numerous benefits for both residential and commercial properties. From eliminating stubborn stains to restoring grout’s gleam, professional deep tile cleaning offers a fresh start. Learn how to choose the right tools and solutions, master the step-by-step process, and maintain your tiles’ cleanliness for years to come.
Understanding Deep Tile Cleaning: The Process Unveiled

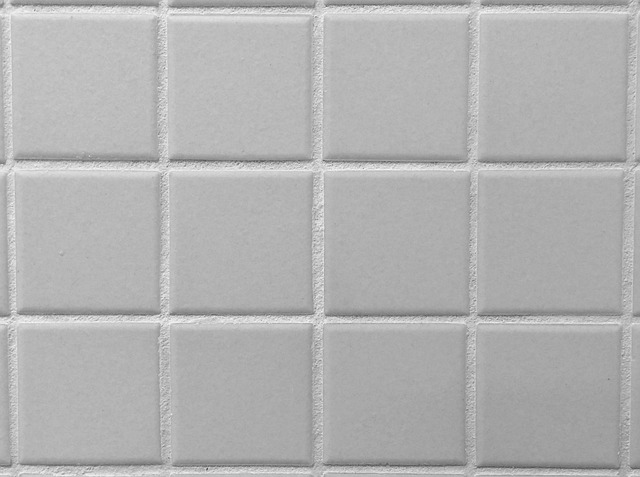
Deep tile cleaning involves a thorough and meticulous process designed to restore the original sparkle and cleanliness of your tiles. It goes beyond surface-level cleaning, delving into the grout lines, where dirt, grime, and even mold can build up over time. This method utilises specialized equipment and solutions to eliminate deep-seated contaminants, ensuring every crevice is cleaned effectively.
The process typically begins with vacuuming to remove loose debris. Then, a powerful cleaning solution is applied, followed by a scrubbing mechanism to break down stubborn stains. Once the tiles are thoroughly cleaned, high-pressure water jets rinse away remaining chemicals and dirt. Finally, a dry vacuum removes excess moisture, leaving your tiles spotless and your space refreshed, showcasing the clean beauty of your tiled surfaces.
Benefits of Professional Deep Tile Cleaning
Common Tile Issues and How Deep Cleaning Resolves Them

Many tile surfaces, especially in high-traffic areas like kitchens and bathrooms, can accumulate dirt, grime, stains, and even mold over time. These issues are not just aesthetically displeasing but can also pose health risks. Common problems include grout lines filled with debris, tiles that have lost their glossy finish, and persistent water spots. Regular surface cleaning might address some of these concerns temporarily, but it often doesn’t penetrate deep enough to resolve the root causes effectively.
Deep tile cleaning goes beyond the surface by using specialized equipment and powerful cleaning solutions to thoroughly clean, deodorize, and restore tiles and grout. This process targets embedded dirt, breaks down tough stains, and eliminates bacteria and mold. As a result, tiles regain their original sparkle, grout lines look fresh again, and any health hazards associated with mold or grime are eliminated. Deep cleaning is particularly effective for older tiles and those with intricate designs that require extra care to maintain their beauty.
Choosing the Right Deep Cleaning Solutions and Tools

When it comes to deep tile cleaning, selecting the right solutions and tools is paramount to achieving optimal results. The market offers a wide array of options tailored for different tile types and levels of dirtiness. For instance, powerful extraction machines are ideal for removing deep-seated grime from high-traffic areas, while eco-friendly, pH-balanced cleaners are suitable for delicate or naturally stone tiles, ensuring their longevity without causing damage.
Additionally, the right tools can significantly enhance your cleaning efficiency. Soft bristle brushes and squeegees are perfect for intricate tile patterns, allowing you to reach tight spaces effectively. For larger areas, consider using long-handled tools to clean without bending too much, reducing the risk of back strain. Remember, choosing the right products and equipment will not only make the cleaning process smoother but also contribute to preserving your tiles’ beauty and durability.
Step-by-Step Guide to Efficient Deep Tile Cleaning

Deep tile cleaning is a meticulous process that requires the right tools and techniques for optimal results. Here’s a step-by-step guide to ensure your tiles sparkle like new again:
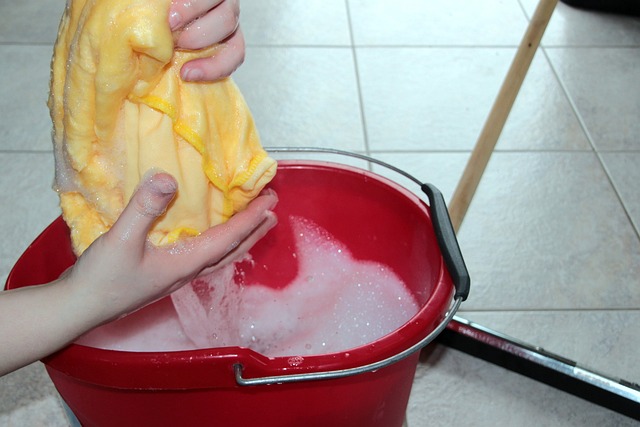
1. Preparation: Begin by clearing the floor of any furniture or obstructions. Then, gather your supplies: a high-quality vacuum with a brush attachment, a tile-specific cleaning solution, a mop, and a bucket. Fill the bucket with warm water mixed with the cleaning solution, following the manufacturer’s instructions for dilution.
2. Vacuuming: Start by vacuuming the tiles to remove any loose dirt, debris, or dust. Use the brush attachment on hard-to-reach areas and corners. This step is crucial as it prevents debris from settling during the cleaning process. After vacuuming, mop the tiles using the prepared solution, ensuring even coverage. Allow the solution to sit for a few minutes to loosen stubborn stains. Then, rinse thoroughly with clean water, mopping again to remove any residue.
Maintenance Tips for Longevity After Deep Cleaning
After a deep tile cleaning, maintaining your tiles is crucial for longevity and preservation of their pristine condition. Regular mopping with a mild detergent or pH-neutral cleaner will help remove everyday dirt and grime. Avoid harsh chemicals, excessive water, or abrasive tools which can damage or dislodge grout, compromising the overall aesthetics and integrity of your tiled surfaces.
For more thorough maintenance, periodically scrub tiles with a soft-bristled brush to target stubborn stains. Letting tiles dry completely after cleaning prevents moisture-related issues like mold, mildew, or warping. Additionally, resealing grout annually with a suitable product will protect against dirt and bacteria penetration, ensuring your tile investment stays vibrant and durable for years to come.