Tile sealing is crucial for maintaining kitchen floors' appeal and functionality. By applying a protective layer, tiles are shielded from moisture, dirt, and stains, creating a non-porous surface that repels water and oil. This process prevents stain absorption, preserves tile vibrancy, and protects against chemical damage, extending the life of your flooring. Regular reapplication ensures continued effectiveness in preserving the tile's condition for years to come. Choosing the right sealant (silicone, acrylic, polyurethane) tailored to your floor material and traffic intensity is key. Proper preparation involves thorough cleaning, and sealing should follow a few straightforward steps after 24-72 hours of drying. Avoiding common mistakes like improper cleaning or incorrect sealer selection ensures optimal results. A sealed kitchen floor improves aesthetics, saves time on cleaning, and fosters a healthier environment by preventing mold and mildew growth. Consistent upkeep through regular mopping, prompt spill cleanup, and using mild cleaners maintains the integrity of sealed tiles.
Tile sealing is an essential step in maintaining a kitchen floor’s beauty and longevity. This comprehensive guide delves into the world of kitchen tile protection, offering insights on understanding tile sealing, its numerous benefits, and choosing the right sealant for your flooring. We’ll walk you through the preparation process, provide a step-by-step guide, and highlight common mistakes to avoid. Discover how sealing enhances cleanliness and offers valuable maintenance tips to keep your kitchen floor looking pristine while simplifying cleaning routines.
Understanding Tile Sealing: A Kitchen Floor Protector
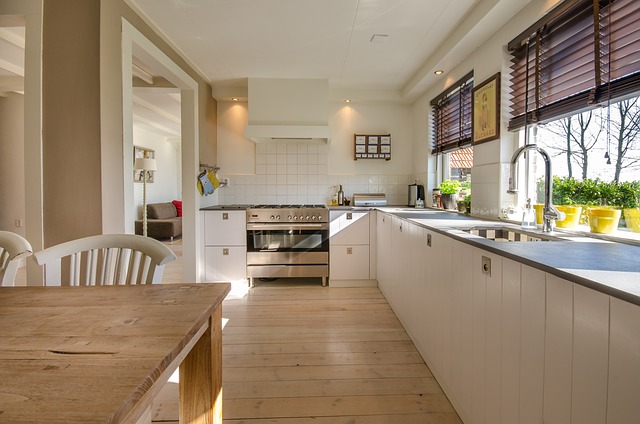
Tile sealing is a crucial step in maintaining a kitchen’s aesthetics and functionality. It involves applying a protective layer to tile surfaces, which acts as a barrier against moisture, dirt, and stains. This process is particularly essential for kitchen floors, which are subjected to frequent cleaning and high traffic. By sealing tiles, you create a non-porous surface that repels water and oil, making it easier to clean and maintain.
A well-sealed kitchen floor offers numerous benefits. It prevents the absorption of stains, ensuring that your tiles stay vibrant and free from unsightly marks. Additionally, sealed tiles are less prone to damaging effects caused by chemical cleaners and hot water, which can erode unprotected surfaces over time. This simple yet effective step in kitchen floor cleaning not only enhances the longevity of your tile flooring but also contributes to a cleaner, more aesthetically pleasing environment.
Why Seal Your Kitchen Tiles? Benefits for Longevity and Maintenance

Sealing your kitchen tiles is a crucial step in maintaining a clean and aesthetically pleasing space. It offers more than just an attractive finish; it provides long-lasting protection for your floor. Kitchen floors are subject to high traffic, spills, and stains, which can degrade the quality of tiles over time. By sealing them, you create a protective barrier that repels water, dirt, and grease, making cleaning easier and more efficient. This is particularly beneficial for kitchen floors as they require regular deep cleaning due to the high risk of bacteria and food residue buildup.
One of the key benefits of sealing your tiles is enhanced longevity. Sealing acts as a shield against harsh chemicals often used in floor cleaners, preventing them from damaging the tile surface or its grout. It also protects against moisture-related issues like mold growth and warping. Regular maintenance becomes simpler, requiring only occasional reapplication to maintain the seal’s effectiveness. This not only saves time but also ensures your kitchen tiles remain in excellent condition for years to come, contributing to a more durable and low-maintenance living environment.
Types of Sealants: Choosing the Right Fit for Your Kitchen Flooring
When it comes to tile sealing for kitchens, understanding different types of sealants is essential for effective kitchen floor cleaning. The market offers a range of options, each designed for specific needs and surfaces. Silicone sealants are popular choices due to their flexibility and water resistance, making them ideal for kitchens prone to moisture and spills. Acrylic sealants provide a more durable solution, suitable for heavy-traffic areas, while offering a variety of finishes to match different kitchen aesthetics. On the other hand, polyurethane sealants are known for their exceptional stain resistance, which is particularly beneficial for kitchens with high-activity food preparation zones.
Choosing the right sealant depends on factors like floor material, traffic volume, and desired maintenance level. For instance, if you have ceramic or porcelain tiles, an acrylic or polyurethane sealant might be more suitable due to their superior protection against stains and scratches. In contrast, silicone sealants could be a better fit for stone floors, as they allow some movement, preventing potential damage caused by thermal expansion. Regular kitchen floor cleaning becomes easier with the right sealant, ensuring longevity and preserving the beauty of your tiling.
Preparation is Key: Cleaning and Maintaining Before Sealing

Before sealing your kitchen tiles, proper preparation is essential for achieving optimal results. The first step begins with a thorough cleaning of the kitchen floor. Start by removing all furniture and appliances to gain full access to the surface. Use a mild detergent and warm water to clean the tiles, ensuring you address any stubborn stains or grime. A clean floor is crucial as it ensures the sealer adheres effectively to the tile surface.
Once cleaned, maintain the floor’s cleanliness throughout the sealing process. Regularly mop and dry the area to prevent dirt and dust from settling on the freshly sealed tiles. Proper kitchen floor cleaning before sealing not only enhances the appearance of your tiles but also prolongs the effectiveness of the sealant, ensuring a lasting protective layer for years to come.
Step-by-Step Guide to Effective Tile Sealing
Sealing your kitchen tiles is a straightforward process that can dramatically enhance the look and durability of your flooring. Here’s a step-by-step guide to ensure effective tile sealing:
1. Prepare Your Kitchen: Start by sweeping or vacuuming your kitchen floor to remove any loose dirt, debris, or grease. Then, wash the floor with a mild detergent and warm water to ensure it’s clean and dry before proceeding. This initial cleaning is crucial for optimal sealing results, especially in kitchens where spills and stains are frequent occurrences.
2. Choose the Right Sealer: Select a high-quality tile sealer designed specifically for kitchen floors. Look for products that offer excellent water resistance and protection against stains. Follow the manufacturer’s instructions for application, as different sealers may have varying requirements regarding surface preparation and drying times.
3. Apply the Sealer: Evenly apply the sealer to your tiles using a clean brush or roller. Make sure you cover all surfaces, including the grout lines. Pay close attention to areas prone to water damage, such as near sinks and appliances. Allow the sealer to dry according to the product’s guidelines; this could take anywhere from 24 to 72 hours, depending on the brand.
4. Inspect and Touch Up: Once the sealer has dried completely, inspect your floor for any missed spots or areas that need touch-ups. Reapply sealer as necessary to ensure even protection across your kitchen tiles.
Common Mistakes to Avoid During the Sealing Process

When sealing your kitchen tiles, avoid common pitfalls that can compromise the effectiveness of the process and lead to premature sealing failure. One frequent mistake is not thoroughly cleaning the kitchen floor before sealing. Residual dirt, grease, or grime will prevent the sealer from bonding correctly with the tile surface, resulting in an uneven finish and reduced protection. Always spend ample time on deep cleaning to ensure a clean slate for sealing.
Another blunder is choosing the wrong sealer for your specific tiles and application needs. Different sealers are designed for various purposes—some for high-traffic areas, others for enhanced water repellency, and some for aesthetic purposes. Misjudging your requirements can lead to poor performance or even damage to your tiles over time. Consult with a professional or study your options carefully to select the most suitable sealer for your kitchen floor cleaning and sealing needs.
Enhancing Cleanliness: Sealing's Role in Kitchen Floor Hygiene

Tile sealing plays a pivotal role in maintaining hygiene within kitchens, particularly regarding kitchen floor cleaning. By creating an impermeable barrier between the tiles and moisture, sealants prevent bacteria, dirt, and stains from setting in, making regular cleaning significantly easier. This is especially beneficial in high-traffic areas like kitchens where floors are constantly exposed to spills, splashes, and foot traffic.
A sealed kitchen floor not only looks more aesthetically pleasing but also reduces the time and effort required for maintenance. Sealing repels water and oil, causing stains to bead up and wipe away effortlessly. This enhances overall cleanliness by minimizing the growth of mold, mildew, and other harmful microorganisms that thrive in damp environments, which is crucial for maintaining a healthy kitchen space.
Maintenance Tips: Keeping Your Sealed Tiles Looking New
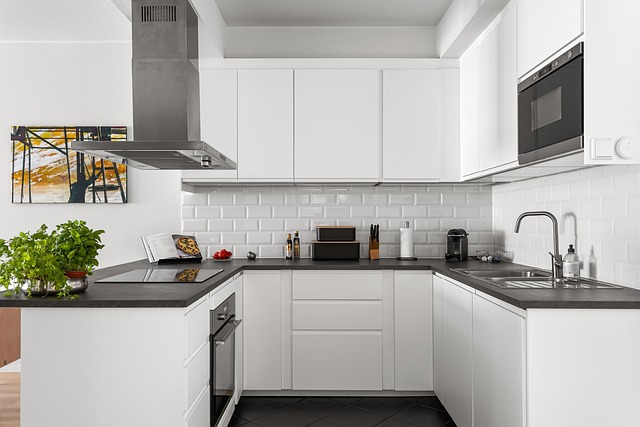
To maintain the look and longevity of sealed tiles in your kitchen, regular cleaning and care are essential. Starting with a thorough kitchen floor cleaning routine is key. Use a mild detergent and warm water to avoid damaging the seal while removing dirt and grime. Avoid harsh chemicals or abrasive cleaners which can erode the sealer over time. Regular mopping and wiping up spills promptly will prevent staining and keep your tiles looking fresh.
Additionally, consider using a microfiber mop or cloth to minimize scratch marks from hard-bristled tools. For tough stains, apply a small amount of white vinegar mixed with water directly on the spot, let it sit for a few minutes, then scrub gently before rinsing. Remember, preventing is better than curing, so address spills and dirt promptly to keep your sealed tiles in pristine condition.
