Identifying and fixing a leaky faucet yourself is an easy, cost-saving DIY task. First, turn off the water supply, gather necessary tools and parts, then locate and address the leak (washer, O-ring, cartridge). Regular maintenance prevents future issues. For complex leaks or persistent problems, consult a professional plumber.
Struggling with a leaky faucet? You’re not alone. This common household issue can waste hundreds of gallons of water each year. Our comprehensive guide helps you tackle any leaky faucet with confidence. From identifying the source and gathering the right tools, to step-by-step repair instructions for various types of leaks, we’ve got you covered. Learn preventive measures to avoid future leaks and know when it’s time to call a professional plumber. Fix that leaky faucet today!
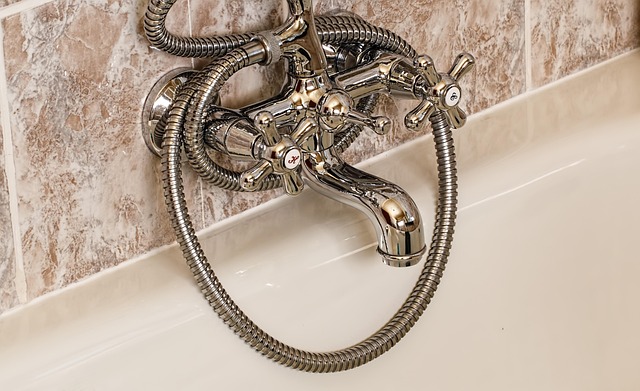
Understanding Your Leaky Faucet: Identifying the Source

A leaky faucet can be a common household issue, but identifying the source is the first step to an effective leak solution. Start by observing the behavior of the leak – is it a steady drip or does it come in bursts? The location of the leak within the faucet itself can vary, so check both the handle and spout areas. A leaky faucet fix often involves a simple repair such as tightening worn parts or replacing worn washers and O-rings, which are common culprits.
Visual inspection can help pinpoint the problem, but if you’re unsure, don’t hesitate to consult a plumber. They can provide expert advice and ensure the leak is properly diagnosed. Remember, early action on a leaky faucet fix can prevent unnecessary water waste and potentially costly damage down the line.
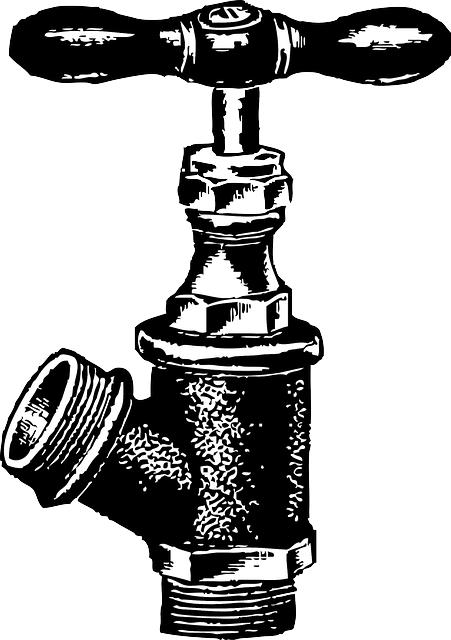
Gather Your Tools and Materials: What You'll Need for Repair

Before you begin your leaky faucet fix, it’s essential to gather the right tools and materials. This typically includes a new washery or O-ring (depending on the type of faucet), pliers, a wrench, and some thread seal tape. For more complex faucets, you might need a replacement cartridge or valve stem. Make sure these parts are compatible with your faucet model. Double-check that all tools and materials are within reach to ensure a smooth and successful leaky faucet fix.
Once you have everything you need, the next step is to turn off the water supply to the faucet. This is crucial to prevent any unexpected water gushes or messes during the repair process. Locate your home’s main shut-off valve—it’s usually under a cover in your basement or near the water meter outside—and twist it clockwise to close it off. Now, you can safely proceed with your leaky faucet fix.
Step-by-Step Guide: Fixing a Leaky Faucet

A leaky faucet can be a common household issue, but it doesn’t have to be a persistent problem. Fixing it yourself is both cost-effective and eco-friendly. Here’s a step-by-step guide on how to tackle this chore. Start by turning off the water supply to your faucet under the sink. This is usually done with two shut-off valves located behind the faucet or under the kitchen or bathroom counter. Once the water is cut off, gather the necessary tools: an adjustable wrench, pliers, and a new washer or O-ring (ensure these are compatible with your faucet’s make and model). Disassemble the faucet by removing the handle and any decorative caps. You’ll likely find two parts: the stem and the cartridge (or valve assembly). Inspect these components for any damage or wear and identify the specific part that needs replacement, usually the washer or O-ring. Replace the worn-out parts with new ones, ensuring they are properly seated. Reassemble the faucet, tightening all components securely but carefully to avoid over-tightening. Finally, turn on the water supply and test the fix by turning on the faucet. If the leak has stopped, your handywork was successful!
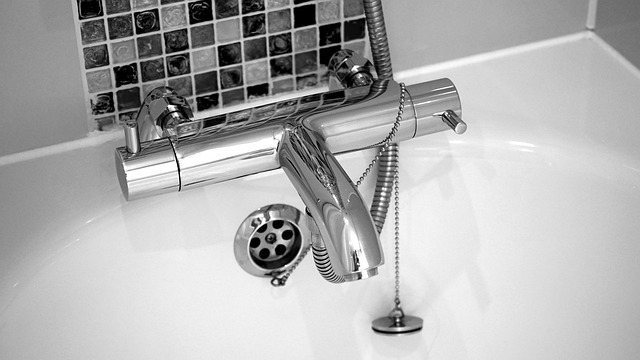
Common Types of Faucet Leaks: Different Repairs for Each
Leaky faucets can be a common household issue, with various types of leaks requiring distinct repair methods. Understanding these differences is key to efficiently addressing the problem. One of the most prevalent is the cartridge leak, commonly found in modern faucets. This occurs when the cartridge, responsible for controlling water flow and temperature, becomes damaged or worn out, allowing water to escape around its edges. A simple replacement of this component usually fixes such leaks.
Another common type is the washer leak, which happens due to a worn-out or damaged washer, a small ring that sits beneath the faucet’s handle. Over time, these washers can degenerate, leading to dripping. Replacing the washer is a straightforward DIY task and an effective leaky faucet fix. For more complex leaks, such as those involving the stem or valve seats, professional intervention might be necessary. Identifying the specific leak type is crucial in selecting the appropriate repair method for a leaky faucet fix.
Preventive Measures: Tips to Avoid Future Faucet Leaks

To prevent future leaky faucet fixes, regular maintenance is key. Start by inspecting your faucets periodically for any signs of wear or damage, especially around the base and handle. Lubricating the components with a silicone-based lubricant can reduce friction and extend their lifespan. Additionally, tightening any loose parts or replacing worn-out washers or O-rings before they fail can save you from costly leaks.
Another effective preventive measure is to turn off your home’s water supply valves behind the faucets when not in use. This simple step can stop water flow and prevent leaks that may occur due to frozen pipes, broken parts, or other issues. Regularly checking and testing these shut-off valves ensures they operate smoothly, further safeguarding against unexpected leaky faucet fix scenarios.
When to Call a Professional Plumber: Knowing When to Seek Help
If a simple DIY repair isn’t enough to stop your leaky faucet, it might be time to call in a professional plumber. While many leaky faucet fixes can be easily managed by homeowners, there are certain situations where expert intervention is necessary. Look out for signs that indicate a complex issue, such as continuous leaks despite tightening, water damage around the base of the faucet, or strange noises coming from the pipes. These could suggest underlying problems like corroded pipes, broken valves, or severe seal damage—issues that often require special tools and expertise to address effectively.
Instead of trying to fix it yourself if you’re unsure or if the leak persists after initial attempts at a leaky faucet fix, reach out to a licensed plumber. They have the skills and experience to diagnose complex problems accurately and provide lasting solutions. Plus, they can offer guidance on preventing future leaks by offering recommendations for high-quality fixtures or suggesting maintenance routines tailored to your plumbing system.