Storm damage can leave your roof in shambles. If you’re facing this situation, understanding the steps for a successful roof replacement is crucial. From identifying storm-related damage to choosing the right materials and hiring a reputable contractor, each decision matters. This guide walks you through the process, providing insights on assessing insurance coverage, selecting durable roofing solutions, and ensuring efficient installation while offering maintenance tips to prevent future damages.
Understanding Storm Damage: How to Identify Roof Issues
Understanding Storm Damage: How to Identify Roof Issues
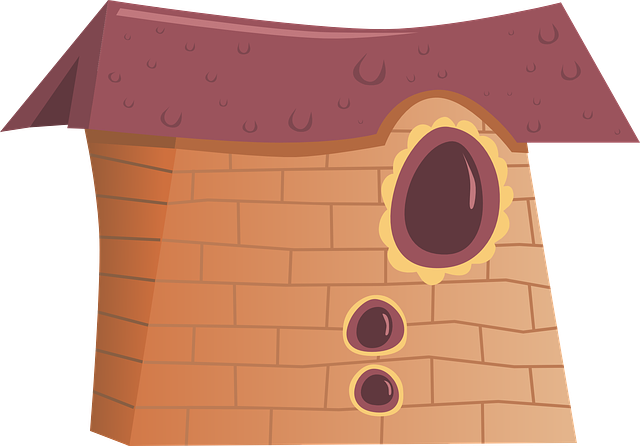
Roof replacement after storm damage is often necessary due to the severe weather conditions that can leave your roof vulnerable. Identifying roof issues is a crucial first step in determining whether a full roof replacement is required. Look for visible signs such as missing or damaged shingles, leaks, and any structural damage. Missing or curled shingles are a common indicator of high-wind damage, while leaks may signal broken or cracked flashing or gutters.
Examine your roof for any warping, sagging, or uneven sections, which could point to weakened trusses or beams. Additionally, keep an eye out for water stains inside your home, as these can indicate that storm damage has compromised the integrity of your roof and led to infiltration. If you notice any of these issues, it may be time to consider a roof replacement to protect your home effectively against future storms.
Assessing Your Insurance Coverage for Roof Replacement
When considering a roof replacement after storm damage, one of the first steps is assessing your insurance coverage. Reviewing your policy documents carefully will help you understand what types of roofing repairs or replacements are covered and to what extent. Some policies may specifically outline provisions for storm-related damages, while others might require additional documentation to prove the necessity of the roof replacement. It’s crucial to communicate with your insurance provider to confirm the specifics of your coverage and the process for filing a claim. This will ensure a smoother transition during the recovery process and help you get your home back in top condition more efficiently.
Choosing the Right Roofing Material for Your Replacement

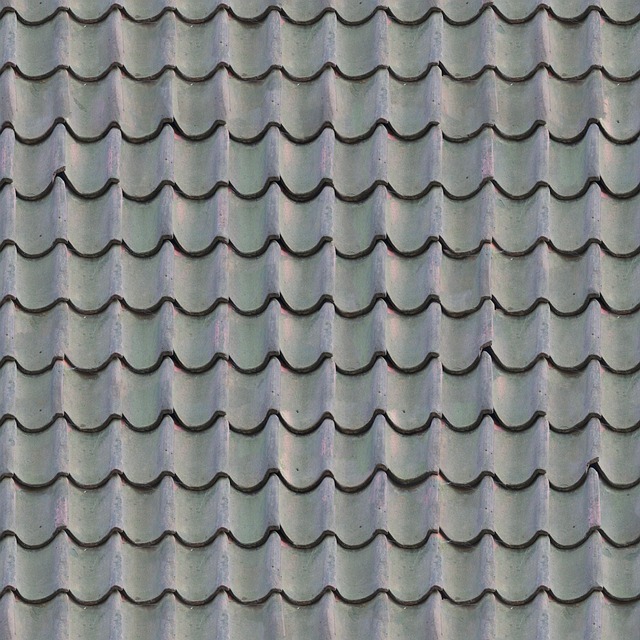
When choosing materials for your roof replacement after storm damage, consider climate and local building codes. If you live in a snowy region, opt for durable, snow-resistant shingles that can withstand heavy precipitation. In areas prone to high winds, select materials with strong adhesive bonds and wind-resilient features.
Additionally, think about the aesthetic appeal and long-term value of your home. New roofing materials come in various colors, textures, and styles, allowing you to match or enhance your property’s existing design. Energy-efficient options, like reflective shingles or metal roofing, can also reduce heating and cooling costs over time, making them a smart investment.
Hiring a Reputable and Experienced Roofing Contractor
When undertaking a roof replacement after storm damage, hiring a reputable and experienced roofing contractor is paramount. Look for companies with a proven track record in your area, as this ensures they understand local building codes and weather patterns. Ask for references from past clients to gauge their satisfaction levels and the quality of work delivered.
Reputable contractors should be licensed, insured, and carry worker’s compensation to protect both you and their employees. They should also offer a warranty on their workmanship and materials used, giving you peace of mind that your roof replacement will stand the test of time. Don’t hesitate to get multiple quotes before making a decision, comparing not just prices but also the level of service and expertise offered.
The Step-by-Step Process of Roof Replacement

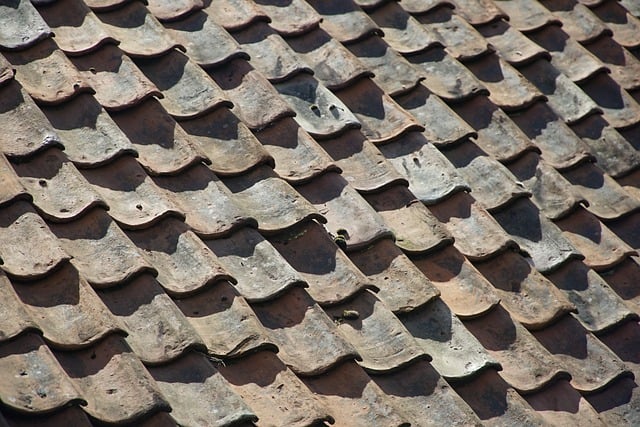
The process of roof replacement after storm damage involves several crucial steps. First, inspect the entire roof for any remaining structural integrity and assess the extent of the damage. This includes identifying missing or damaged shingles, flashing, or underlayment. Once the assessment is complete, remove any debris and temporarily repair the roof to prevent further leakage.
Next, strip down the existing roof to its bare bones, ensuring all old materials are properly disposed of. Install new underlayment, followed by the replacement shingles or roofing material of your choice. Ensure proper sealing at joints and around chimneys or vents. Finally, conduct a thorough inspection to verify the work’s quality and completeness before considering the project complete.
Tips for Fast and Efficient Roof Replacement After Storm Damage
After storm damage, quick and efficient roof replacement is crucial. Start by assessing the extent of the damage: inspect your roof for missing or damaged shingles, leaks, or structural issues. If possible, take photos to document the damage for insurance claims.
Next, gather quotes from reputable roofing contractors. Compare their experience, pricing, and warranties before making a decision. Choose a licensed and insured contractor with a proven track record of handling similar storm damage repairs. Effective communication is key; ensure your chosen contractor understands your needs, provides clear timelines, and keeps you informed throughout the process.
Maintaining Your New Roof to Prevent Future Damages
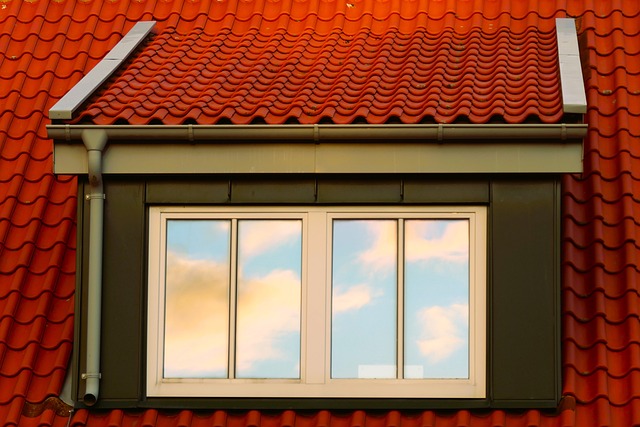
After installing a new roof following storm damage, proper maintenance is crucial to prevent future issues. Regular inspections are key; check for loose or damaged shingles, flashing, and gutters at least twice a year. Clearing debris promptly from gutters and drains prevents water damage by ensuring proper drainage.
Use high-quality roofing materials and follow manufacturer recommendations for maintenance and repair. Repairs should be addressed quickly to avoid further damage. Protect your new roof with reflective coatings or shading devices during extreme weather events, and consider professional cleaning services to keep it looking its best.