This text provides a comprehensive guide to fixing leaky faucets, addressing common causes like worn washer components, loose connections, and damaged threads. It emphasizes preparing essential tools, turning off the water supply for conservation, disassembling the faucet for thorough inspection, replacing O-rings or cartridges, securing connections, and implementing regular testing and maintenance routines to prevent future leaks. The key takeaway is a systematic approach using appropriate parts and care for an effective leaky faucet fix.
Is your faucet dripping, driving you crazy? Don’t worry, fixing a leaky faucet is easier than you think! Learn how to identify common causes like worn-out O-rings or damaged cartridges, gather the right tools and supplies, and efficiently turn off your water supply to prevent wasting precious H2O. Follow our step-by-step guide for disassembly, replacement, and sealing to achieve a long-lasting fix. Say goodbye to that persistent drip and save money on your water bills!
Understanding the Common Causes of Leaky Faucets

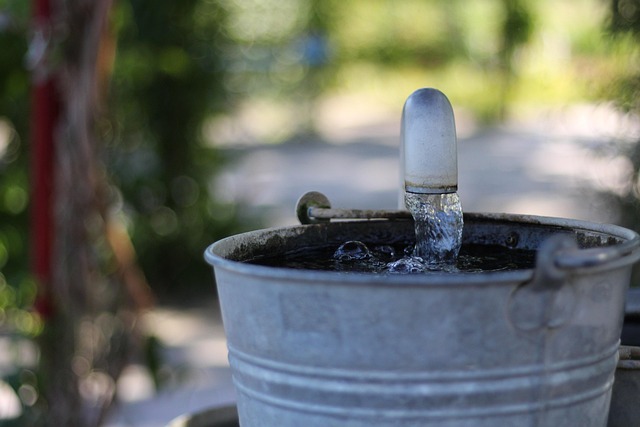
Leaky faucets can be a common household issue, often arising from various factors that require addressing to effect a proper leaky faucet fix. One of the primary causes is worn-out or damaged washer and seat components within the faucet’s internal mechanism. Over time, these parts can degenerate, leading to leaks as water continues to flow even when the faucet is turned off. Another prevalent reason is loose connections between the faucet’s various parts, particularly at the base where it meets the sink or countertop. This misalignment can allow water to escape, especially if the threads have become damaged or corroded. Additionally, outdated or low-quality faucets are more prone to leaks due to substandard materials and construction, making them less durable over time.
Gather the Necessary Tools and Supplies
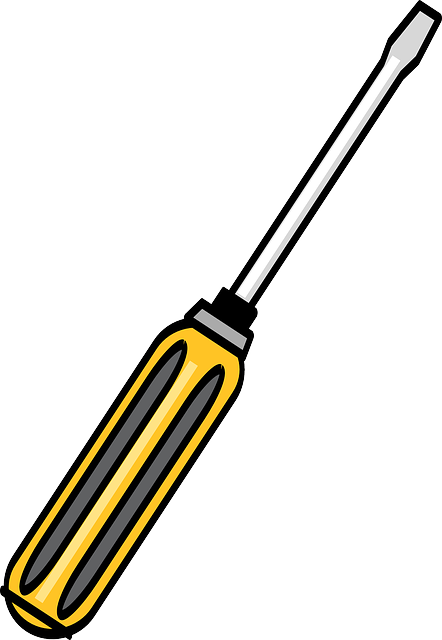
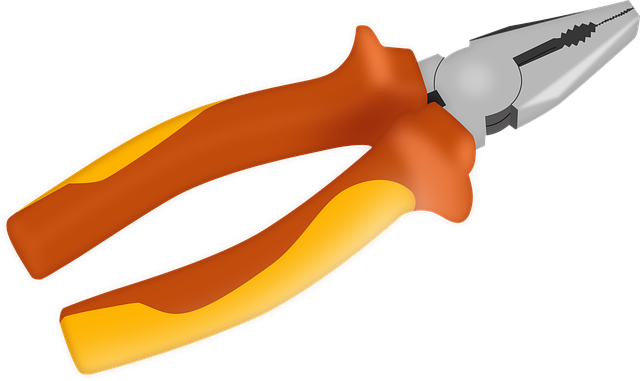
Before tackling any leaky faucet fix, make sure you have the right tools and supplies on hand. This typically includes a wrench or pliers for gripping and twisting components, Teflon tape or pipe compound for sealing connections, and a new washer or O-ring to replace any worn-out parts. Additionally, having access to a bucket, rags, and gloves can help contain any excess water and protect your hands. These essentials will enable you to effectively address the issue and prevent further damage caused by persistent leaks.
Once prepared, carefully inspect the faucet for the source of the leak, which often resides at the base or around the handle mechanism. Identifying the culprit is key to selecting the appropriate solution, whether it involves tightening a loose connection, replacing a damaged washer, or addressing more complex issues with the valve cartridge or aerator. Having these tools ready allows you to efficiently navigate the leaky faucet fix process.
Turn Off the Water Supply to Prevent Wasting

When addressing a leaky faucet, one of the first steps is to turn off the water supply to prevent further waste. This simple action can significantly reduce water consumption and the potential for damage caused by a continuous leak. By shutting off the valve under the sink or in the basement, you halt the flow of water directly to the faucet, minimizing the impact on your water bill and household resources.
This preventive measure is crucial in the leaky faucet fix process, allowing you to focus on repairing the issue without worrying about ongoing water wastage. Once the supply is cut off, you can proceed with confidence, knowing that every drop counts and that your immediate actions will help preserve this precious resource.
Disassemble the Faucet to Identify the Problem

When dealing with a leaky faucet, disassembling it can provide crucial insights into the problem’s root cause. Start by turning off the water supply valves located under the sink to prevent any further wastage. Then, remove the faucet handle and the decorative caps, exposing the inner mechanism. This process allows you to inspect the O-rings, cartridge, or washer for signs of damage, wear, or debris. A leaky faucet fix often involves replacing these parts, which are common sources of water leakage.
By disassembling the faucet, you gain access to these components, enabling you to identify which part needs attention. This step is essential in ensuring an effective and lasting leaky faucet fix, as it prevents future issues and promotes proper maintenance.
Replace the Faulty Parts and Seal Tightenings
When fixing a dripping faucet, replacing faulty parts is often the most direct solution. This could involve swapping out worn-out O-rings or washer cartridges that have lost their seal integrity. Once these components are replaced, ensuring tight connections becomes crucial for an effective leaky faucet fix. Tighten any loose pipes or fittings using a wrench or pliers to prevent future leaks.
A secure fit ensures the new parts can function optimally, providing a lasting solution to your leaky faucet problem. Remember, proper sealing is key to avoiding water wastage and potential damage caused by continuous dripping.
Test and Maintain for Long-Lasting Fix

After successfully fixing a dripping faucet, it’s crucial to ensure the problem doesn’t resurface. Regular testing and maintenance are essential for long-lasting repairs. Start by checking the faucet periodically for any signs of leaks or drips. This simple step can help identify potential issues early on, allowing you to address them promptly before they turn into bigger problems.
To maintain your leaky faucet fix, keep an eye on the faucet’s parts, especially the O-rings and washers. Over time, these components can wear out or become damaged, leading to leaks. Regularly inspect and replace any worn-out parts as needed. Additionally, consider lubricating the faucet’s valves with a suitable lubricant to ensure smooth operation and prevent future leaks.