
Toilet installation requires understanding three primary types (gravity-fed, pressure-assisted, tankless) and choosing between round/elongated bowls, low-profile/high-efficiency models, or vintage designs. Assess your bathroom layout, considering space constraints and plumbing connections. Select compact toilets for smaller rooms and dual-flush options for water conservation. Accurate measurements ensure a perfect fit, guiding the installation process with proper tools and materials (level, tape, wrenches, pipes, fittings). Follow manufacturer instructions for bracket setup, secure attachment, reconnected water lines, leak testing, tank filling, and flushing. Avoid common mistakes like improper leveling and loose connections to prevent leaks and clogs. Final checks ensure optimal performance and longevity of the new toilet installation.
Reliable toilet installation is a critical yet often overlooked aspect of home renovation. This comprehensive guide navigates you through every step, from understanding diverse toilet options and assessing your bathroom layout to choosing the perfect fit and ensuring watertightness. Learn essential tools, avoid common mistakes, and master the process for a successful toilet installation that enhances both functionality and aesthetics. Discover expert tips tailored to achieve reliable results.
Understanding Your Toilet Options: Types and Styles

When considering toilet installation, understanding your options is key. Toilets come in a variety of types and styles to suit different needs and preferences. The most common types include gravity-fed, pressure-assisted, and tankless toilets. Gravity-fed toilets are the traditional choice, relying on water weight to flush waste. Pressure-assisted toilets use air pressure within the tank to create a stronger flush. Tankless models, also known as low-flow or compact toilets, eliminate the need for a tank, offering space savings and efficient flushing.
Additionally, various styles cater to different aesthetics. Round and elongated bowls are standard choices, with elongated providing more comfort and better clearance. Low-profile and high-efficiency toilets focus on saving water without compromising performance. Modern designs incorporate sleek lines and unique features, while vintage styles replicate classic, traditional looks. Selecting the right combination of type and style ensures a functional and visually appealing toilet installation that meets both your practical requirements and personal style preferences.
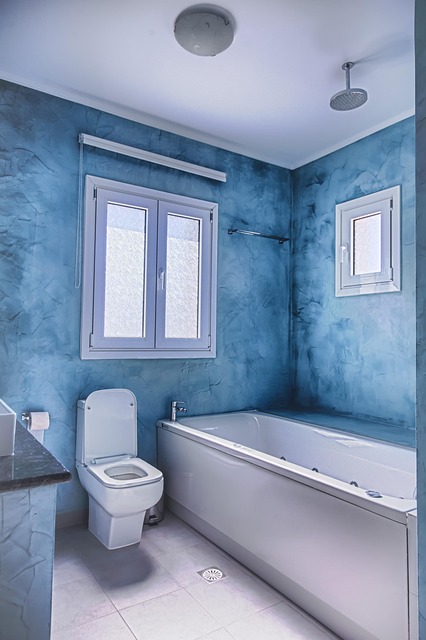
Assessing Your Bathroom Layout for Installation
When preparing for a toilet installation, assessing your bathroom layout is a crucial step in ensuring a successful and seamless fit. Start by measuring the available space to determine the size and style of toilet that will accommodate your needs. Consider the width, height, and depth of the area where the toilet will be placed, as well as any existing plumbing connections and waste pipes.
A proper assessment allows you to choose the right toilet model, whether it’s a compact design for smaller spaces or a more traditional shape for larger bathrooms. It also helps in planning the placement of fixtures like handrails, shelves, or other accessories that complement your bathroom’s overall aesthetic while maintaining functionality and ease of use during Toilet Installation.
Choosing the Right Toilet for Your Space and Needs
When considering a toilet installation, choosing the right one for your space and needs is paramount. Factors like size, shape, and water efficiency should guide your decision. Compact toilets are ideal for smaller bathrooms, while larger models offer more comfort. Modern low-flow toilets can significantly reduce water consumption, making them environmentally friendly choices. Additionally, consider features such as dual flush options, which provide a powerful yet water-saving clean.
The right toilet installation goes beyond selection; it also involves assessing your plumbing setup. Ensure the toilet’s dimensions align with your bathroom’s layout to allow for easy access and movement. Professional installers can help determine if any adjustments are needed, guaranteeing a seamless fit and optimal functionality.
Measuring and Planning for a Precise Fit
Measuring and planning are crucial steps in any toilet installation, ensuring a precise fit that prevents future issues. Begin by accurately measuring the existing toilet space, including the distance from the wall to the center of the waste pipe and the overall dimensions of the area. This measurement ensures the new toilet will fit comfortably without causing any obstruction or discomfort.
Creating a detailed plan based on these measurements is essential. It involves selecting a toilet that aligns with your space constraints and personal preferences, considering factors like height, width, and additional features. Proper planning guarantees a seamless installation process, ensuring the new toilet integrates perfectly into your bathroom, providing both functionality and aesthetic appeal in the process.
Uncovering Essential Tools and Materials

When it comes to reliable toilet installation, having the right tools and materials is half the battle won. For a seamless process, you’ll need a few essential items specific to Toilet Installation. These include a level, a measuring tape, and a variety of tools like wrenches, pliers, and adjustable ones for securing connections. Additionally, stock up on high-quality pipes, fittings, and seals designed for toilet installations to ensure longevity and prevent leaks.
Remember, the right materials and tools not only facilitate the installation process but also play a crucial role in determining the overall durability of your new toilet setup. Investing in these essentials will help you achieve a robust and trouble-free Toilet Installation, ensuring peace of mind for years to come.
Step-by-Step Guide to Reliable Toilet Installation

Toilet Installation: A Step-by-Step Guide for Reliable Results
Begin by gathering all necessary tools and materials, including the new toilet, necessary fittings, and replacement parts. Ensure that your space is properly prepared and measured to accommodate the new toilet, checking for any potential obstructions or plumbing requirements. Next, shut off the water supply to the existing toilet, drain the tank, and disconnect the supply lines. Remove the old toilet carefully, keeping track of any components you may need to reuse or recycle.
With the space cleared, install the new toilet’s bracket or mounting hardware according to the manufacturer’s instructions. Attach the toilet securely, ensuring proper alignment. Reconnect the water supply lines, testing for leaks at each connection. Fill the tank and flush the toilet multiple times to ensure smooth operation. Verify that all components are functioning correctly, including the flushing mechanism, overflow tube, and flapper valve.
Common Mistakes to Avoid During Installation
When installing a toilet, many homeowners make mistakes that can lead to leaks, clogs, and other issues. One common error is improper leveling, which can cause the toilet to rock and leak. Always ensure the toilet base is level before securing it in place. Another mistake is poor plumbing connections; loose or faulty pipes can result in frequent clogs and water damage. Take your time to tightly seal all joints using appropriate sealing compounds.
Ignoring the right angle for the supply lines is also a frequent blunder. The water supply should enter the toilet at a specific angle, typically between 10 and 20 degrees, to prevent clogs and ensure smooth water flow. Additionally, neglecting to insulate the pipes can lead to freezing during cold seasons, causing pipe bursts. Always remember that proper insulation is crucial for maintaining optimal plumbing conditions.
Final Checks: Ensuring Watertightness and Functionality

After completing the toilet installation, it’s crucial to conduct thorough final checks to ensure both watertightness and optimal functionality. Start by inspecting all connections for any signs of leaks. Turn on the water supply and check for drips or puddles around the base of the toilet. A single drop can indicate a loose connection or an improperly sealed joint.
Next, test the flush mechanism to confirm it operates smoothly and efficiently. Ensure that the flusher lifts the chain correctly, triggering the flush valve to empty the tank and clean the bowl. Additionally, verify that the toilet’s water level is set according to the manufacturer’s recommendations. Proper adjustment ensures efficient flushing without excessive water usage. These final checks are vital steps in ensuring a reliable and long-lasting toilet installation.