The text provides a comprehensive guide on restoring old tile and grout, addressing common issues like stains, chips, cracks, and aging. It emphasizes the importance of early detection and proper cleaning before restoration. The process involves testing, removing outdated sealers and stains, re-sealing, patching damaged tiles, choosing suitable grout tools, targeted application, and sealing for protection. Regular maintenance through cleaning, resealing, and deep grooming is crucial for long-lasting results. SEO keywords: How to Restore Old Tile and Grout.
Tired of looking at faded, stained tiles and grout in your home? Discover how to restore old tile and grout with our comprehensive guide. Learn about the wear and tear process and effective preparation techniques for a like-new look. We’ll walk you through removing old sealers, repairing damaged tiles, re-grouting with the right materials, and sealing for protection. Avoid common mistakes and maintain your restored surfaces with expert tips.
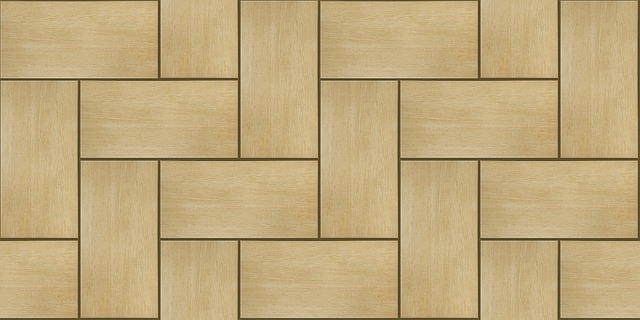
Understanding Wear and Tear on Tiles and Grout
Over time, tiles and grout can lose their luster due to everyday use and exposure to various elements. This wear and tear is a natural process, but it can significantly impact the appearance of your flooring or countertop. Regular cleaning and maintenance are essential to prolonging the life of these surfaces, but even with careful care, restoration might be needed. Understanding how and why tiles and grout deteriorate is the first step in learning how to restore old tile and grout effectively.
Several factors contribute to wear and tear, including foot traffic, environmental conditions like moisture or extreme temperatures, aging materials, and improper cleaning methods. Grout, being a porous material, absorbs liquids and stains easily, leading to discoloration and disintegration over time. Tiles may also develop chips, cracks, or lose their gloss due to scrubbing or harsh chemicals. Identifying these issues early on can make restoration easier and more successful.
Preparation: Cleaning and Evaluating the Surface

Before diving into the restoration process, proper preparation is key. The first step in how to restore old tile and grout involves thorough cleaning and evaluating the surface. Start by removing any loose debris or grime using a vacuum or brush. Then, use a mild detergent or cleaning solution suitable for tiles and grouts to scrub away dirt and stains. Pay close attention to areas with heavy buildup or discolored grout.
Once the surface is clean, carefully inspect it for damage or missing tiles, as well as the overall condition of the grout lines. This evaluation will help you determine the extent of restoration needed and guide your decision-making process for the next steps, ensuring a successful refresh of your tile and grout.
Removing Old Sealers and Stains
When tackling tile and grout restoration, one of the initial steps is removing old sealers and stains—a crucial part of the freshening process. Over time, sealers can become worn down or discolored, allowing stains to penetrate deeper into the grout. This is especially true in bustling areas where foot traffic and exposure to various elements accelerate the aging process. To restore your old tile and grout effectively, start by testing a small, hidden area first to determine the best removal method.
For many cases, a combination of warm water, mild detergent, and a stiff brush is enough to loosen and remove old sealers and stains. For tougher, ingrained stains, you might need stronger commercial cleaners or even specialized tools like grout saws. Once the old protective layer is removed, you’ll be able to apply new sealer and restore the grout to its original condition, making your tile look as good as new.
Repairing Damaged Tiles and Plugs

Damaged tiles and grout can significantly impact the overall look and functionality of your space, but luckily, repairing them is often simpler than you think. The first step in how to restore old tile and grout involves assessing the extent of the damage. Cracked or chipped tiles can be replaced individually, while deep gouges or extensive staining may require re-grouting or even tile replacement.
For minor issues like loose grout, simply reapply a small amount of grout using a grouting tool, ensuring it fills the gaps evenly. In more severe cases, use tile epoxy to repair broken tiles and fill in missing pieces. This process involves mixing the epoxy according to the manufacturer’s instructions and applying it with a putty knife. Once cured, sand any rough surfaces and clean thoroughly to achieve a freshened appearance throughout your space.
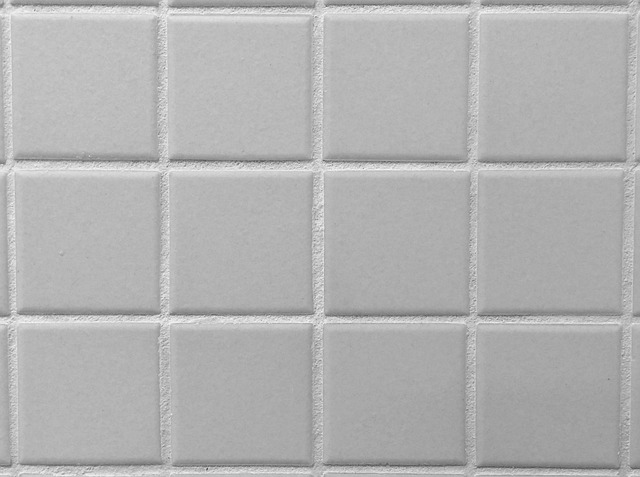
Re-grouting: Choosing the Right Materials

When it comes to re-grouting as part of how to restore old tile and grout, selecting the appropriate materials is a key step. The first consideration is the type of grout—cement-based or polymer-modified—which impacts its flexibility, durability, and color consistency over time. For tiles that have gaps wider than 1/8 inch (3 mm), choose a grout with a higher compressive strength to ensure it can withstand heavy foot traffic without cracking.
Additionally, the right tools are essential for effective re-grouting. Use a grout saw or a rubber grout float for precise cutting and spreading, ensuring a smooth, even layer of new grout that fills existing gaps completely. Remember, proper preparation, including cleaning and patching any damaged tiles, will ensure that your new grout binds well to the tile surface, creating a lasting restoration in your space.
Application Techniques for Optimal Results

When it comes to freshening up old tile and grout, understanding application techniques is key to achieving optimal results. The first step involves thoroughly cleaning the surface to remove any built-up dirt or grime. This can be done using a mixture of warm water and mild detergent, scrubbed gently with a soft-bristled brush. Rinse well and allow the area to dry completely before proceeding.
Once the tile and grout are clean, it’s time to apply your chosen restoration product. For best results, use a small, precise tool like a grout brush or a tile cleaning squeegee to ensure even coverage. Begin by applying the product directly to the grout lines, working in small sections at a time. Then, move on to the tiles themselves, spreading the product evenly across their surfaces. Follow the manufacturer’s instructions for drying times and any additional care requirements.
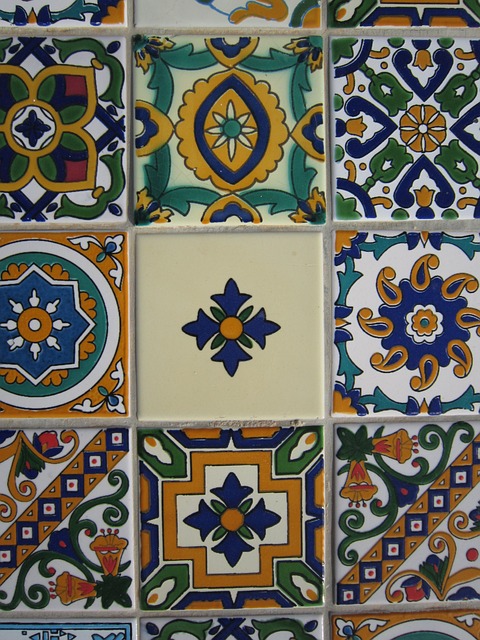
Sealing and Protecting Restored Surfaces
After restoring old tile and grout, the next crucial step is sealing and protecting these freshly revitalized surfaces. Sealing acts as a protective barrier, shielding your tiles and grout from moisture, stains, and dirt. This is particularly important for preventing regrouting or tile damage in high-traffic areas like kitchens and bathrooms.
Choosing the right sealer for your specific material—be it ceramic, porcelain, or natural stone—is essential. Water-based sealers are generally safe and easy to use, offering a clear finish that enhances the natural beauty of your tiles without obscuring their appearance. Regularly cleaning and resealing according to the manufacturer’s instructions will ensure long-lasting protection for your restored tile and grout.
Common Mistakes to Avoid During Restoration

When tackling the restoration of old tile and grout, it’s essential to be aware of common mistakes that can undermine your efforts. One frequent blunder is attempting to clean or restore heavily damaged or deteriorated tile and grout without first assessing the extent of the damage. It’s crucial to evaluate whether repair is feasible or if replacement might be a better option, saving you time and money in the long run.
Another mistake to avoid is using incorrect cleaning methods or products, which can further deteriorate the tile and grout. Always opt for mild, pH-neutral cleaners designed specifically for tile and grout to prevent etching or damaging the surface. Additionally, skipping steps like proper preparation, patching, and sealing can lead to unsatisfactory results. Adequate preparation ensures a clean canvas for restoration, while patching and sealing protect against future moisture intrusion and staining.
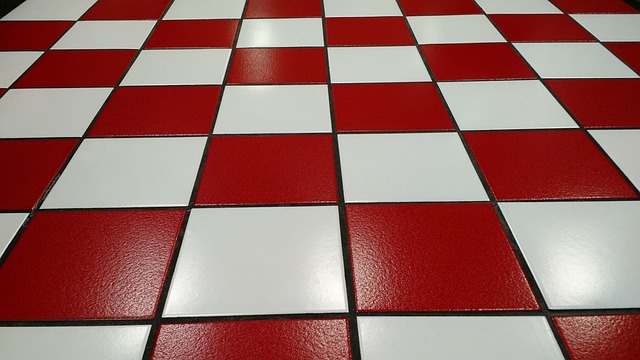
Maintenance Tips for Longevity

Regular maintenance is key to keeping your tile and grout looking fresh and new for years to come. Start by sweeping or vacuuming your floors regularly to remove dirt and debris that can stain or damage the surface. Next, mop with a solution of warm water and mild detergent to keep grime from setting in. For tougher stains, use a grout cleaning brush to gently scrub away residue.
In addition to routine cleaning, sealing your tile and grout every 12-18 months will provide an extra layer of protection against moisture, dirt, and bacteria. This simple step can significantly extend the life of your tiling, making it easier and more affordable to maintain over time. When it comes to how to restore old tile and grout, regular care is the best prevention.