
Kitchen floor cleaning isn't just about aesthetics, it's a vital hygiene practice that prevents dirt and stains from embedding. Polishing involves thorough cleaning, using abrasives, and buffing for a protective finish that enhances the floor's beauty and simplifies future maintenance. Regular polishing keeps your kitchen floor clean and stunning while preserving flooring investment. The right tools and compounds ensure effective stain removal and a glossy finish. Start with sweeping/vacuuming, mopping with mild detergent, and applying a suitable floor polish in small sections. Avoid common mistakes like skipped floors or unsuitable equipment. Maintain pristine conditions through daily spot cleaning, weekly mopping, and removing debris with a dry cloth to preserve the lustre of your polished kitchen floors.
“Uncover the transformative power of a gleaming kitchen floor with our comprehensive guide to polishing. From understanding the process to choosing the right products and tools, we demystify achieving a sparkling kitchen. Discover the numerous benefits of a clean, polished floor—from enhanced aesthetics to increased property value. Learn essential tips for avoiding common mistakes and maintaining longevity. Elevate your kitchen’s charm with effective cleaning techniques tailored for durable, lustrous floors.”
Understanding Kitchen Floor Polishing: A Comprehensive Guide
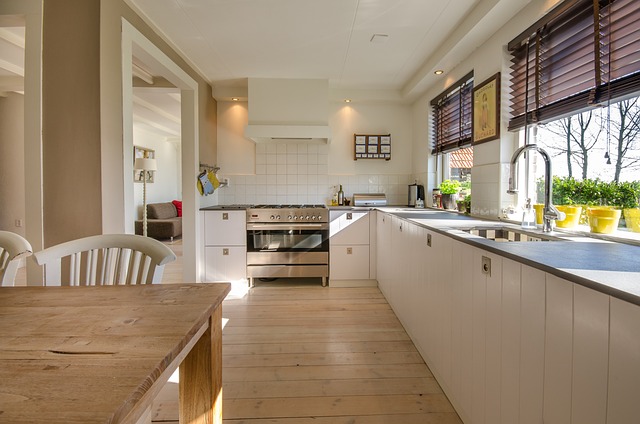
Kitchen floor polishing is a process that involves buffing and honing your kitchen’s flooring surface to achieve a sleek, glossy finish. It’s not just about aesthetics; regular polishing also plays a crucial role in maintaining the hygiene of your kitchen. By removing dirt, stains, and oils, polished floors can prevent these issues from embedding deep into the flooring material, making them easier to clean and less likely to attract bacteria.
Moreover, kitchen floor polishing offers more than just cleanliness benefits. It enhances the overall look of your space, adding a touch of elegance and modern flair. The process involves several steps, starting with thorough cleaning, followed by abrasives to smooth the surface and remove old finishes. This is then buffed to create a lustrous appearance that not only shines but also protects the floor from future damage.
Benefits of a Clean and Polished Kitchen Floor

A clean and polished kitchen floor offers more than just aesthetic appeal; it’s a testament to good hygiene practices that can significantly impact your health and the longevity of your flooring. Regular kitchen floor cleaning, especially polishing, plays a crucial role in removing dirt, stains, and bacteria that accumulate over time due to frequent foot traffic and spills. Polishing also helps to reveal the natural glow and texture of the floor, enhancing the overall look of the space.
Moreover, a polished kitchen floor is easier to maintain and clean in the long run. The smooth surface repels liquids and dirt, making it simpler to wipe down or sweep away messes promptly. This prevents stains from setting, which can be more challenging and time-consuming to remove later. By keeping your kitchen floor clean and polished, you not only create a welcoming environment for both family and guests but also contribute to the preservation of your flooring investment.
Choosing the Right Polishing Agents and Tools
When it comes to kitchen floor polishing, selecting the appropriate cleaning agents and tools is paramount for achieving a gleaming finish that enhances your space. The right polishing agent should be capable of removing existing stains and dirt while restoring the natural shine of your kitchen floor. Opt for high-quality, commercial-grade polishing compounds designed specifically for hard surface floors to ensure optimal results. These products come in various forms, from liquid polishes to paste cleaners, each offering unique benefits suited to different types of flooring.
Complementing your choice of polishing agent is the selection of suitable tools. Floor pads and buffing machines play a crucial role in the polishing process, facilitating even distribution of the polish and achieving a smooth, lustrous surface. For smaller kitchens or light cleaning tasks, manual floor pads or cloth buffers can be efficient and cost-effective options. However, for larger areas or more stubborn stains, investing in a powered buffer or scrub machine may prove more beneficial, significantly streamlining the kitchen floor cleaning process and delivering professional-grade results.
Step-by-Step Process for Effective Kitchen Floor Polishing
Polishing your kitchen floor is a great way to rejuvenate its appearance and extend its lifespan, especially if it’s made of durable materials like tile or vinyl. Here’s a step-by-step guide for effective kitchen floor polishing:
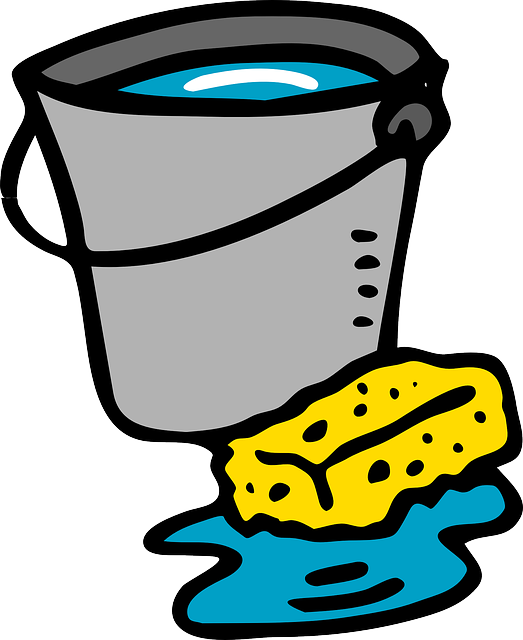
1. Preparation: Start by sweeping or vacuuming the floor to remove any dirt or debris. Then, mop the floor with warm water and a mild detergent to ensure it’s clean before applying polish. Allow the floor to dry completely, as moisture can interfere with the polishing process. For best results, consider closing doors to prevent pets or folks from tracking in additional dirt during the polishing process.
2. Choose the Right Polish: Select a floor polish designed specifically for kitchens, considering the material of your floor. There are various options available, including water-based and solvent-based polishes. Water-based polishes are safer for health and the environment, while solvent-based ones offer a shinier finish but require proper ventilation. Follow the manufacturer’s instructions on the polish can for application methods and safety precautions.
3. Apply Polish: Using a clean microfiber mop or pad, apply the floor polish in small sections, working from one corner to another. Ensure even coverage and avoid overloading the mop with polish to prevent streaking. After applying, allow the polish to dry according to the product instructions. Most polishes take around 15-30 minutes to dry to the touch but may require a few hours for a complete cure.
4. Buff and Wipe: Once dry, buff the floor with a clean microfiber cloth or pad in the direction of the grain to achieve a high shine. Remove any residue left by the polish. Repeat this process until you reach your desired level of glossiness.
Common Mistakes to Avoid During Polishing

When it comes to polishing your kitchen floor, there are several common mistakes that homeowners often make. One of the biggest blunders is attempting to polish a dirty or uncleaned floor. Before you begin, ensure that you thoroughly clean your kitchen floor to remove any debris, grease, or stains. Using an inappropriate polishing machine can also lead to damage and uneven results. It’s crucial to choose the right equipment for the job; opt for a machine suitable for your floor type and size, whether it’s wood, tile, or stone.
Another mistake to avoid is overspraying the polish, which can create messy drips and streaks. Maintain a controlled application process, paying close attention to the edges and corners. Allow sufficient drying time between coats to prevent excessive build-up, ensuring a smooth and glossy finish. Remember, patience is key; taking your time will yield better results than rushing through the process.
Maintenance Tips for Longevity of Polished Kitchen Floors

To ensure your polished kitchen floors remain in pristine condition, regular maintenance is key. Begin with a consistent cleaning routine using a mild detergent and warm water to avoid damaging the finish. Avoid harsh chemicals or abrasive cleaners that can scratch the surface. Spot cleaning daily and mopping once a week will help prevent dirt buildup and keep your floors looking fresh.
For thorough yet gentle floor polishing, invest in a quality microfibre mop and use it regularly. Avoid excessive moisture as it may lead to water damage. In between deep cleans, wipe down the floors with a dry cloth to remove dust and debris. This simple routine will go a long way in preserving the lustre of your polished kitchen floors for years to come, ensuring they remain the stunning centrepiece of your space.
Top Tips for Keeping Your Kitchen Floors Sparkling

To keep your kitchen floors sparkling, regular cleaning is key. Start by sweeping or vacuuming daily to remove loose dirt and debris. This prevents grit from scratching your floor and helps extend the life of your polishing. Use a mild detergent and warm water for mopping, avoiding harsh chemicals that could damage the finish. Always wring out your mop thoroughly to prevent excessive water from sitting on the floor.
Additionally, consider using non-slip mats at the sink area to minimize water spots and stains. Dry floors promptly after cleaning to prevent water damage and dampness, which can lead to mold and mildew growth. Regular polishing with a suitable product will add a protective layer, enhancing the floor’s appearance and durability. Remember, consistent care will ensure your kitchen floors remain sparkling and in top condition.