
This text offers a comprehensive guide to common faucet issues and their simple solutions for homeowners. By highlighting the importance of identifying root causes, understanding handle types, gathering essential tools, and following structured repair steps, it empowers owners to effectively address leaks, drippy spouts, and low water pressure. Regular maintenance and early detection are stressed for cost-effective repairs. For complex issues, it recommends consulting a professional plumber. Key keywords: faucet repair, common faucet issues, basic toolkit.
Tired of leaky or stuck faucet handles? This comprehensive guide on faucet repair will help you tackle common issues head-on. From understanding basic problems like leaks and drips to learning how to replace worn-out parts, you’ll master the art of maintaining your fixtures. We’ll walk you through gathering the right tools, disassembling the handle, and reassembling it seamlessly. Additionally, we offer tips for regular upkeep and know-how for when a professional plumber is necessary.
Understanding Common Faucet Issues
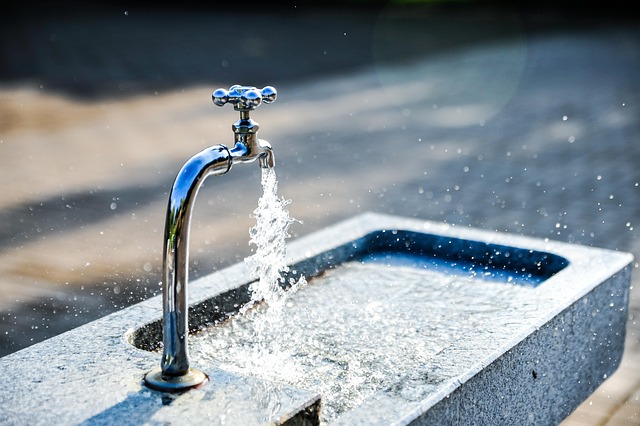
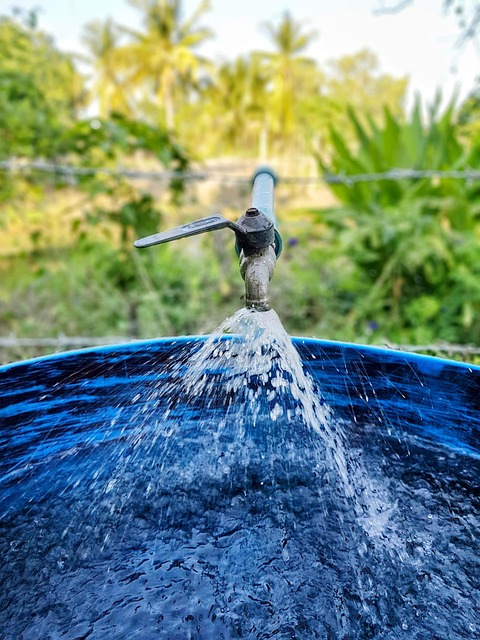
Many common faucet issues can be easily resolved with a bit of knowledge and the right tools. The most frequent problems include leaks, drippy spouts, and low water pressure. Leaks often occur due to worn-out O-rings or washers, which can be replaced relatively effortlessly. Dripping faucets are usually caused by an improperly seated cartridge or valve seat, which can be adjusted or replaced. Low water pressure might result from mineral buildup in the aerator or a clogged strainer, both of which can be cleaned or replaced to restore proper flow. Identifying the specific issue is key to effective faucet repair, ensuring that homeowners can tackle these problems quickly and cost-effectively.
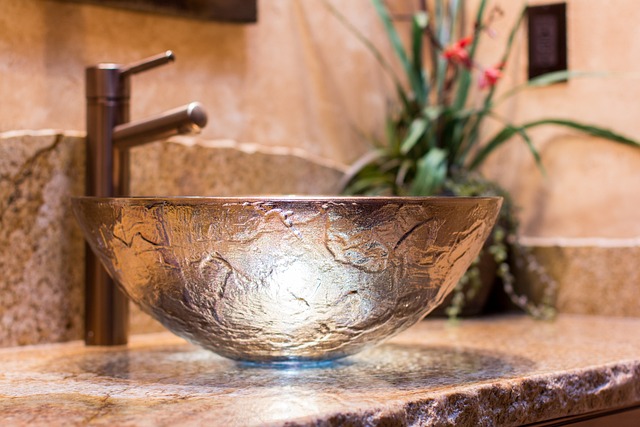
Identifying the Type of Faucet Handle
When it comes to faucet handle repair, the first step is identifying the type of handle you have. Different faucets use various mechanisms, from lever handles to twist-and-turn styles. Understanding your specific handle design is crucial for effective repair because each type has unique parts and replacement requirements.
For example, single-handle faucets typically have a cartridge mechanism, while dual-handle models often feature ceramic disk or ball valves. Knowing the exact setup enables you to gather the right tools and spare parts for a successful faucet repair job, ensuring your water flow is back in top form in no time.
Gathering Necessary Tools and Supplies
Before starting any faucet repair, it’s crucial to gather the right tools and supplies. For most faucet issues, a basic toolkit including pliers, wrenches (both adjustable and pipe), a screwdriver, and replacement parts such as O-rings or washers will suffice. Additionally, having some silicone grease on hand can prevent future leaks by sealing the connections.
Ensure all necessary items are within reach to streamline the repair process. Proper organization of your tools allows for a more efficient and less stressful experience. With the right equipment assembled, you’ll be ready to tackle common faucet repair problems, enhancing your home’s functionality and saving on potential plumber fees in the process.
Disassembling the Faucet Handle
When it comes to faucet repair, disassembling the handle is often the first step in identifying and fixing the issue. Start by turning off the water supply valves located under the sink to prevent any accidents during the process. Next, gather the necessary tools, including a wrench or pliers, to carefully remove the handle without causing damage. Depending on your faucet model, you might need to unscrew a series of small bolts holding the handle in place. Once these are removed, gently pull the handle off, taking note of how it’s assembled for later reference during reinstallation.
This process allows you to inspect each component for wear and tear or damage, which can guide your repair decisions. You might find that the issue lies with the washer, O-ring, or valve seats, all of which are common areas of failure in faucet handles. With the old parts identified, you can now shop for replacements, ensuring a seamless return to smooth and efficient water flow after completing your faucet repair.
Replacing Worn-Out Parts
When undertaking a faucet repair, one of the most common issues is worn-out parts, particularly the handle and cartridge. If your faucet’s handle is loose, hard to turn, or has started leaking, it might be time for a replacement. Many faucets have interchangeable parts, making the repair process straightforward. You can easily purchase replacement handles and cartridges that are designed to fit various faucet models, ensuring a tight seal and smooth operation.
Before replacing these parts, ensure you have the right tools on hand, such as pliers or a screwdriver, and follow the manufacturer’s instructions for disassembly and installation. This involves turning off the water supply to prevent leaks during the repair. By taking the time to replace worn-out components, you can extend the life of your faucet and maintain a reliable water flow in your home, addressing common issues effectively with a simple faucet repair.
Reassembling and Testing the Faucet
After replacing or repairing the internal parts of your faucet, it’s crucial to reassemble the entire fixture and test its functionality thoroughly. Begin by tightening all the connections carefully, ensuring no leaks occur at the base, where the faucet meets the sink. Check the handle mechanism, making sure the handle glides smoothly and securely over the cartridge or valve stem.
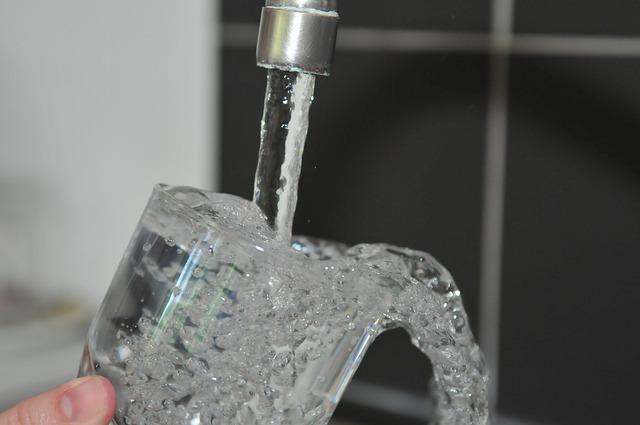
Once reassembled, turn on the water supply and observe if any drips or leaks are present. If all seems well, the next step is to test the temperature and pressure of the water flow. Adjust the hot and cold controls until you reach your desired setting, ensuring both components work independently and in tandem without issues. A successful test will confirm that your faucet repair was effective, providing a smooth and satisfying user experience.
Troubleshooting Leaks and Drips

Leaks and drips are common issues with faucets, but identifying the source can be straightforward with some basic troubleshooting. Start by inspecting the most visible parts: the handle and spout. Sometimes, a simple tightening or replacement of O-rings or seals can stop the leak. If the problem persists, check for loose connections under the faucet. Corroded or damaged pipes may also cause leaks; in such cases, replacing these components is often necessary for a successful faucet repair.
For drips, pay attention to the area around the base of the faucet. A drip might indicate a worn-out washer or a faulty valve seat. Over time, these parts can erode, leading to continuous water leakage. Fortunately, replacing them is usually a straightforward process that can be done with common tools and a new set of washers or valves.
Tips for Regular Maintenance

Regular maintenance is key when it comes to keeping your faucet in top shape and preventing costly repairs. A simple routine can go a long way in ensuring smooth operation. Start by regularly inspecting the handle for any signs of damage or loose parts, as even minor issues can lead to major leaks over time. Cleaning the faucet with mild soap and warm water helps remove mineral deposits and dirt that can affect its performance.
Lubrication is another essential step; apply a small amount of silicone grease to the handle’s pivot points to reduce friction and ensure smooth movement. Remember, when it comes to faucet repair, catching potential problems early makes the solution much simpler and more cost-effective.
When to Call a Professional Plumber

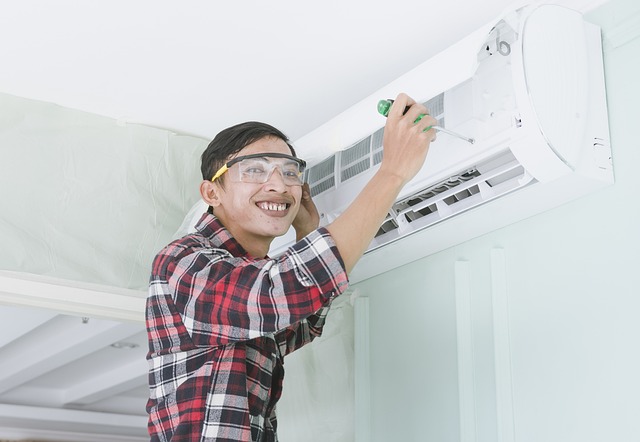
If you’ve tried basic faucet repair techniques and are still facing issues, it might be time to consider calling a professional plumber. While minor leaks or loose handles can often be fixed by homeowners, more complex problems require expert knowledge. A professional plumber can diagnose and fix various faucet issues, from stubborn leaks and broken parts to faulty valves and even pipes that need replacing.
When your faucet repair involves unusual noises, low water pressure, or continuous dripping, it’s usually a sign of a bigger problem. In such cases, attempting DIY repairs might cause further damage or lead to more significant plumbing issues down the line. It’s best to leave these complex repairs to licensed plumbers who have the tools and expertise to get the job done right.