Faucet issues commonly arise from wear and tear, affecting water flow, pressure, and temperature control. Simple repairs like replacing O-rings or washers can fix minor problems, while complex faults may require professional intervention. A well-prepared toolkit with essential tools and parts streamlines the repair process. Identifying your faucet's type is crucial for gathering the right supplies and techniques. Regular maintenance, including inspection, lubrication, and cleaning, prevents leaks and prolongs faucet lifespan.
Need to fix that leaky or faulty faucet in your home? This comprehensive guide on residential faucet repair is here to help. From understanding common issues like leaks and clogs to identifying your faucet type and disassembly techniques, we’ve got you covered. Learn essential troubleshooting and fixing tips, and discover final maintenance advice to keep your faucets in top shape. Equip yourself with the knowledge to tackle these repairs effortlessly – no professional needed!
Understanding Common Faucet Issues
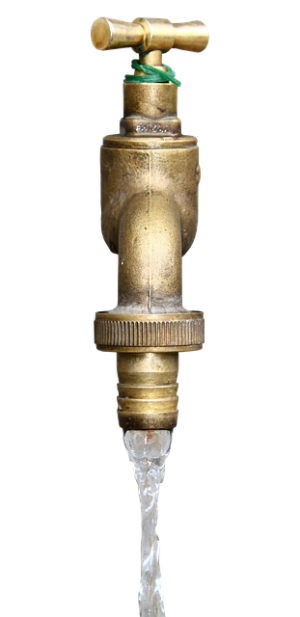
Many residential faucet issues stem from everyday wear and tear, but they can also indicate more serious problems. Leaks, for instance, could be caused by loose or damaged O-rings or washers, which are simple enough to replace during a routine faucet repair. Drips may signal a faulty valve seat or cartridge, requiring more advanced troubleshooting. Low water pressure often results from mineral buildup in the aerator or a clogged water supply line, both of which can be cleaned or replaced. Temperature control issues might be due to faulty mixing valves or thermostats, necessitating professional faucet repair for accurate diagnosis and replacement.
Gather Tools and Parts for Repair
Before tackling any faucet repair, ensure you have the right tools and replacement parts on hand. This typically includes a wrench or pliers for removing any loose connections, new O-rings or gaskets to address leaks, and a substitute faucet handle if needed. For more complex issues, you might require specialized tools like an adjustable wrench or a deep-well socket.
Organize these items in a small toolkit dedicated to faucet repairs. This approach not only streamlines the process but also guarantees that you won’t be caught without a crucial part during the repair. Having everything readily available can save time and reduce frustration, making your faucet repair a much smoother experience.
Identifying the Type of Faucet You Have
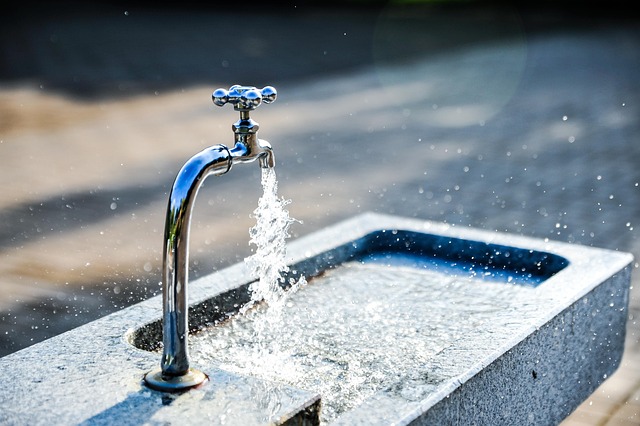
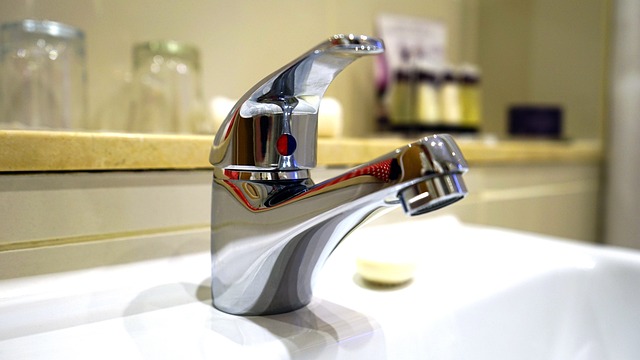
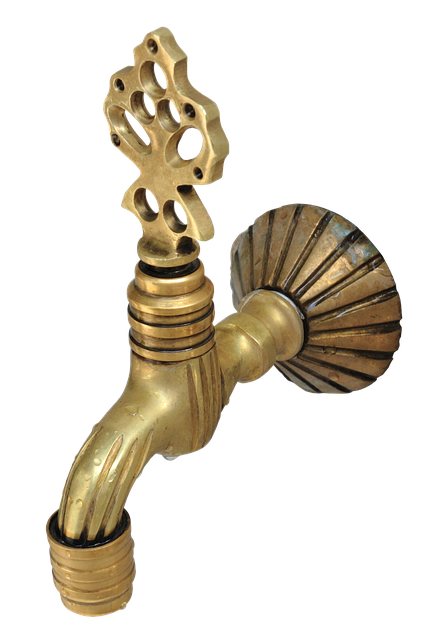
Identifying your faucet’s type is a crucial first step in any faucet repair endeavor. Different models and styles require specific tools and techniques, so understanding your setup is key to a successful do-it-yourself project or guiding a professional technician. Look for details like the number of handles, the spout shape, and the valve types – compression, cartridge, or ball – often etched on the faucet or its parts. These indicators will help you determine the best course of action for repair or replacement.
When tackling faucet repair, knowing your fixtures allows you to gather the right supplies. Cartridge faucets, common in many homes, offer easy adjustments and replacements. Compression faucets, with their classic lever handles, may need O-rings or washer replacements. Ball faucets, known for their precise control, might require internal component overhauls. Accessing these components is usually straightforward but can vary based on the faucet’s age and design.
Step-by-Step Guide to Faucet Disassembly
To begin your faucet disassembly for repair, gather the necessary tools including pliers, a screwdriver, and potentially a new faucet washer or O-ring. Turn off the water supply to your faucet using the shutoff valves located beneath the sink. This prevents leaks during the repair process. Once the water is turned off, you can begin disassembling the faucet. Start by removing the handle and any decorative covers, exposing the main body of the faucet. Next, locate and unscrew the packing nut or seal that secures the faucet’s internal components, taking note of their placement for later reassembly. Gently pull the old washer or O-ring out of place; they may be worn down over time and stuck in position.
Troubleshooting and Fixing Leaks

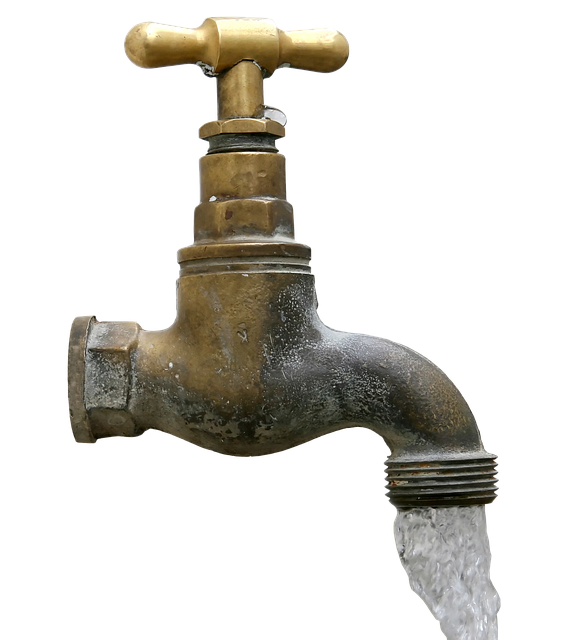
Leaking faucets are a common issue that many homeowners face. Before opting for a replacement, try troubleshooting and fixing the leak yourself. Start by inspecting the faucet for any visible damage or debris. Sometimes, a simple cleaning of the aerator or removal of mineral deposits can solve the problem. Check for loose connections; tightener nuts and O-rings are easy to replace and often stop leaks instantly.
If the leak persists, it might be due to a faulty washer or seal. Faucet repair kits are readily available and include these replacement parts. Follow the instructions provided with the kit, which typically involve disassembling the faucet, replacing the damaged components, and reassembling the pieces properly. This DIY approach not only saves you money but also empowers you to tackle common plumbing issues like a pro.
Final Tips and Maintenance Advice
When it comes to faucet repair, regular maintenance is key to prevent future issues. Regularly inspect your faucets for any signs of damage or leaks and address them promptly. Consider lubricating the valves with a silicone-based lubricant to ensure smooth operation, and remember to clean the aerator regularly to maintain water pressure.
For long-lasting faucet repair, invest in high-quality replacement parts that are compatible with your model. Keep a basic toolkit handy with common spare parts like O-rings, washers, and gaskets. With proper care and attention, you can extend the lifespan of your faucets and avoid costly replacements.