
Leaky pipes, caused by worn seals or joints, require immediate attention to prevent water damage. Key steps include shutting off water supply, assessing the issue, and taking temporary measures like using duct tape. For complex problems, professional plumbers with tools like video inspection technology offer permanent solutions. Regular maintenance through inspections, insulation, and drain cleaning prevents emergency repairs. DIY attempts should be avoided without proper knowledge and tools to ensure effective pipe repair.
In every home, pipes are a crucial component that often go unnoticed until they develop issues. Emergency pipe repair is a necessary skill to ensure your home’s plumbing system remains functional. This comprehensive guide covers understanding common pipe problems, immediate actions to take, essential tools for repairs, temporary fixes, and when to call professionals. We’ll also explore preventive measures and mistakes to avoid, empowering you with the knowledge to maintain your pipes for longevity. Get ready to tackle any plumbing emergency head-on!
Understanding Common Pipe Issues and Their Causes
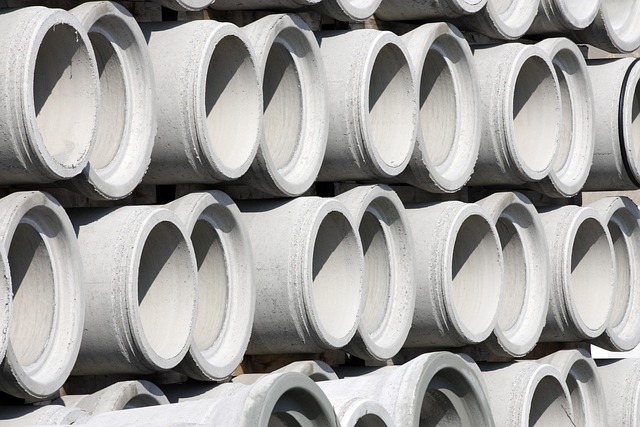
Leaky pipes are a common household issue, often caused by worn-out seals or joints. These issues can range from small drips to gushing leaks, with various factors contributing to their development. Corrosion, for instance, is a significant culprit, especially in older plumbing systems where metal pipes have been exposed to acidic water over time.
Other common pipe problems include clogs caused by buildup of grease, food scraps, or tree roots infiltrating the pipes. Extreme temperature fluctuations can also lead to pipe bursts, particularly in cold climates where pipes freeze and expand. Prompt identification of these issues is crucial for effective pipe repair, ensuring minimal damage and water waste.
Immediate Actions to Take Before Repairing Pipes
When a pipe bursts or leaks, immediate action is crucial to mitigate damage and prevent further complications. The first step is to turn off the water supply at the main shut-off valve to stop the flow. This simple yet effective measure can save you from extensive water damage. Next, assess the extent of the issue—is it a small leak or a burst pipe? If it’s a minor leak, you might be able to temporarily patch it with a rubber gasket or tape while waiting for a professional Pipe Repair service.
However, for significant leaks or bursts, don’t delay. Call a reputable plumbing service as soon as possible. While waiting for the technician to arrive, consider blocking any drains leading from the affected area to prevent sewage backup. Also, move valuable items and furniture away from the leak zone to protect them from water damage. These swift actions will not only aid in Pipe Repair but also ensure a cleaner, safer environment once the problem is resolved.
Tools and Equipment Essential for Emergency Repairs

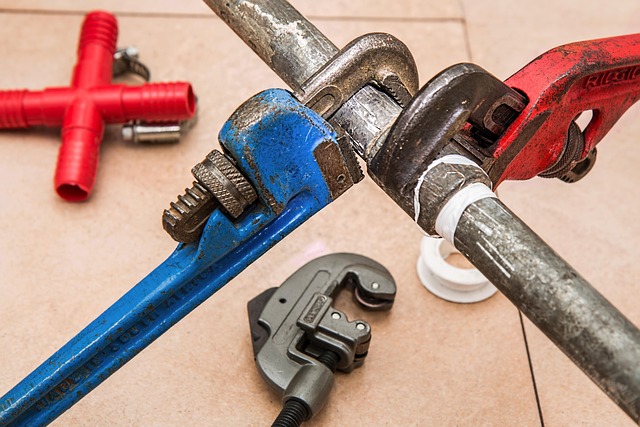
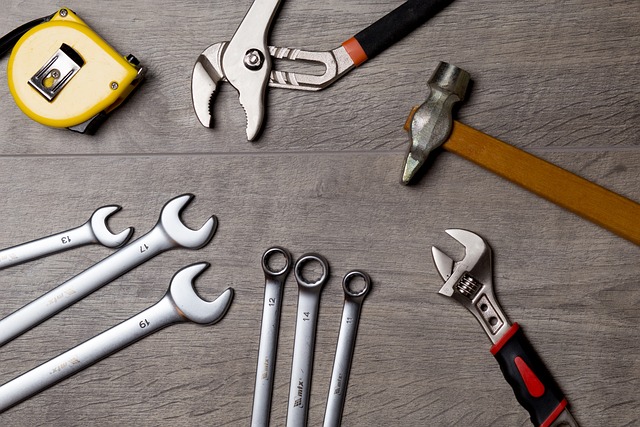
When faced with an emergency pipe repair, having the right tools can make all the difference. Essential items include a variety of wrenches (both open-end and adjustable) for gripping and turning fittings securely. Pliers are crucial for bending and cutting metal, while a sturdy knife or utility blade helps remove damaged piping or sealants. A bucket, soap, and water are necessary for cleaning out debris and preparing the area for repair. Additionally, a variety of replacement gaskets, seals, and couplings specific to your pipe material are vital to ensure a lasting fix.
For more complex leaks or burst pipes, consider investing in a pipe expander, thread sealer, and a new section of piping matching the existing diameter. A multi-tool or utility knife with replaceable blades can also be handy for various tasks. Prioritizing safety is paramount; wear protective gear including gloves, eye protection, and clothing that covers skin to avoid injuries from sharp edges or chemical exposure during the repair process.
Step-by-Step Guide to Temporary Fixes at Home
Dealing with a burst or leaking pipe can be stressful, but there are temporary fixes you can do at home before calling in a professional for more permanent pipe repair. Here’s a step-by-step guide to help you get started:
1. Locate and Assess the Damage: Identify where the leak or burst is occurring. Turn off the water supply at the main shut-off valve if possible to prevent further damage. Inspect the pipe for cracks, corrosion, or other signs of wear and tear.
2. Gather Supplies: Gather essential tools and materials like duct tape, a cloth or towel, and a temporary repair kit (often available at hardware stores). These will help you create a stopgap solution until a permanent fix can be made.
3. Contain the Leak: Place towels or cloths around the affected area to absorb any excess water or prevent damage to surrounding surfaces.
4. Temporary Fix with Duct Tape: If the leak is small, try using duct tape as a quick patch. Clean and dry the pipe, then apply multiple layers of duct tape over the crack or hole. Ensure it’s secure and tight to stem the flow of water.
5. Monitor and Adjust: Keep an eye on the temporary fix and check for any leaks. If water starts seeping through, tighten the duct tape or consider using a different approach, like clamping or plugging the pipe with a suitable material.
When to Call in the Professionals for Permanent Solutions

If a simple DIY fix isn’t effective or if your pipe issue seems complex, it’s time to call in the professionals for permanent solutions. Delve into considerations such as the extent of damage and the type of pipes involved. Leaks that persist despite initial patches could indicate larger structural issues within the pipeline. Professionals are equipped with advanced tools and techniques to accurately diagnose problems like corrosion, burst pipes, or root intrusion.
For instance, a plumber can employ video inspection technology to navigate through pipes, detecting issues that might be hidden from sight. This proactive approach ensures comprehensive pipe repair, preventing further damage and costly repairs down the line. Remember that professional plumbers offer lasting solutions tailored to specific pipe repair needs, ensuring your plumbing system remains in optimal condition for years to come.
Preventive Measures: Maintaining Pipes for Longevity
Regular maintenance is key to preventing emergency pipe repairs. Start by inspecting pipes for any signs of damage, corrosion, or leaks on a routine basis. Addressing small issues early can prevent them from escalating into costly and time-consuming problems down the line. Other preventative measures include insulating pipes in cold environments to avoid freezing, using water softeners to reduce mineral buildup, and avoiding pouring grease or other debris into drainage systems.
Additionally, scheduling professional drain cleaning services periodically can remove stubborn clogs and debris that may damage pipes over time. Investing in these proactive steps will not only extend the lifespan of your pipes but also save you from unexpected and costly emergency repairs. Remember, a little preventative care goes a long way when it comes to keeping your plumbing system running smoothly.
Common Mistakes to Avoid During Pipe Repair
When undertaking emergency pipe repair, it’s crucial to be aware of common mistakes that can lead to further damage or inefficient fixing. One of the most frequent blunders is attempting DIY repairs without proper knowledge and tools, which can compromise the integrity of the fix. Using incorrect materials or not following manufacturer guidelines can result in leaks and structural failures.
Another mistake to avoid is ignoring potential root intrusions causing pipe damage, especially in older plumbing systems. Failure to assess and address these issues adequately can lead to repeated repairs. Additionally, rushed repairs without proper preparation, such as inadequate shut-off of water supply, may cause further complications. Always prioritize safety, have the right tools and materials, and consider seeking professional help for complex or critical pipe repair tasks.