
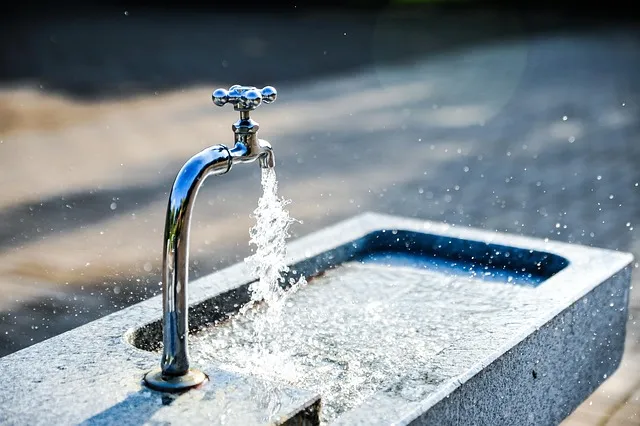
Faucet cartridges are essential for smooth water flow, but they can fail due to sediment buildup or worn-out parts, leading to issues like low pressure, leaks, or complete stoppages. Recognizing these problems early and taking prompt action is crucial. Identifying your faucet type (traditional vs. modern) and gathering the right tools and parts are critical first steps for repair. A concise guide provides step-by-step instructions for removing and replacing cartridges safely. Proper alignment, sealing, and testing ensure leak-free operation. Regular maintenance and careful selection of the correct cartridge type prevent complex issues that may require calling a professional plumber.
Looking to fix that leaky faucet? This comprehensive guide dives into the world of faucet cartridge replacement, equipping you with all the knowledge needed. From understanding common failures and identifying your faucet type to gathering tools, step-by-step installation, and advanced maintenance tips, we’ve got you covered. Learn how to tackle this DIY project successfully or know when to call a professional plumber for complex repairs. Discover the secrets to smooth water flow and prevent future faucet issues with our expert advice on faucet repair.
Understanding Faucet Cartridge Failures: Common Causes and Symptoms
Faucet cartridges are a crucial component in ensuring smooth and efficient water flow from your faucets. However, over time, they can fail due to various reasons, leading to issues like low water pressure, leaks, or even complete stoppages. Understanding these failures is the first step in effective faucet repair.
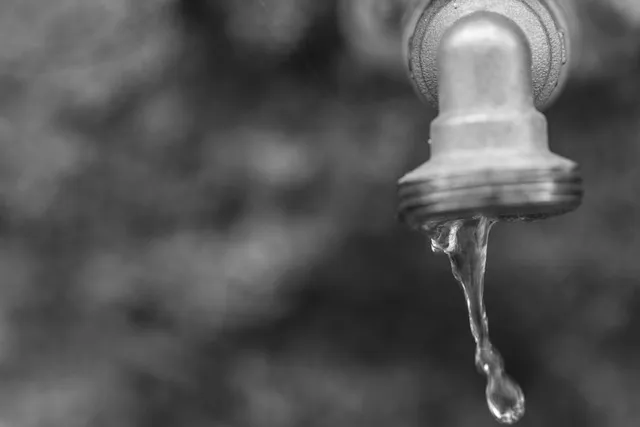
Common causes of cartridge problems include sediment buildup, which can clog the internal components, and worn-out O-rings or gaskets that lead to leaks. Symptoms might include intermittent water flow, frequent leaks at the base of the faucet, or a completely non-functional spout. Regular maintenance, such as cleaning the cartridge and checking for any debris, can prevent these issues. Prompt action on even minor symptoms is recommended, as neglecting faucet repair can result in more severe and costly damage over time.
Identifying Your Faucet Type: Traditional vs Modern Designs

Identifying your faucet type is a crucial step in any faucet repair project. Traditional faucets, characterized by their classic design and separate handle components, often use older cartridge systems that are straightforward to replace. On the other hand, modern faucets, with their sleek, integrated designs, typically employ more advanced cartridges that require careful consideration during replacement to ensure compatibility.
When assessing your faucet, look for design cues like handle arrangement (single-handle or two-handle), spout shape, and overall aesthetic. These features can help you categorize your faucet as traditional or modern, guiding you in selecting the appropriate cartridge for a seamless repair process.
Gather Tools and Parts: What You'll Need for the Replacement Process
Before diving into the faucet cartridge replacement process, it’s essential to gather the right tools and parts. For a successful faucet repair, you’ll need a few basic items: a new faucet cartridge (make and model specific to your faucet), pliers, a screwdriver, and possibly a bucket or cloth for any water spills. Additionally, have a supply of thread seal tape and/or plumber’s grease on hand to ensure a secure fit and easy disassembly in the future.
The tools and parts mentioned above are crucial for navigating through the intricate components of your faucet without causing damage. Pliers will help you grip and twist off the old cartridge, while a screwdriver is essential for unscrewing any visible screws. Thread seal tape and plumber’s grease act as preventatives, guarding against leaks at the points where connections are made during the replacement process.
Step-by-Step Guide: Removing the Old Cartridge with Ease

Removing the old cartridge is a straightforward process that can be accomplished in just a few simple steps. Begin by turning off the water supply to your faucet, usually located under the sink. This crucial step prevents any unexpected water gushes or floods during the repair. Next, gather the necessary tools: a new cartridge, pliers, and possibly a wrench. Loosen the stem nut with the appropriate tool; this is often done with a wrench or pliers. Gently pull out the old cartridge from the faucet’s valve body. Be cautious not to force it, as this might damage internal components.
Once the old cartridge is removed, you’ll have access to the O-rings and other parts that require attention during a faucet repair. This step-by-step process ensures a smooth and efficient faucet cartridge replacement, allowing you to get back to enjoying your fully functioning fixture in no time.
Installing a New Cartridge: Precise Alignment and Sealing Techniques

When installing a new faucet cartridge, precise alignment is key to ensure smooth operation and prevent leaks. The first step is to remove the old cartridge by unscrewing it counterclockwise from the faucet’s valve stem. Once removed, inspect the internal components for any damage or debris. Next, carefully align the new cartridge with the valve stem and screw it into place, ensuring a secure fit. Proper sealing techniques are equally important; apply a thin layer of plumber’s grease to the threads before installation to prevent stripping.
After screwing in the new cartridge, check for leaks at the base of the faucet by turning on the water supply. If there are no leaks, you’ve successfully aligned and sealed the cartridge correctly. This meticulous process is an essential part of any faucet repair, ensuring your faucet operates efficiently and reliably for years to come.
Testing the Repair: Water Flow, Pressure, and Temperature Control

After replacing the faucet cartridge, it’s crucial to test the repair to ensure proper functionality. Start by turning on the water supply to both hot and cold lines, then check for any leaks at the base of the faucet. A steady stream with no drips indicates a successful replacement.
Next, assess water flow rate and pressure. The water should gush out steadily without pulses or interruptions. If the flow is weak or uneven, adjust the cartridge according to the manufacturer’s instructions. Lastly, test temperature control by alternating between hot and cold water. Ensure the transition occurs smoothly and precisely, allowing you to set the desired temperature with ease during faucet repair.
Advanced Tips for Faucet Maintenance: Extending Lifespan Beyond Replacement

Regular maintenance can significantly extend the lifespan of your faucet, going beyond mere cartridge replacement. Start by periodically cleaning the faucet’s aerator to prevent mineral buildup, which can restrict water flow and lead to reduced pressure. Use a soft brush or vinegar solution to gently scrub away any deposits. Another effective strategy is to lubricate the faucet’s internal parts, especially the O-rings and seals, with a suitable lubricant to prevent wear and tear.
Additionally, keep an eye out for any signs of damage or leaks between the base and spout. Addressing these issues early can save you from more complicated (and costly) faucet repair down the line. Regular checks and simple maintenance routines will ensure your faucet remains in top condition for years to come.
Common Mistakes to Avoid During Faucet Cartridge Replacement

When attempting a faucet cartridge replacement, it’s crucial to avoid common mistakes that can lead to headaches and costly repairs. One of the most frequent errors is not turning off the water supply completely before beginning the process. This simple step is essential as it prevents leaks and ensures a successful replacement. Many homeowners rush into the task, overlooking this critical precaution, which can result in unnecessary water damage and increased repair complexity.
Another mistake to steer clear of is misidentifying the cartridge type. Different faucets require specific cartridge designs, and using an incorrect one can render your faucet repair futile. Always check your faucet’s model number or consult the manufacturer’s instructions to get the right replacement part, guaranteeing a seamless installation and optimal performance for your faucet repair.
When to Call a Professional Plumber: Complex Faucet Repairs Explained

If your faucet repair involves complex issues like damaged or corroded parts, improper water pressure regulation, or unusual noises, it might be best to call a professional plumber. While simple faucet cartridge replacements can often be done by homeowners, more intricate repairs demand specialized knowledge and tools.
Professional plumbers are equipped to handle these complex faucet repairs, ensuring long-lasting solutions. They have the expertise to diagnose problems related to valve seats, O-rings, or other internal components, which might be challenging for DIY enthusiasts. Additionally, they can provide expert advice on choosing the right replacement parts, especially with the vast array of options available in the market, ultimately saving you time and money in the long run.