
Concrete floor cracks vary in appearance and cause, from hairline shrinkage cracks to structural issues. Safe repair involves protective gear, proper ventilation, and workspace preparation. Choosing the right epoxy resin matches crack severity and traffic volume. Mixing a matching concrete patching compound, applying it with tools, and curing fully ensures strong repairs. Avoiding mistakes like incorrect compounds, poor surface prep, over-filling, and rushing drying time extends patch life. Regular maintenance, including curing, cleaning, sealing, and prompt crack repair, prevents larger structural damage. DIY kits suit minor cracks, while wider or complex issues require professional techniques and materials for lasting commercial repairs. Final finishing touches include light sanding and applying sealers/topcoats for functionality and aesthetic integration.
Concrete floor cracks can range from unsightly to structural concerns. Understanding crack types, causes, and the right repair approach is crucial for maintaining your space. This guide delves into the world of concrete crack repair, offering a comprehensive overview of preparation, material selection, step-by-step techniques, and best practices. From DIY repairs to large-scale structural issues, learn how to address cracks effectively, ensuring long-lasting results with proper curing and maintenance.
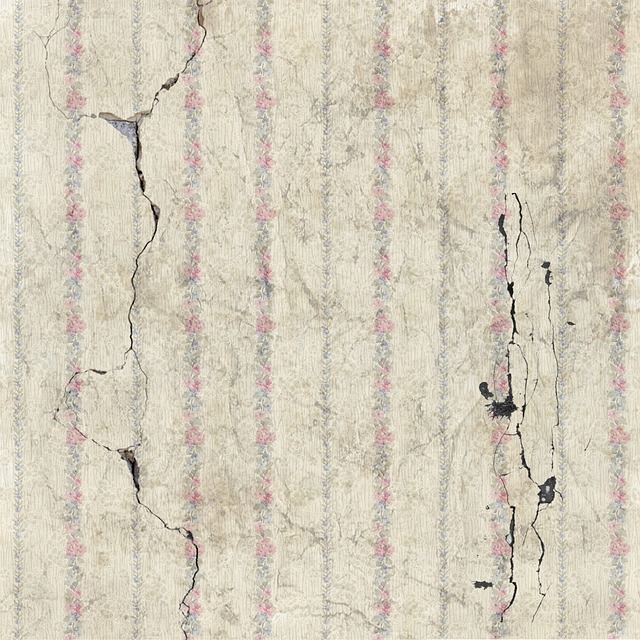
Understanding Concrete Floor Cracks: Causes and Types
Concrete floor cracks can range from thin hairline fractures to wide, deep fissures, and understanding their causes is crucial for effective crack repair. These cracks often appear due to various factors, including movement in the substrate (the material beneath the concrete), settlement of the structure, freeze-thaw cycles, or excessive moisture content during concrete curing. Different types of cracks include hairline cracks, which are typically caused by shrinkage and can be narrow and shallow; diagonal cracks, often resulting from foundation movements; and vertical cracks, usually indicative of significant structural issues like settlement or heave.
Identifying the type and cause of a crack is essential for selecting the appropriate crack repair method. For instance, hairline cracks might require only a surface treatment to fill and smoothen, while wider cracks may demand more intensive techniques such as injection molding with epoxy or polyurethane to enhance structural integrity and prevent further damage.
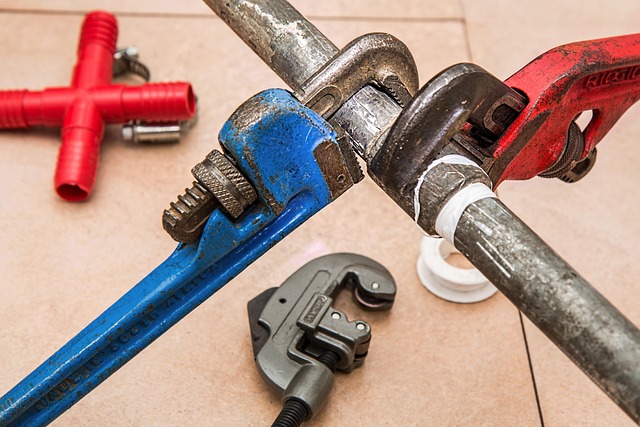
Preparations for Crack Repair: Safety and Material Needs

Before starting any crack repair, ensuring safety is paramount. Concrete floor patching requires specific protective gear, including gloves, goggles, and a respirator, as the process involves handling concrete dust and chemicals. Proper ventilation is also crucial to prevent inhalation of harmful particles. Gather all necessary materials, such as a concrete patch compound suitable for your floor type, a trowel or putty knife for application, and a clean cloth or brush for preparation. Make sure the crack is thoroughly cleaned and free from debris to ensure the best adhesion for the patch material.
Choosing the Right Epoxy Resin for Patching

When it comes to concrete floor patching, selecting the appropriate epoxy resin is a critical step in ensuring long-lasting and effective crack repair. The market offers a wide array of options, each with unique properties tailored for specific applications. For instance, fast-curing resins might be ideal for quick fixes in high-traffic areas, while those with superior chemical resistance are better suited for industrial settings exposed to harsh chemicals.
Consider the type and severity of cracks you’re dealing with. Minor surface cracks can often be addressed with two-part epoxy systems designed for easy application and good bonding strength. For larger, deeper cracks, a more robust resin with higher flexibility and fill capacity might be necessary. Always check product specifications and consider professional advice to make an informed choice, ensuring the epoxy resin matches your patching needs perfectly.
Step-by-Step Guide to Concrete Crack Repair
Crack repair in concrete floors is a crucial task that, if done correctly, can extend the life of your structure and prevent further damage. Here’s a step-by-step guide to help you tackle this project efficiently. First, assess the crack’s severity and clean the area thoroughly, removing any loose debris or contaminants. Next, mix a concrete patching compound according to the manufacturer’s instructions, ensuring it matches the existing concrete as closely as possible.
Using a trowel or putty knife, apply the compound into the crack, filling it completely. Smooth the surface for an even finish and allow the patch to cure fully. Once cured, inspect the repair area and touch up any imperfections with additional patching compound if necessary. This meticulous process ensures strong, long-lasting repairs that seamlessly blend in with the rest of your concrete floor.
Common Mistakes to Avoid During Patching

When patching concrete floors, it’s crucial to avoid common mistakes that can compromise the long-term integrity of your repairs. One frequent blunder is using the wrong patch compound for the job; ensure you match the elasticity and hardness of the compound to the existing concrete. Ignoring surface preparation is another mistake; roughen the cracked area thoroughly to promote better adhesion, or the patch might not stick.
Over-filling cracks can lead to an uneven surface later on. Aim for a slight gap between the patch and the surrounding concrete, allowing for contraction without lifting. Additionally, don’t rush the drying process. Different compounds have varying cure times, so follow manufacturer instructions carefully. Using water too liberally during mixing or not applying sufficient pressure when troweling can result in weak patches that are more susceptible to future damage, emphasizing the importance of meticulousness throughout the patching process.
Ensuring Long-Lasting Results: Curing and Maintenance

After patching concrete floors, proper curing is essential for long-lasting results. This process involves allowing the patch to fully harden and bond with the surrounding concrete. Curing can be achieved by maintaining a consistent temperature and humidity level in the repaired area. Simple methods like using a moisture barrier or covering the patch with a plastic sheet can help regulate these conditions. It’s crucial to avoid traffic or heavy loads on the patched floor during the curing period to prevent damage and ensure the repair holds.
Regular maintenance is equally vital for keeping concrete floors in top condition. This includes cleaning the surface regularly to remove dirt, debris, and chemicals that could weaken the patch or attract moisture. Sealing the concrete floor annually with a high-quality sealer will also protect against water, oil, and other stains, extending the life of the repair. Regular crack repair is another critical aspect of maintenance, as even minor cracks can grow over time, compromising the integrity of the entire surface.
Best Practices for Large or Structural Cracks

When dealing with large or structural cracks in concrete floors, proper crack repair is essential for both aesthetic and structural integrity reasons. The first step is to assess the extent of the damage, ensuring that the crack doesn’t compromise the building’s structural stability. If the crack is wider than 1/4 inch (6 mm), it’s best to consult a professional as it might require advanced techniques and materials.
For DIY crack repair, preparation is key. Clean the crack thoroughly to remove debris and ensure good adhesion for the patching compound. Use a wire brush or power washer if necessary. After cleaning, apply a suitable epoxy or polyurethane-based crack filler, following the manufacturer’s instructions. Filling the crack with the right material helps prevent water penetration and further damage. Regular maintenance, including regular inspections and prompt repair, is crucial to mitigating larger structural issues down the line.
DIY vs Professional Crack Repair: When to Hire Experts

When it comes to crack repair, deciding between a DIY approach and hiring professionals depends on several factors. For minor cracks that are less than 1/4-inch wide and not structurally compromising, homeowners can attempt repairs themselves using kits available at hardware stores. These do-it-yourself (DIY) solutions typically involve mixing a compound and applying it to fill the crack. They offer cost savings and allow for some customization based on the floor type.
However, for wider cracks, structural damage, or complex situations like uneven floors, professional crack repair is recommended. Experts have the necessary tools, experience, and knowledge to address underlying issues accurately. They use advanced techniques and materials designed for long-lasting repairs, ensuring stability and aesthetics. Hiring professionals is particularly crucial in commercial settings where large areas require consistent and high-quality crack patching.
Final Touches and Aesthetics After Patching
After successfully patching concrete floors, the final touches are crucial to achieve a seamless and aesthetically pleasing result. Once the patch has hardened, carefully inspect the area for any imperfections or uneven surfaces. Light sanding can help smooth out any rough edges, ensuring a uniform finish. This step is particularly important when repairing cracks, as it fills in any gaps left by the crack repair material, creating a continuous surface.
Consider using a sealer or topcoat to enhance the appearance and protect the repaired area. These finishing products not only add a protective layer but also bring out the natural texture and color of the concrete, making the patched section blend seamlessly with the surrounding floor. This attention to detail ensures that crack repairs are not just functional but also contribute to the overall aesthetics of your concrete flooring.