This text offers a comprehensive guide to kitchen faucet repair, addressing common issues like leaks, improper functionality, and low water pressure. It emphasizes the importance of regular maintenance and visual inspections to prevent problems. Basic repairs, such as replacing worn O-rings or washers, can be done with the right tools (adjustable wrenches, pliers) and careful disassembly/reassembly. For complex issues like clogged aerators or faulty internal parts, it recommends professional faucet repair services. Regular cleaning of aerators and checking for leaks extend faucet lifespan, ensuring optimal performance and efficient faucet repair.
Looking to fix that leaky or malfunctioning kitchen faucet? This comprehensive guide covers all your repair needs. From understanding common issues like leaks and hard water buildup, to gathering the right tools, replacing washers, and adjusting components, we’ve got you covered. Learn step-by-step processes and when it’s time to call a professional plumber. With regular maintenance tips, extend the lifespan of your faucet and save money on repairs with these expert Faucet Repair insights.
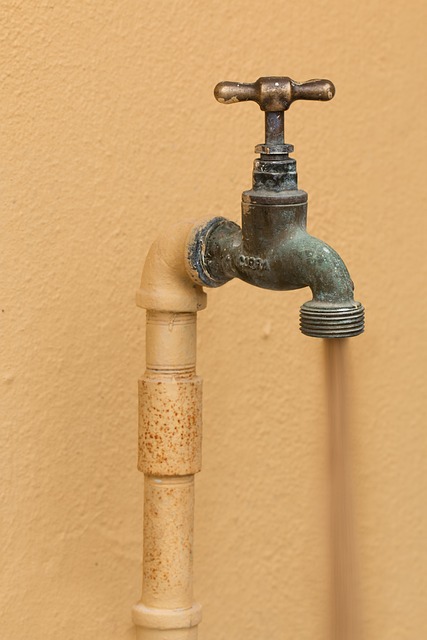
Understanding Common Kitchen Faucet Issues
Many kitchen faucet issues are common and relatively easy to diagnose. One of the most frequent problems is leaky faucets, which can be caused by worn-out O-rings or cartridge defects. Another typical issue is a faucet that doesn’t turn on or off properly, often due to clogged aerators or damaged internal components. Low water pressure is also a frequent complaint, usually resulting from mineral buildup in the faucet’s aerator or supply lines.
When dealing with these issues, identifying the specific problem area is key. Visual inspection can help pinpoint leaky spots or damaged parts. Regular maintenance, such as cleaning the aerators and checking for leaks, can prevent many of these problems. For more complex repairs, like cartridge replacement or internal part fixing, it’s advisable to consult a professional plumber to ensure the job is done correctly.
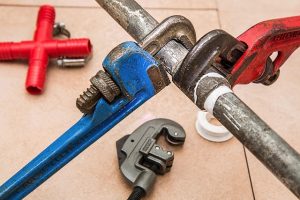
Gathering the Necessary Tools for Repair
Before tackling any faucet repair, ensure you have the right tools on hand. For most basic repairs, a few essential items will do the trick: adjustable wrenches (both metric and standard), pliers, a new O-ring or washer (depending on your issue), and a bucket for any excess water. These tools allow you to remove the faucet’s components, replace worn parts, and reassemble everything securely.
Remember, the key to successful faucet repair is patience and careful attention to detail. Taking the time to gather the proper tools and understanding the basic steps involved will make the process smoother and reduce the risk of further damage.
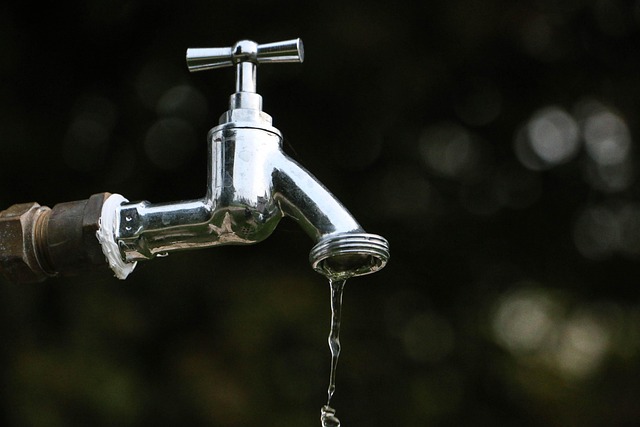
Identifying Leaks and Their Causes

Leaks in kitchen faucets can be a common household issue, often indicating a need for faucet repair. Identifying the source of the leak is the first step to fixing it. Most leaks fall into two categories: those caused by worn-out O-rings or washer cartridges and those stemming from damaged or misaligned parts. O-rings and cartridges are crucial components that seal off water flow, so their deterioration can lead to persistent drips or steady streams of water escaping from the faucet spout.
Over time, these parts can become worn due to mineral buildup, corrosion, or normal wear and tear. Additionally, improper assembly or installation can cause alignment issues with the faucet’s internal components, resulting in leaks. Inspecting your faucet for damaged or loose parts is essential in diagnosing the problem and determining whether a simple replacement or more complex faucet repair is required.
Step-by-Step Guide to Replacing Faucet Washers

Replacing faucet washers is a straightforward task that can save you time and money, especially if your kitchen faucet is leaking. Here’s a step-by-step guide to help you with this common faucet repair. Begin by shutting off the water supply valves located under the sink. These valves control the flow of water to the faucet. Next, remove the old washers by unscrewing and detaching any parts that might be holding them in place. Depending on your faucet model, this could include spring clips or screws. Once the old washers are removed, you can inspect them for damage or wear. If they’re worn out or damaged, it’s best to replace them with new ones. Grab a set of replacement washers suitable for your faucet from a hardware store and install them by securing them in place with the appropriate fasteners. After installing the new washers, turn on the water supply valves again and test the faucet for leaks. If there are no leaks, you’ve successfully replaced the faucet washers.
Tightening and Adjusting Faucet Components
When it comes to kitchen faucet repair, one common issue that homeowners often encounter is loose or misaligned components. Tightening and adjusting these parts can resolve leaks and ensure your faucet functions optimally. The first step is to identify the specific components causing the problem. Faucet repairs typically involve tightening the aerator, which controls water flow and temperature. If the faucet is leaking at the base, it might be due to a loose or damaged O-ring or washer. These parts are easy to replace and can be found at any hardware store.
After locating the faulty component, use a wrench or pliers to tighten it securely. Be careful not to overtighten, as this could damage the faucet or pipes. Some faucets have adjustable components for water temperature and pressure. Adjusting these settings can help prevent leaks and ensure a comfortable water flow. Regular maintenance, including periodic tightening and adjustments, is key to avoiding more complex faucet repair issues down the line.
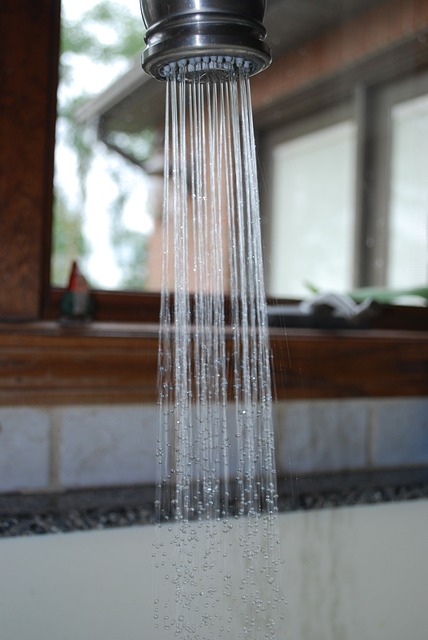
Troubleshooting Hard Water Buildup
Hard water buildup is a common issue that can lead to clogged aerators and reduced water flow in your kitchen faucet. To troubleshoot this problem, start by removing the faucet head and examining the aerator. Buildup often appears as a white or yellow residue around the edges. If you spot any, gently scrape it off using a small screwdriver or a specialized cleaning tool designed for aerators. Once removed, rinse the aerator under warm water to wash away any remaining minerals. Reassemble the faucet head and test the water flow. Regular cleaning can prevent future buildup, ensuring your faucet remains in top condition for efficient kitchen tasks.
For more persistent issues, consider checking the supply lines connecting to the faucet. Over time, mineral deposits can accumulate, restricting water flow. Inspect the lines for any signs of corrosion or narrowing and clean them if necessary. If the problem persists, it might be due to a faulty aerator or even the faucet’s internal components. In such cases, consulting a professional plumber is recommended for proper Faucet Repair.
When to Call a Professional Plumber
If you’ve attempted basic faucet repair techniques and still can’t resolve the issue, it may be time to call in a professional plumber. While many minor faucet repairs can be tackled by do-it-yourselfers, more complex problems often require specialized tools and knowledge. A professional plumber will have the expertise to diagnose and fix a wide range of issues, from leaky or clogged faucets to more serious problems like low water pressure, broken parts, or even faulty plumbing connections.
If you notice persistent leaks, excessive water usage, unusual noises coming from your faucet, or if your faucet’s functionality has significantly diminished, these are all signs that it might be best to leave the repair to a licensed plumber. They can ensure the job is done correctly and efficiently, preventing further damage to your kitchen or bathroom fixtures and saving you potential costs associated with extensive plumbing issues down the line.
Maintenance Tips for Longevity
Regular maintenance is key to prolonging the life of your kitchen faucet and ensuring smooth operation. A simple yet effective step is to periodically clean the aerator, as it can accumulate mineral deposits and debris over time, leading to reduced water flow. Use a soft cloth or brush and mild soap to carefully disassemble and clean the parts, especially the aerator and sprayer.
Another often-overlooked aspect of faucet repair is checking for leaks regularly. Even minor leaks can waste significant amounts of water and cause damage over time. Inspect your faucet joints, O-rings, and gaskets for any signs of wear or tear, and replace them if necessary. This simple task not only saves you from potential water damage but also contributes to the overall longevity of your kitchen faucet.