
Faucet leaks are common household issues caused by various factors. Proper tool preparation, identification of leak types (knob, cartridge, or stem), and understanding replacement parts are crucial for effective faucet repair. Regular maintenance and inspection can prevent future leaks. DIY methods offer cost-effective solutions, but severe cases may require professional plumbers for specialized repairs.
Tired of that persistent dripping? This comprehensive guide is your faucet leak solution. We break down the causes, from worn-out O-rings to loose connections, and show you how to tackle them with simple DIY repairs. Learn to identify your faucet’s leakage type, gather the right tools and parts, and follow a step-by-step process for a successful fix. Plus, discover prevention tips and when professional assistance is crucial for effective long-term solutions in faucet repair.
Understanding Common Faucet Leak Causes
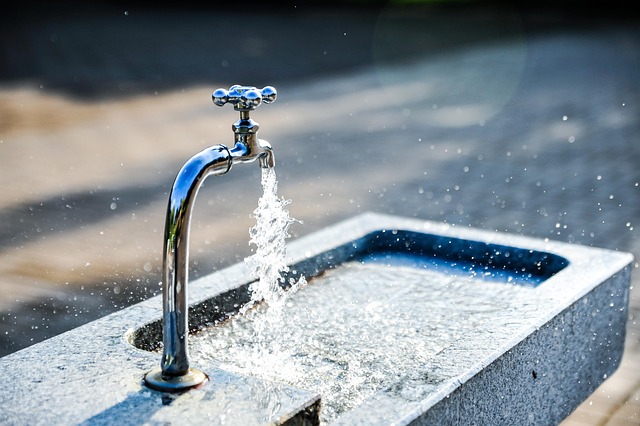
Leaky faucets are a common household issue, often stemming from various factors. The first step in faucet repair is identifying the root cause. One of the primary reasons for leaks is loose or worn-out parts, especially O-rings and washers inside the faucet. Over time, these components can degrade or become damaged, allowing water to escape. Another frequent culprit is a faulty valve seat, where the valve that controls the water flow might not seal properly, leading to continuous dripping.
Additionally, outdated or improperly installed faucets may experience leaks due to improper adjustments during installation. Water pressure issues and broken or misaligned parts can also contribute to faucet repair challenges. Understanding these common causes enables homeowners to tackle the problem effectively and choose the right faucet repair methods, ensuring a leak-free environment.
Gather Tools and Materials for Repair
Before you begin any faucet repair, it’s essential to gather the right tools and materials. For most minor leaks, a basic toolkit will suffice—you’ll need adjustable pliers, a wrench (usually a 10mm or 1/4-inch), a new O-ring or washer, and some pipe thread tape. These items are readily available at any hardware store, making the repair process convenient and cost-effective.
When preparing for a faucet repair, consider the type of faucet you have—compacted or traditional—as this will influence the specific tools required. Compact faucets often use smaller parts, so finer tools might be needed. On the other hand, traditional faucets may require larger components, dictating the need for bigger wrenches and pliers. Proper preparation ensures a smoother repair experience during what can sometimes be a stressful situation.
Identifying the Type of Faucet Leakage
Faucet leaks can be frustrating and wasteful, but identifying the type of leak is the first step to effective faucet repair. Common types include leaky knobs, cartridge leaks, and stem leaks. Leaky knobs usually indicate a seal or washer issue, while cartridge leaks often involve a faulty internal component. Stem leaks, on the other hand, typically result from worn-out O-rings or gaskets.
Understanding the specific type of leak is crucial for choosing the right repair method. Cartridge faucets are relatively easy to fix, often requiring only replacing the cartridge. More complex stem leaks might necessitate disassembling the faucet and replacing worn parts. With the right knowledge and tools, many faucet repairs can be DIY projects, saving time and money.
Step-by-Step Guide to Fixing a Leaking Faucet

Fixing a leaking faucet is an easy DIY project that can save you money on your water bills and prevent unnecessary wastage. Here’s a step-by-step guide to help you get started with your faucet repair.
1. Turn Off the Water Supply: Before you begin, ensure the water supply to the faucet is turned off. Locate the shut-off valves under the sink and twist them clockwise to stop the water flow. If there are no shut-off valves, turn off the main water valve for the house.
2. Gather Tools and Parts: You’ll need a few basic tools such as pliers, an adjustable wrench, and possibly a new washer or O-ring (check your faucet’s manual or look up the model online). Gather these before you start to avoid any interruptions in your repair process.
3. Remove the Faucet Handle: Unscrew the handle and remove it from the faucet stem. This will expose the inner parts of the faucet.
4. Identify the Leaking Part: Inspect the exposed components for damage or wear and tear, especially around the base where water comes out. The most common cause of leaks is a damaged washer or O-ring.
5. Replace the Washer or O-Ring: Once you’ve identified the leaking part, replace it with a new one of the correct size. Tighten all components securely but be careful not to overtighten, as this can cause damage.
6. Reassemble the Faucet: Put the handle back on and tighten the screws. Turn on the water supply valves and check for leaks. If there are no leaks, your faucet repair is successful!
Replacement Parts and Their Importance
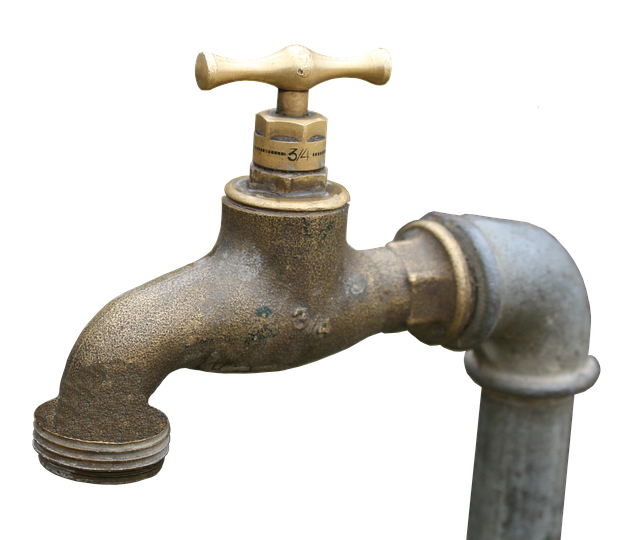
When dealing with a leaky faucet, many homeowners initially turn to temporary fixes. However, these often only provide a band-aid solution. The long-term strategy lies in understanding the importance of replacement parts in efficient faucet repair. Every faucet is composed of various components—from valves and O-rings to cartridges and stems—that work together to maintain water flow and prevent leaks. Over time, these parts can wear out or become damaged, leading to persistent leakage.
Identifying the specific faulty part is key to successful faucet repair. Once determined, replacing it with a new, compatible one ensures the faucet functions optimally again. This process not only stops the leak but also prevents further damage caused by wasted water and higher water bills. Moreover, having replacement parts on hand makes for swift repairs, ensuring your home remains in good condition without costly or time-consuming disruptions.
Preventing Future Faucet Leaks
After addressing an immediate faucet leak, preventing future issues is key. Regular maintenance can significantly reduce the likelihood of leaks occurring again. Start by periodically checking all faucets for any signs of damage or wear and tear, especially around the base and the connections. Keep an eye on loose parts, as these could be potential weak points that lead to leaks.
Simple measures like tightening loose nuts and bolts during maintenance checks can go a long way in faucet repair. Additionally, using waterproof sealant or pipe compound around connections can create a protective barrier against moisture intrusion, which is a common cause of leaks. Regular cleaning and inspection will not only keep your faucets in top condition but also allow you to address any potential problems before they turn into major repairs.
When to Seek Professional Assistance

If a simple DIY approach doesn’t fix your leaky faucet, it may be time to call in a professional. Not all leaks are created equal—some could indicate more serious issues like damaged pipes or valve problems that require specialized knowledge and tools to address. A professional plumber can quickly diagnose the root cause and offer tailored solutions for effective faucet repair. They have access to advanced tools and techniques, ensuring any repairs are done efficiently and with minimal disruption to your home.
Instead of attempting a temporary fix that could lead to further complications, reaching out to a plumbing expert is often the smarter choice. They can provide long-lasting solutions, saving you time, money, and potential stress in the long run.